A Two Phase DIY Kitchen Renovation
This Post May Contain Affiliate Links. Please Read Our Disclosure Policy for more details.
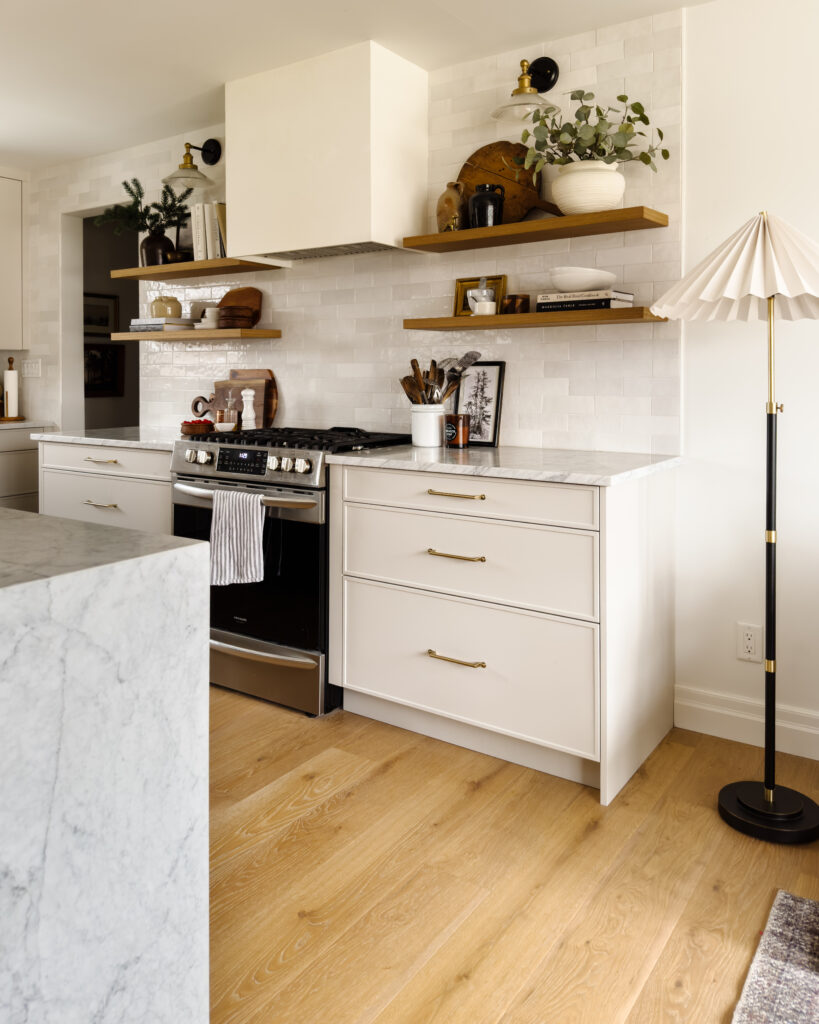
The before and after of this two phase DIY kitchen renovation happened in two phases, but let’s take a look at where we started – a dated 1970s kitchen, complete with a fluorescent drop ceiling, gold vinyl floors, and in your face (literally) cabinets over the peninsula.
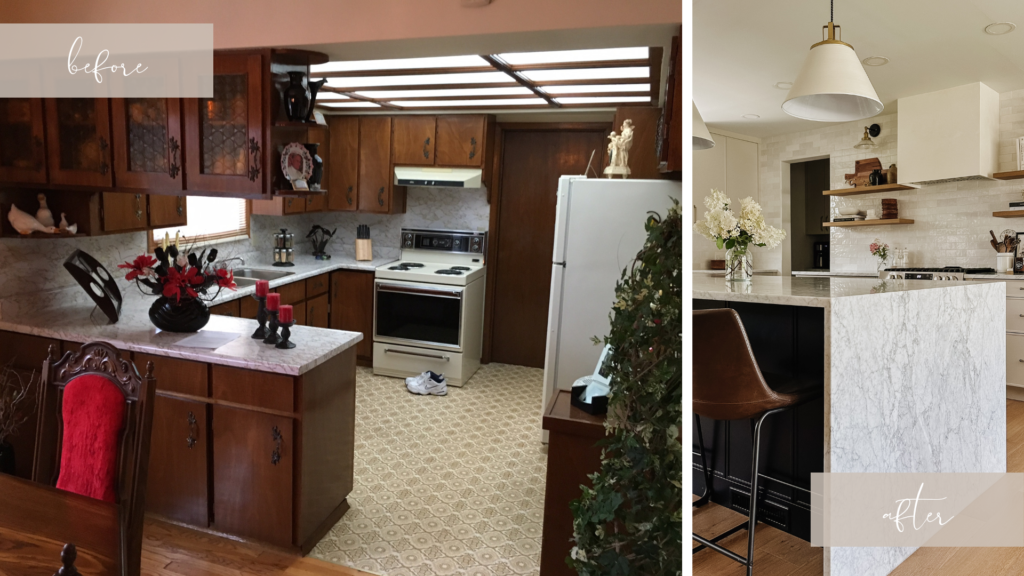
But let’s back up because we missed a few steps and about 3.5 years in between.
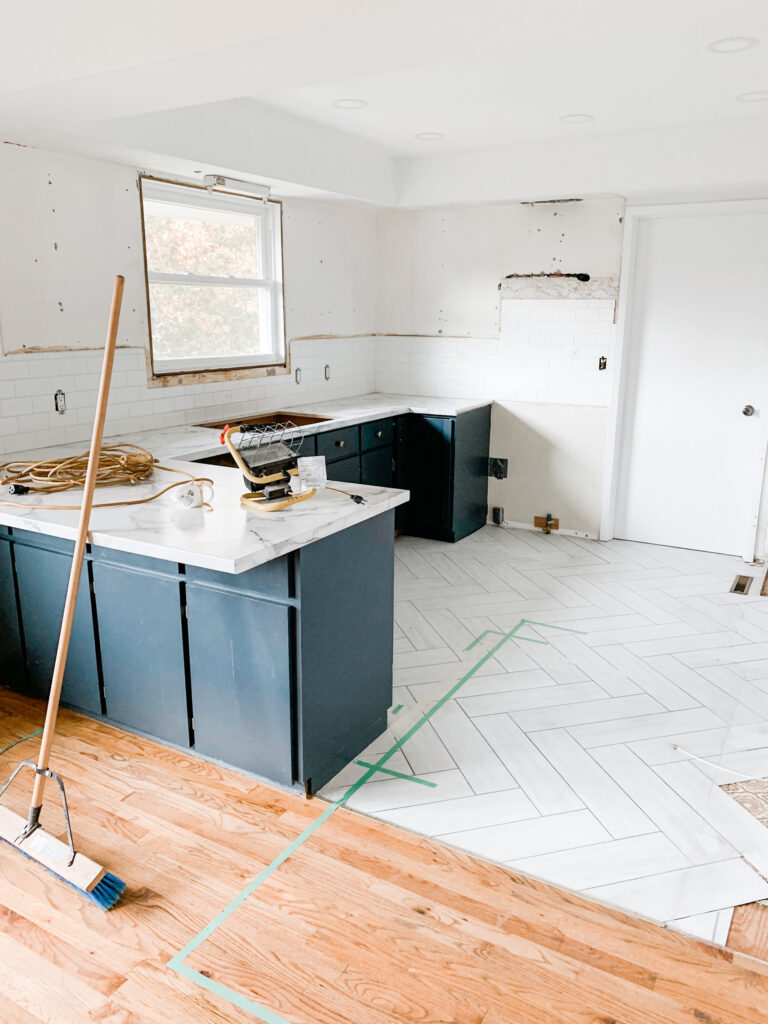
We got possession of our house in June 2016 and did a quick and dirty, budget “Phase One” renovation in the 2 weeks before we moved in. We removed the drop ceiling lighting, took out the upper cabinets over the peninsula in the kitchen and painted every surface. Within the first year, we replaced the counters with a faux marble laminate, added ikea cabinets on the fridge wall, installed a subway tile backsplash, and laid a vinyl herringbone floor. We had a tight budget but made a big impact for around $3000.
The Phase One Renovation Before & After
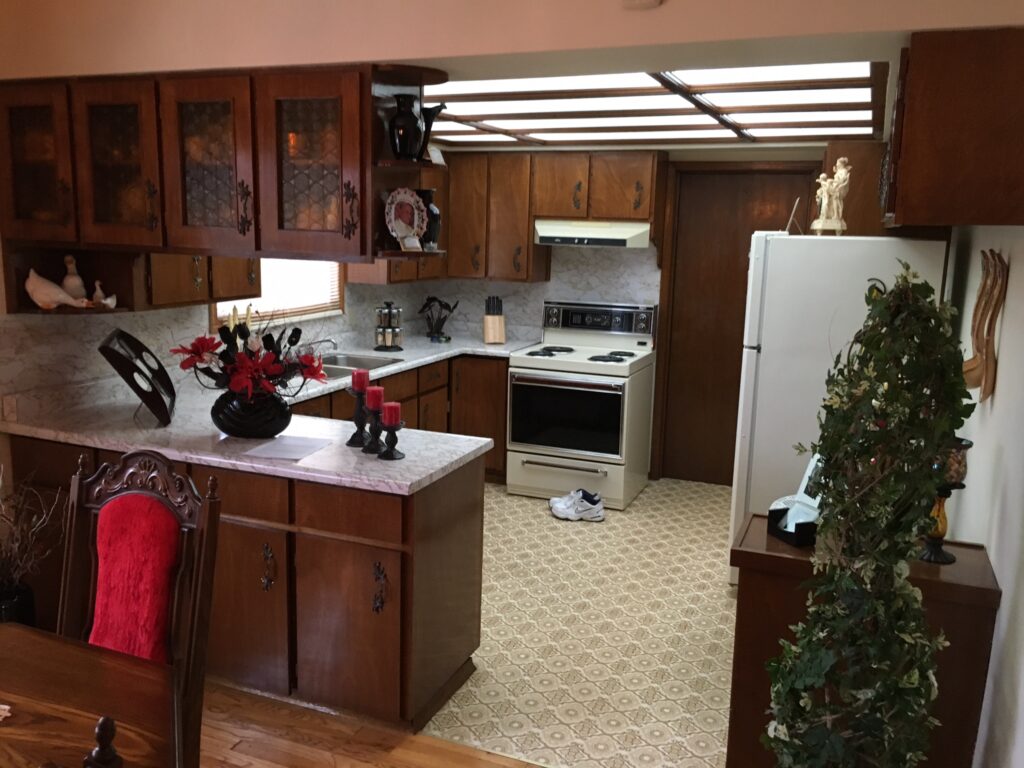
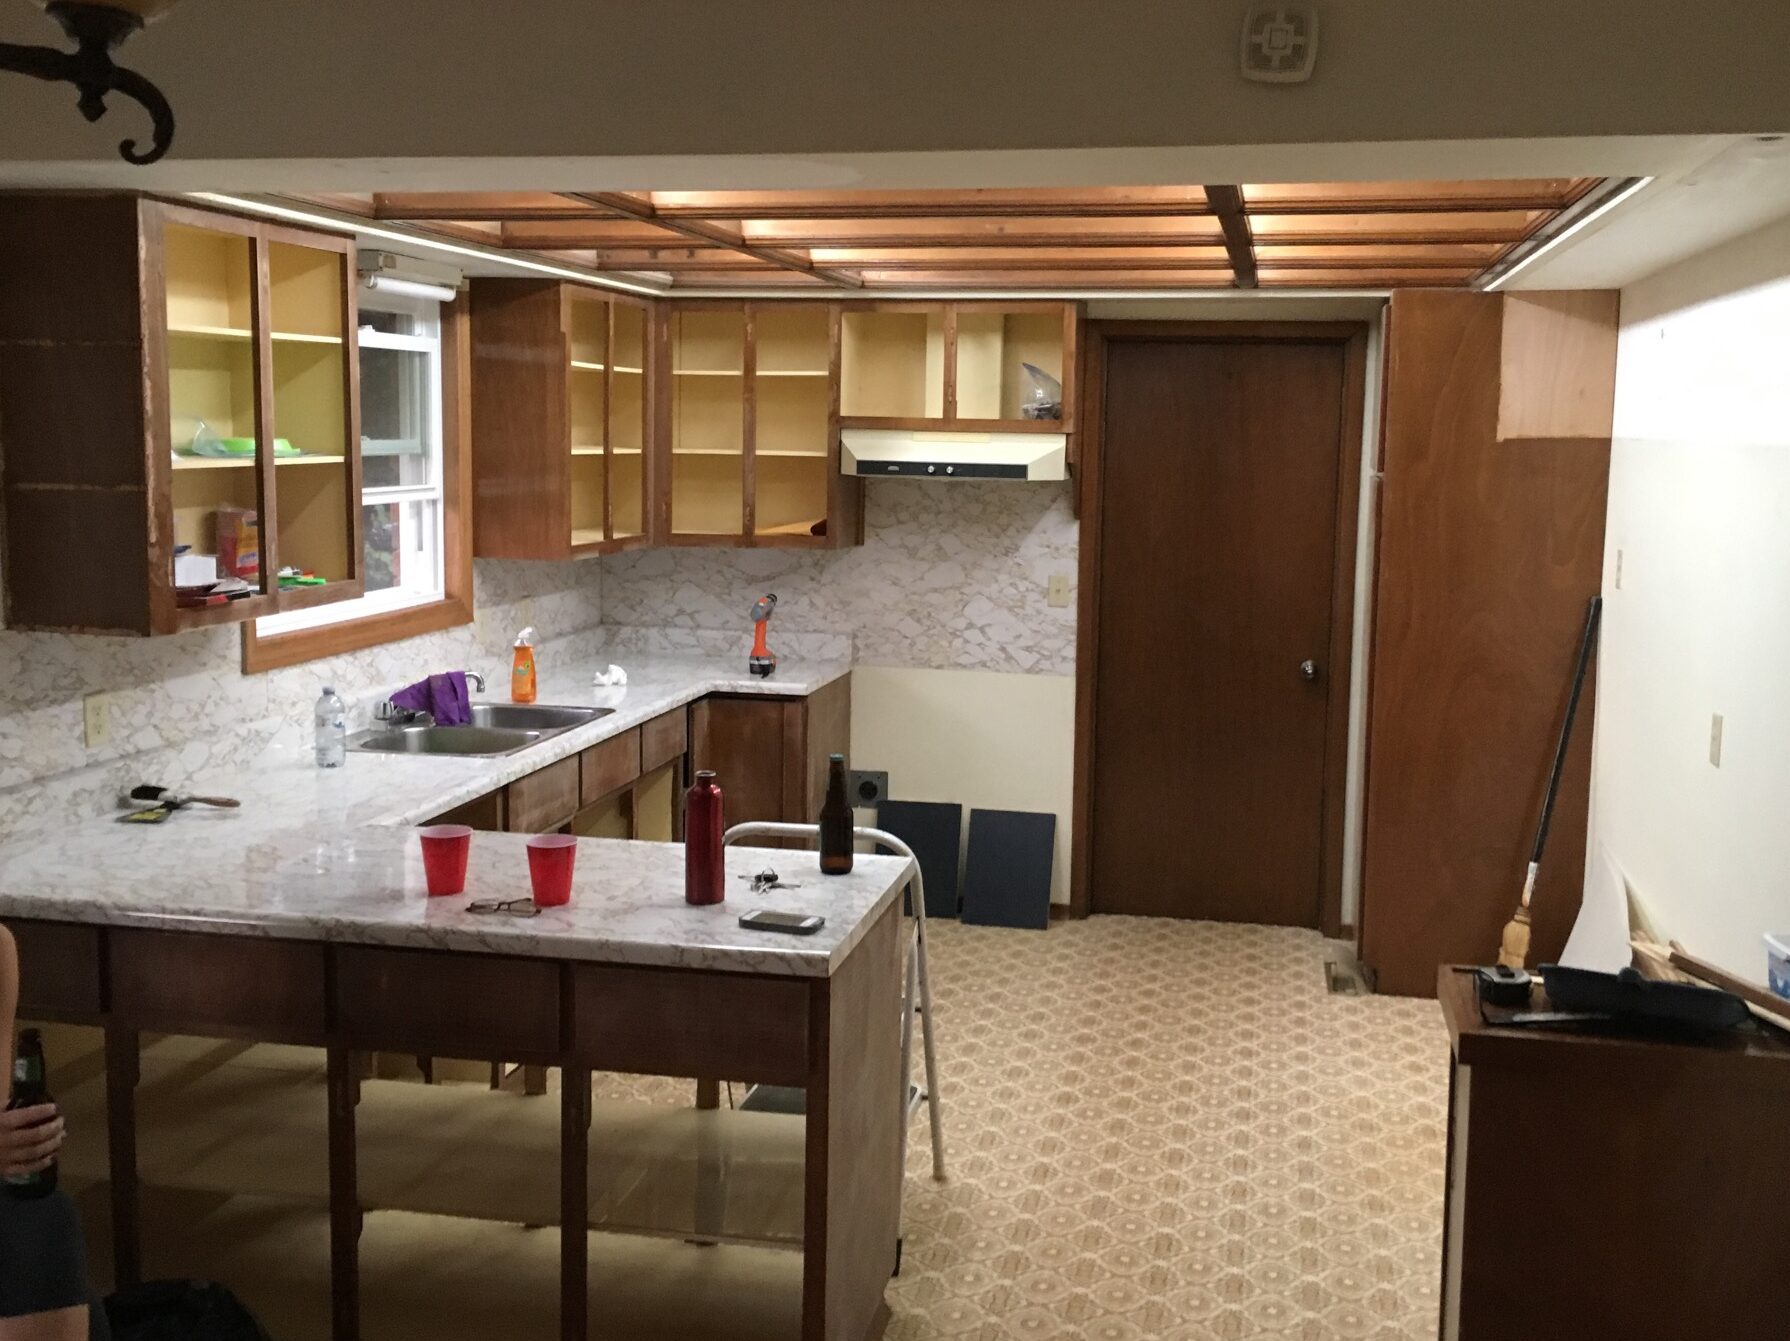
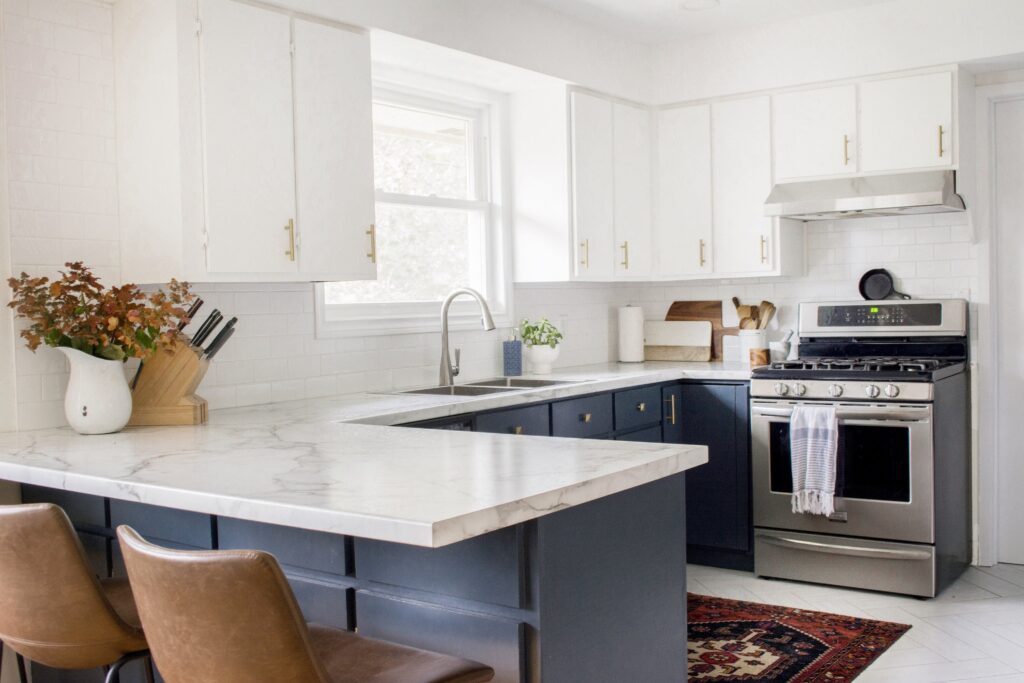
It was such an improvement aesthetically – I brightened the space up and played with colour (Benjamin Moore “Blue Note” on the lower cabinets and Benjamin Moore “Simply White” on the uppers). Adding an overhang for counter stools made the space so much more welcoming. Yet, the original cabinets were awkward sizes and the space was still closed off from our living room.
Our family was growing & our kitchen was feeling small…
In early fall 2019, our 16 month old daughter was on the move and I was pregnant with baby #2. We craved a more open floorplan and better views from the kitchen. It was at that point we decided to take on a full-blown kitchen reno, because renovating with one toddler seemed a lot easier than renovating with two! Our deadline? An April 1st due date, yikes!
Luckily we had been saving for this kitchen renovation for a few years and aimed to cap the budget at $40,000. Seems like a lot, right? But kitchen renovations can easily cost $50-$80,000. However, since this was a DIY kitchen renovation, we were able to save tens of thousands of dollars in labour.
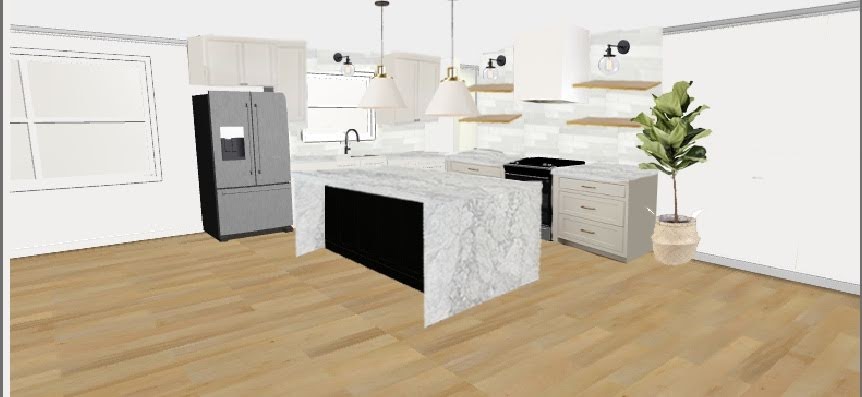
I started playing around with the IKEA Kitchen Planner and we landed on a layout. I played around in photoshop and did a VERY rough rendering of what I wanted the space to look like (see below).
DIY Kitchen Renovation Progress
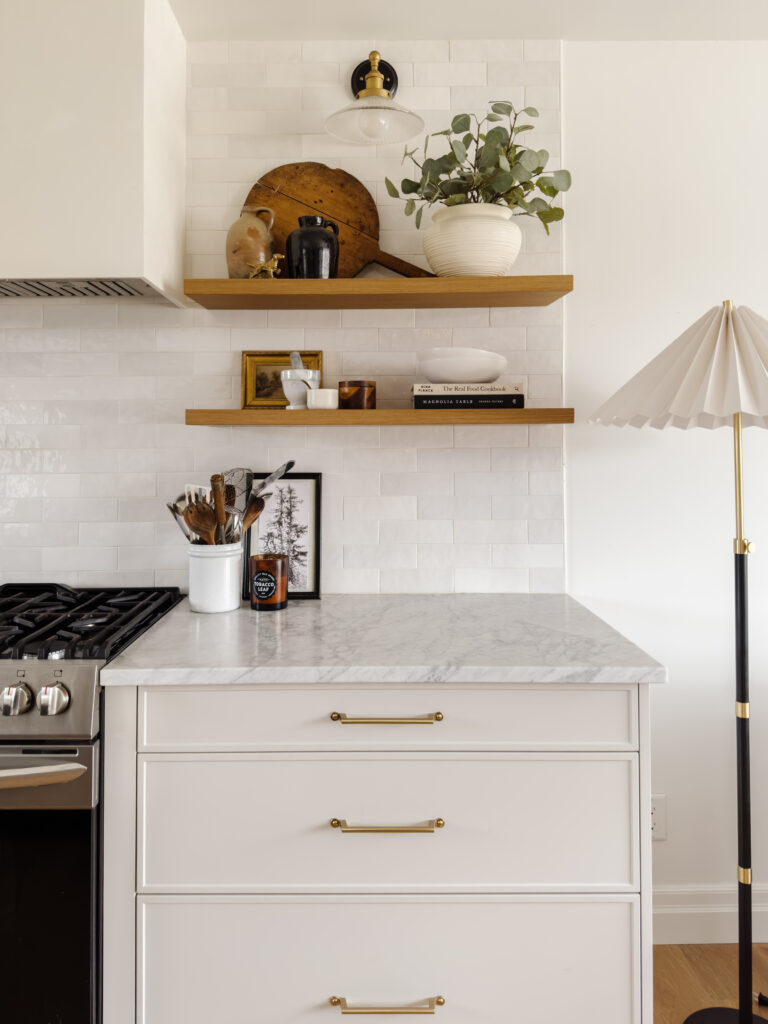
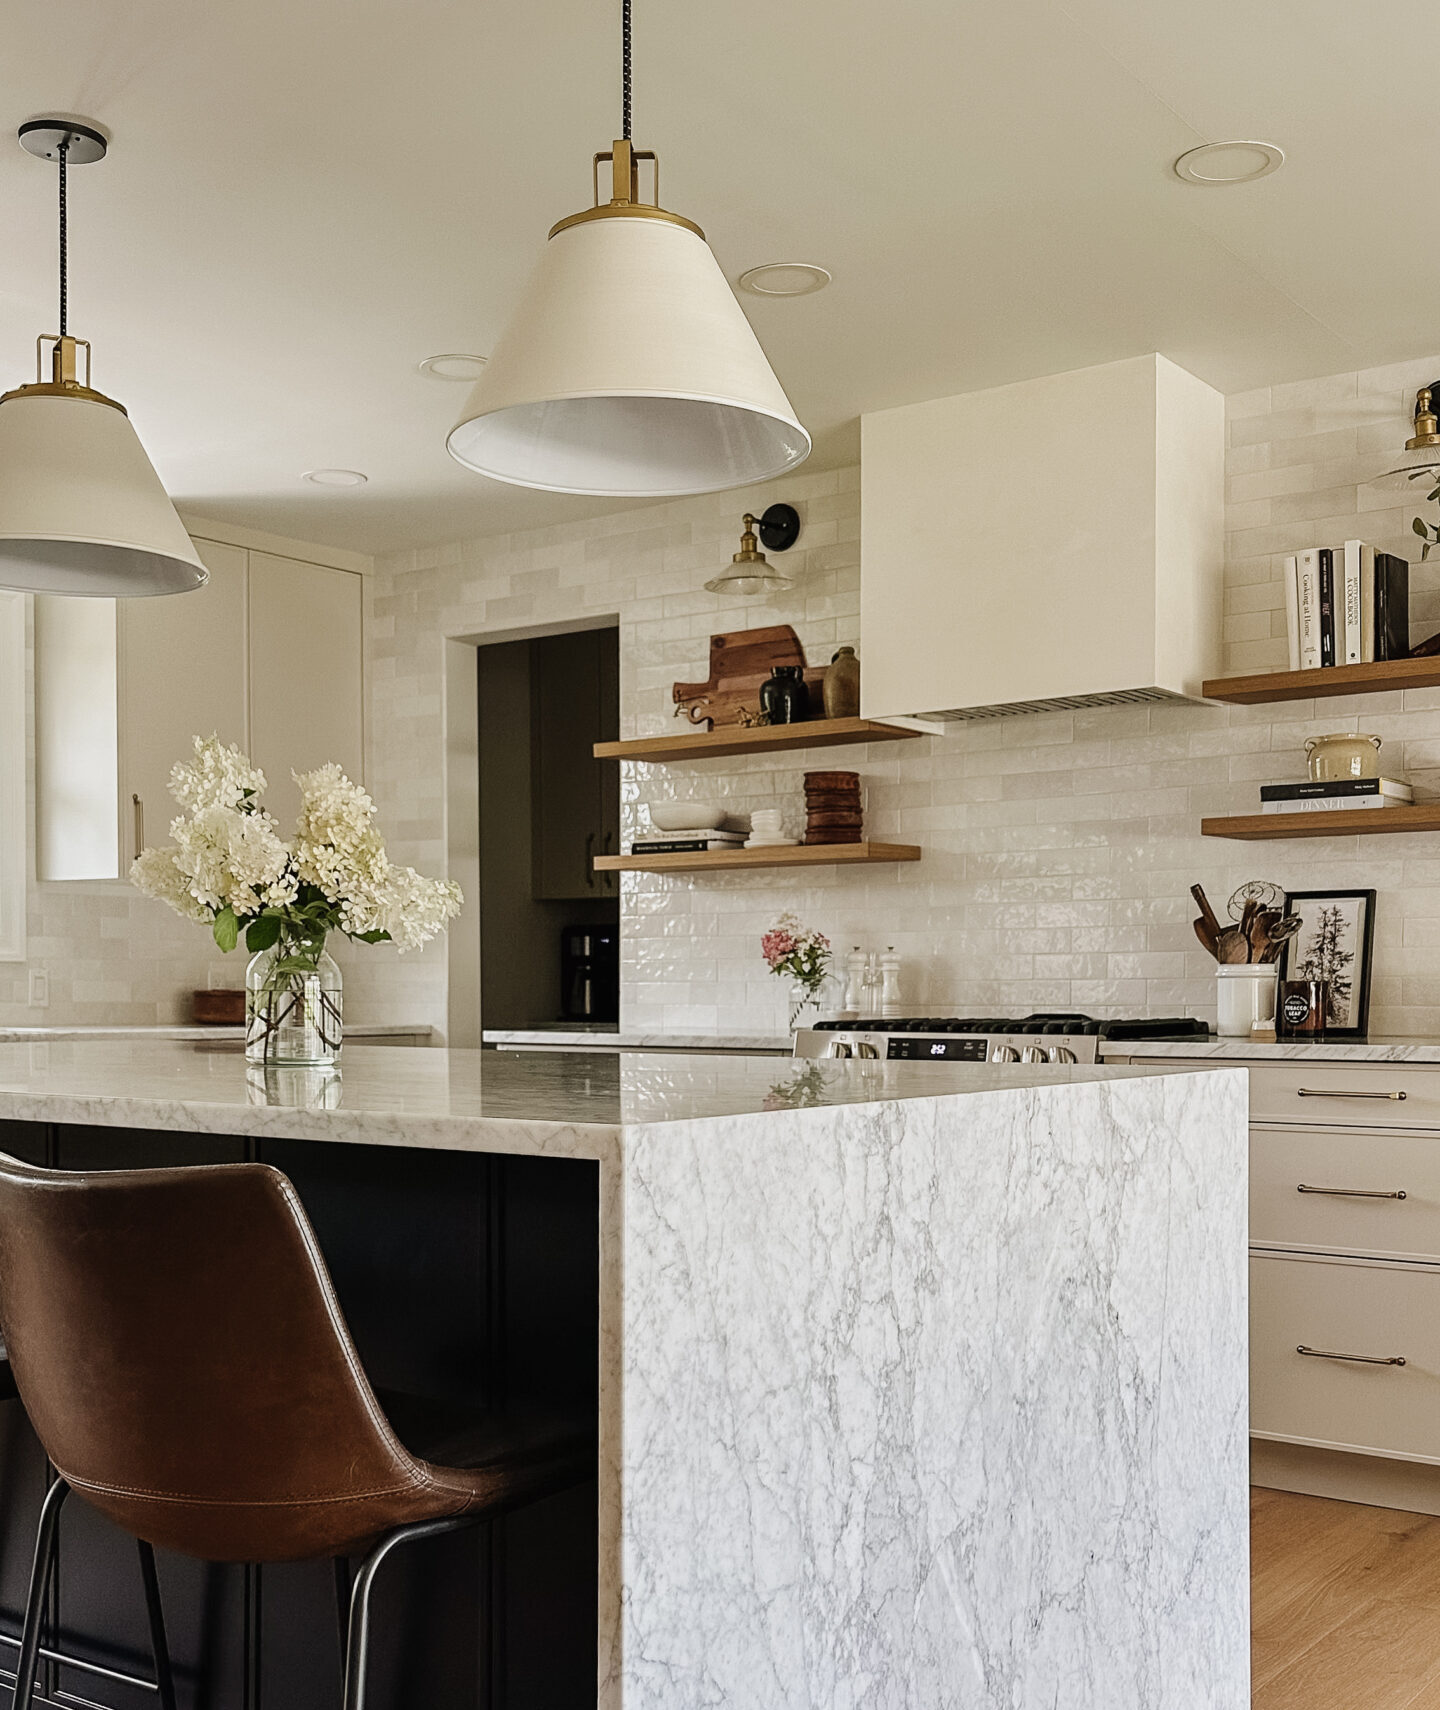
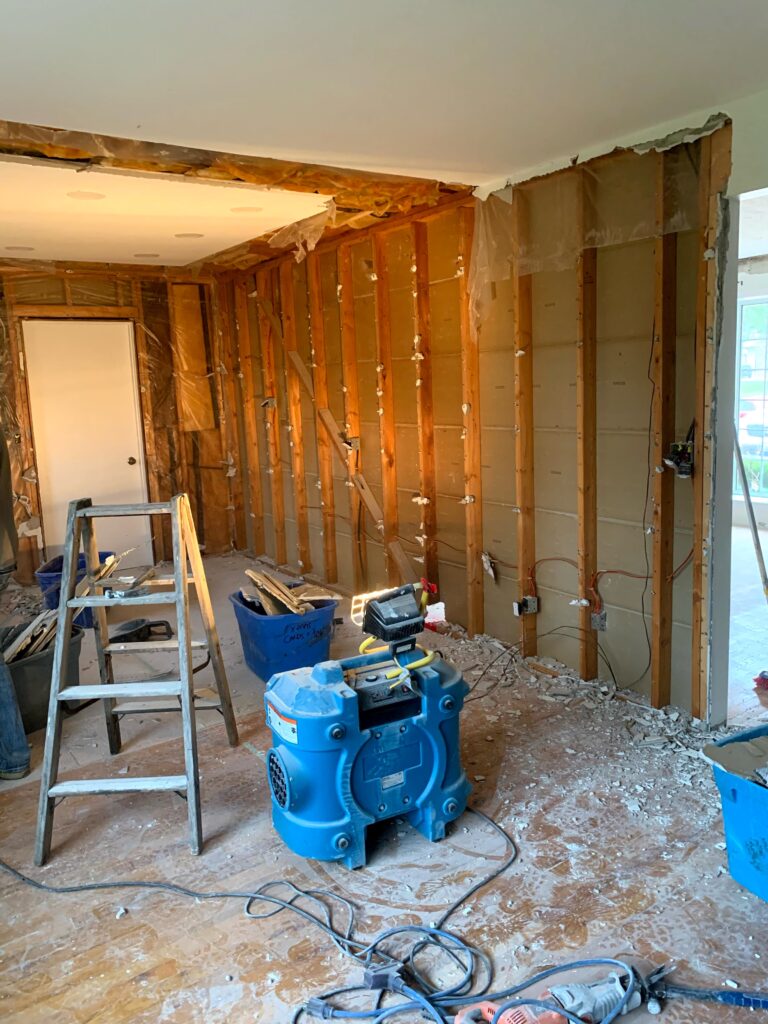
Here’s a run down of everything we did for this renovation:
- removed existing kitchen completely
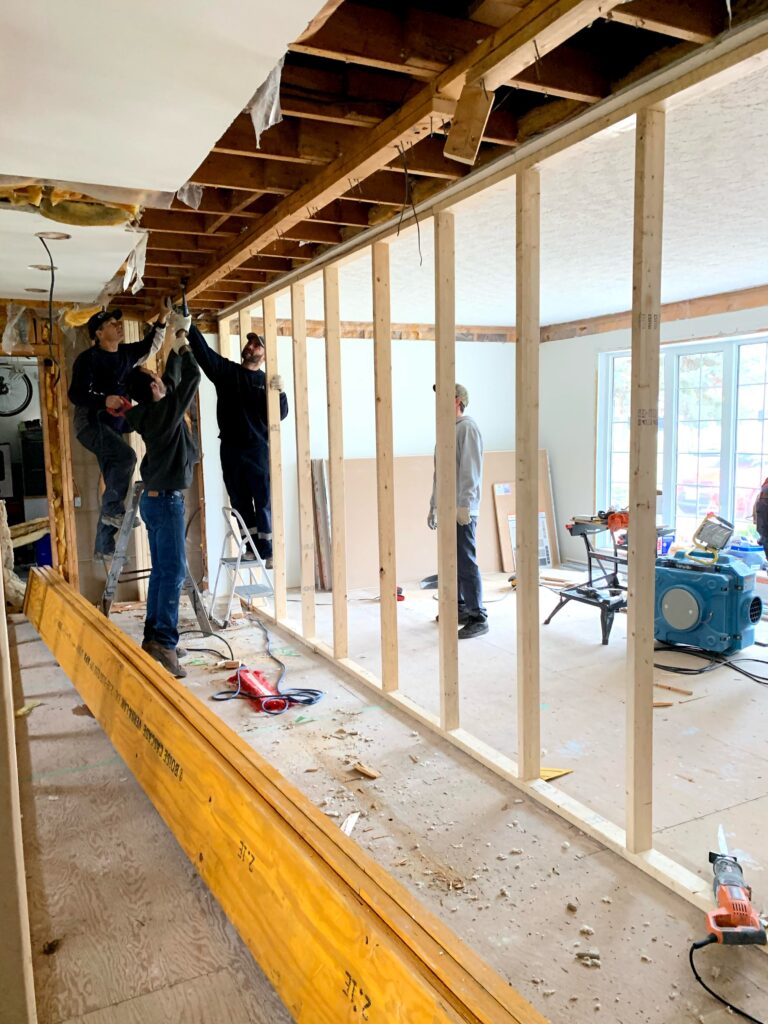
- removed load bearing wall and installed LVL beams – luckily we were able to convince some strong friends to help with a promise of beer and pizza
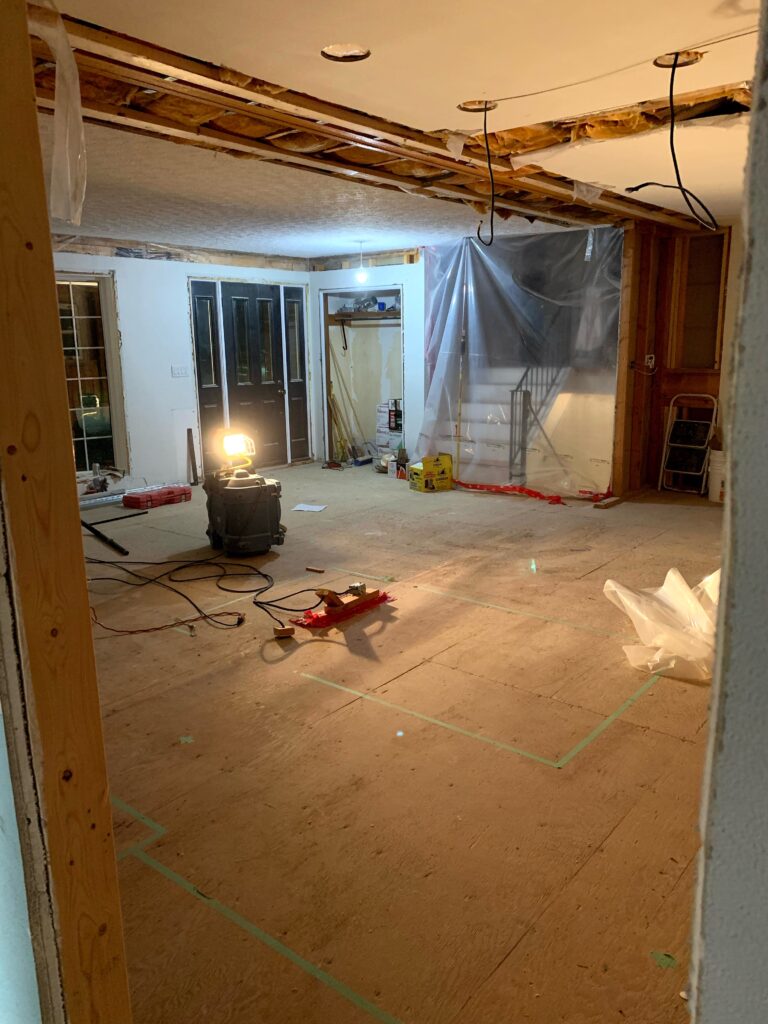
- removed all flooring
- removed plaster cove moulding in living room
- patched drywall and installed drywall over plaster ceiling* – this was an easier choice than pulling down the old textured, plaster ceiling
- installed new engineered hardwood (Fuzion Flooring Oak Ensemble)
- bumped out into the garage to build a small 4’x6′ pantry
- installed Ikea cabinet bases
- installed Kitch cabinet fronts
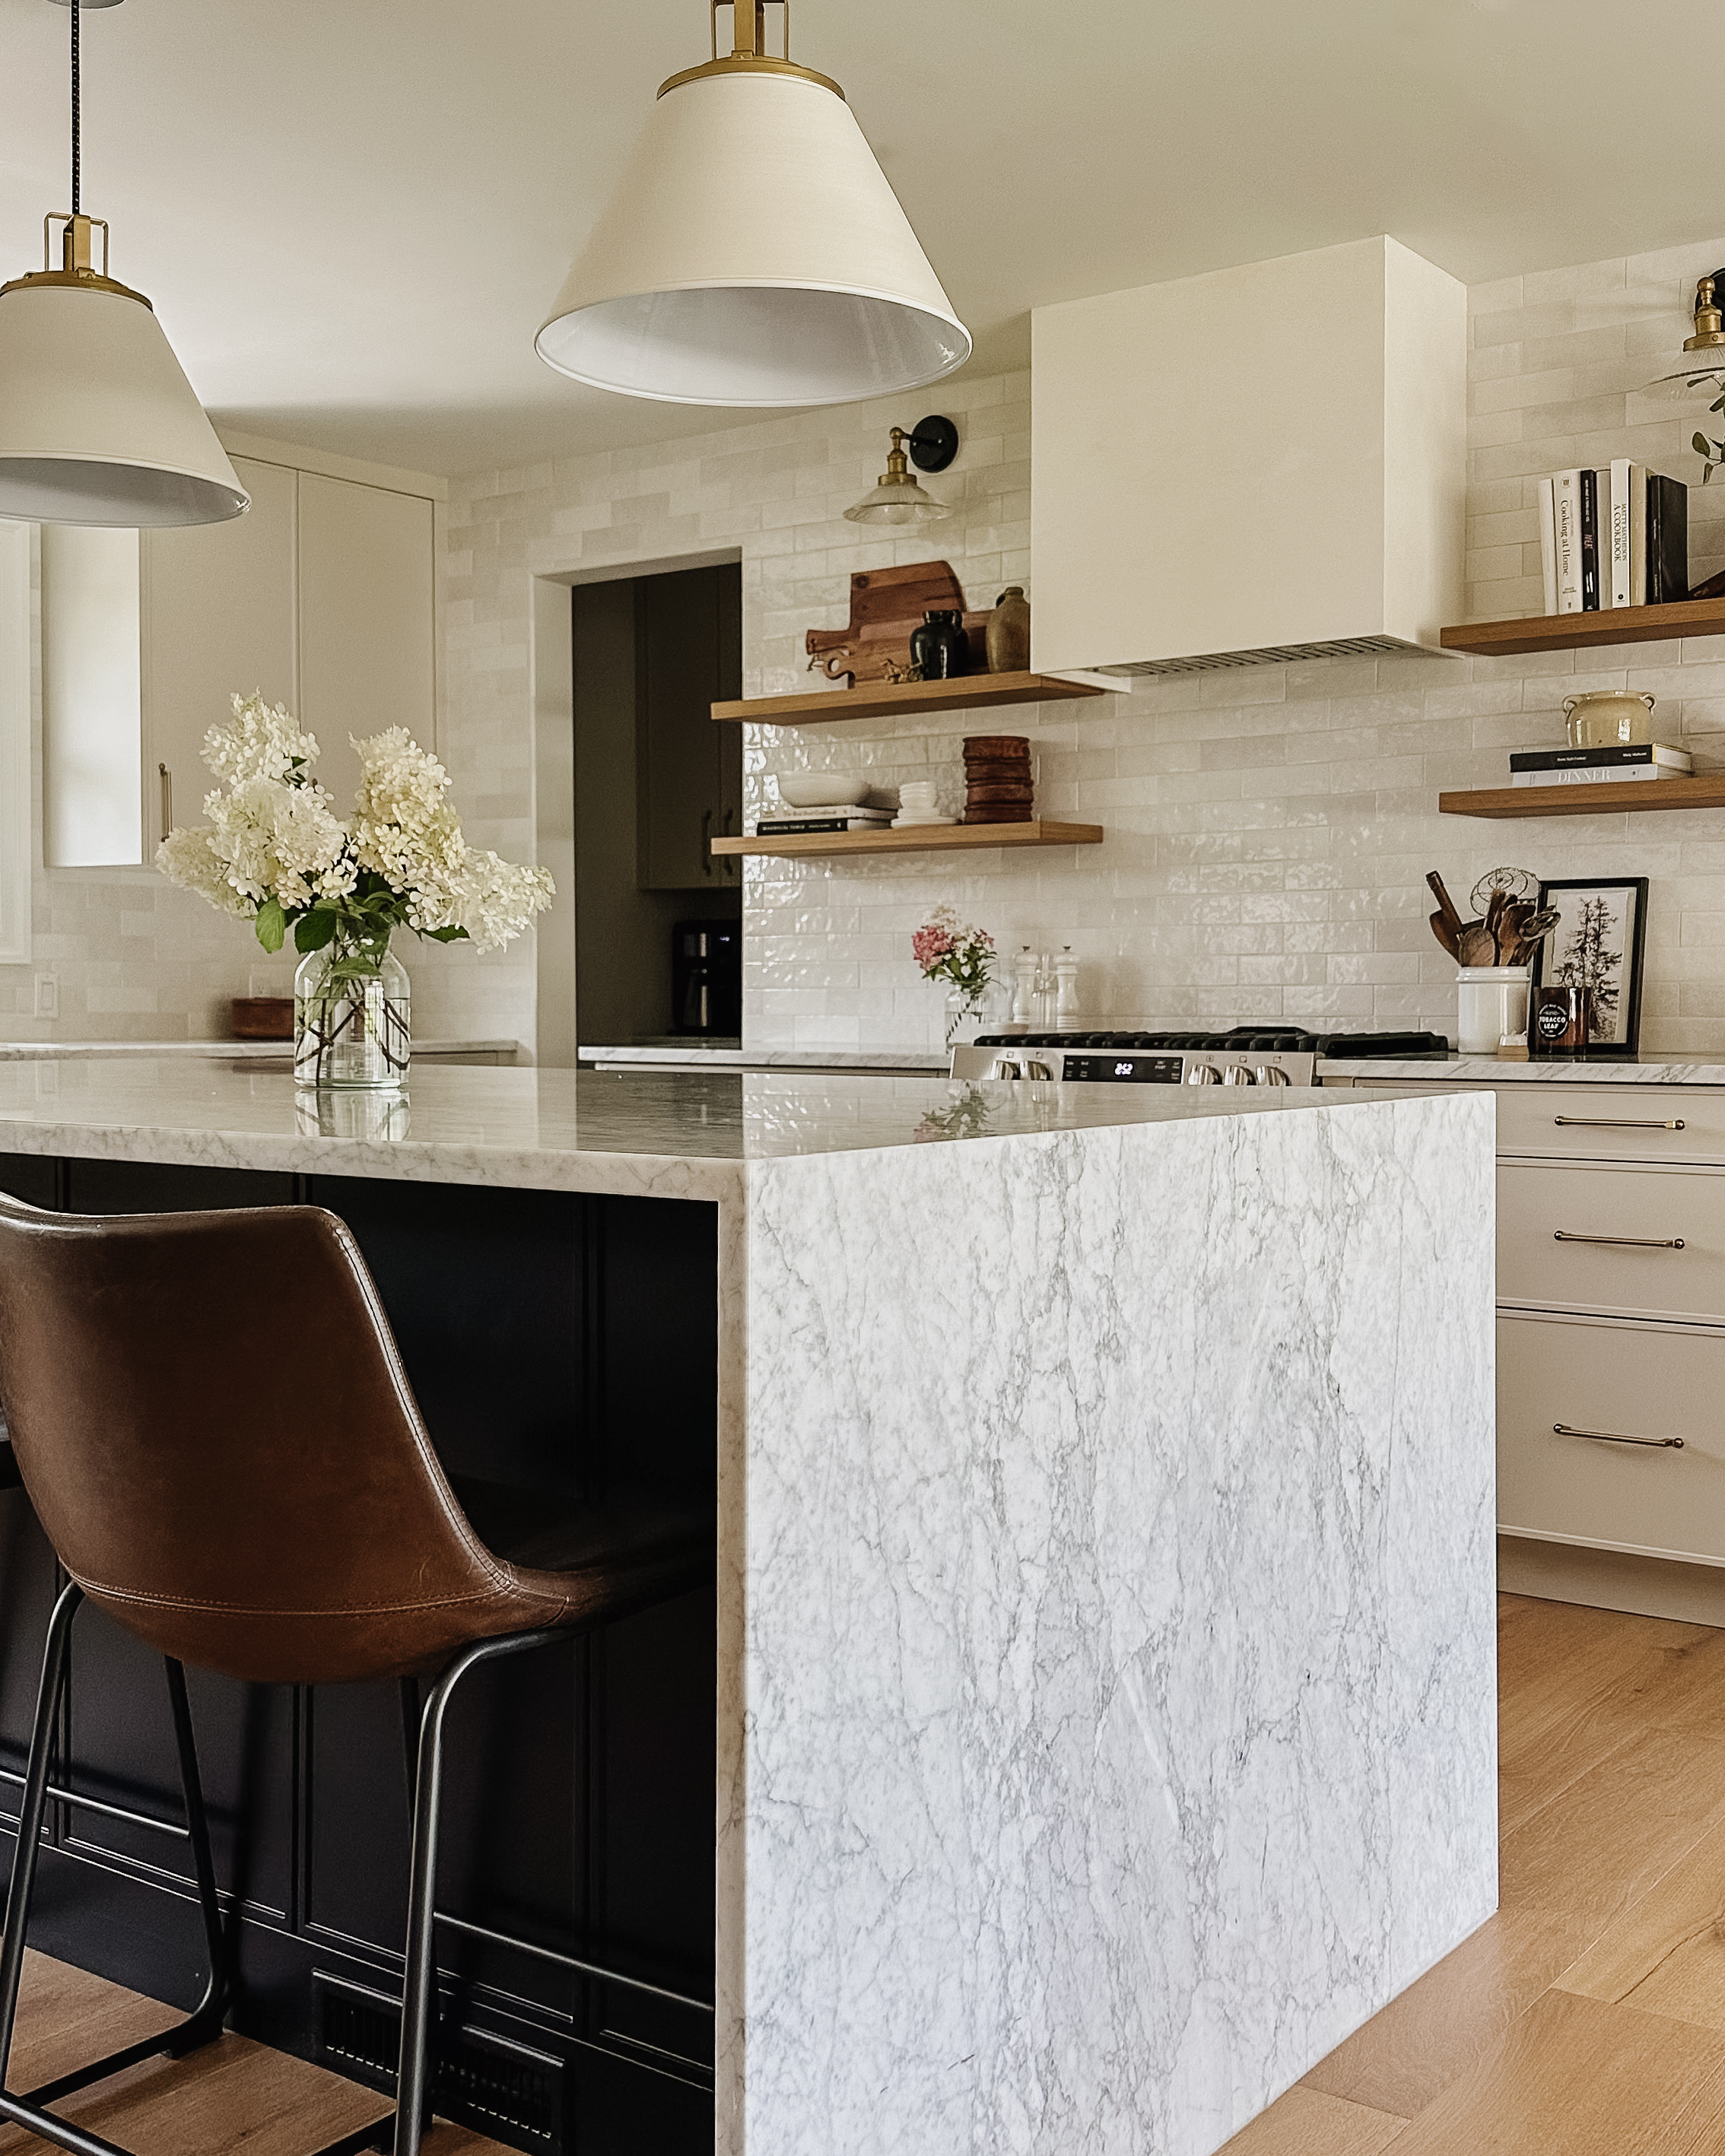
- installed Carrara marble counters
- installed backsplash tile
- built a plaster range hood
*The drywall work was the only thing we contracted out. If you have ever done drywall you know it is a MESSY job and the pros make it look easy – well worth the $3000 IMO.
DIY Kitchen Renovation Reveal
