How to Update a 1970’s Brick Fireplace on a Budget (Under $200!)
This Post May Contain Affiliate Links. Please Read Our Disclosure Policy for more details.
This post is sponsored by DAP Canada however all opinions and views are my own.
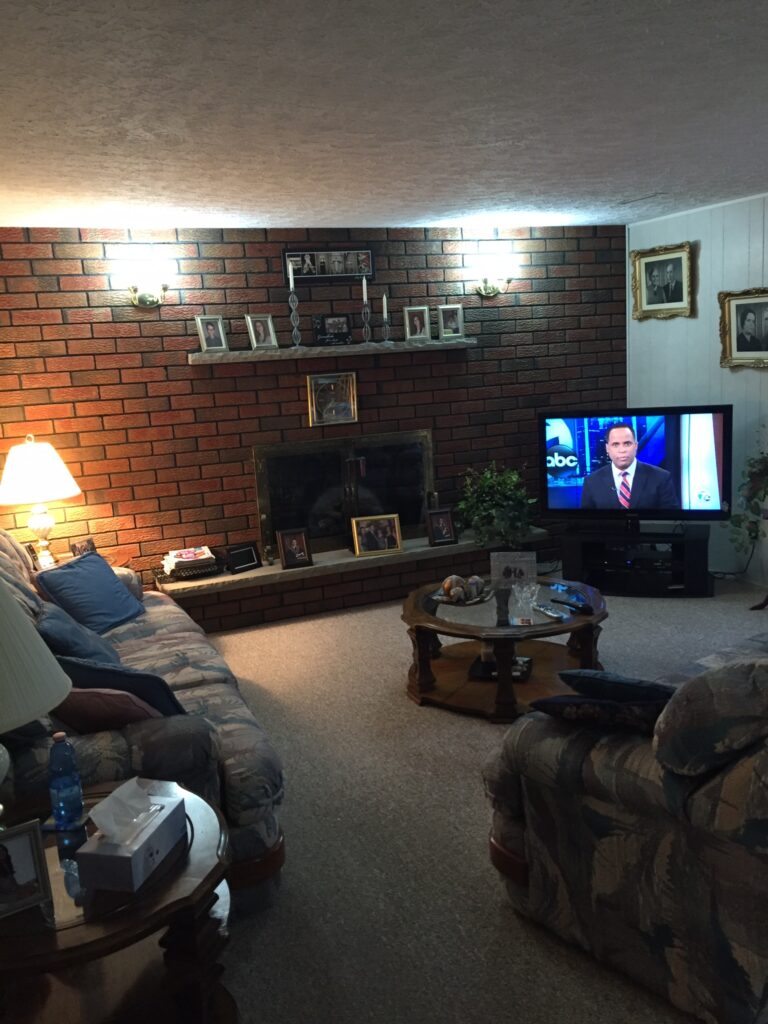
The Evolution of a 1970’s Fireplace
When we first moved into our home, our family room had a full wall of brick around the fireplace, a very popular design choice in the 1970s. At first, I painted it white, hoping it would blend better with our home’s style. But over time, I realized it still didn’t feel right. The painted brick looked harsh, and I knew I wanted something softer, cozier, and more modern. I went down a rabbit hole of ideas on how to update a 1970s brick fireplace…
The only problem? Budget. We plan to fully renovate this room in a few years (including a new gas fireplace!), so I didn’t want to spend thousands on a temporary fix. My goal was simple: an inexpensive, easy, and not-too-permanent update (ideally for under $200.)
And I did it! With a few sheets of hardboard, some trim, and my go-to DAP products, I completely transformed our dated 1970’s fireplace into something fresh, modern, and budget-friendly.
Here’s how I did it.
Step One: Covering the Brick
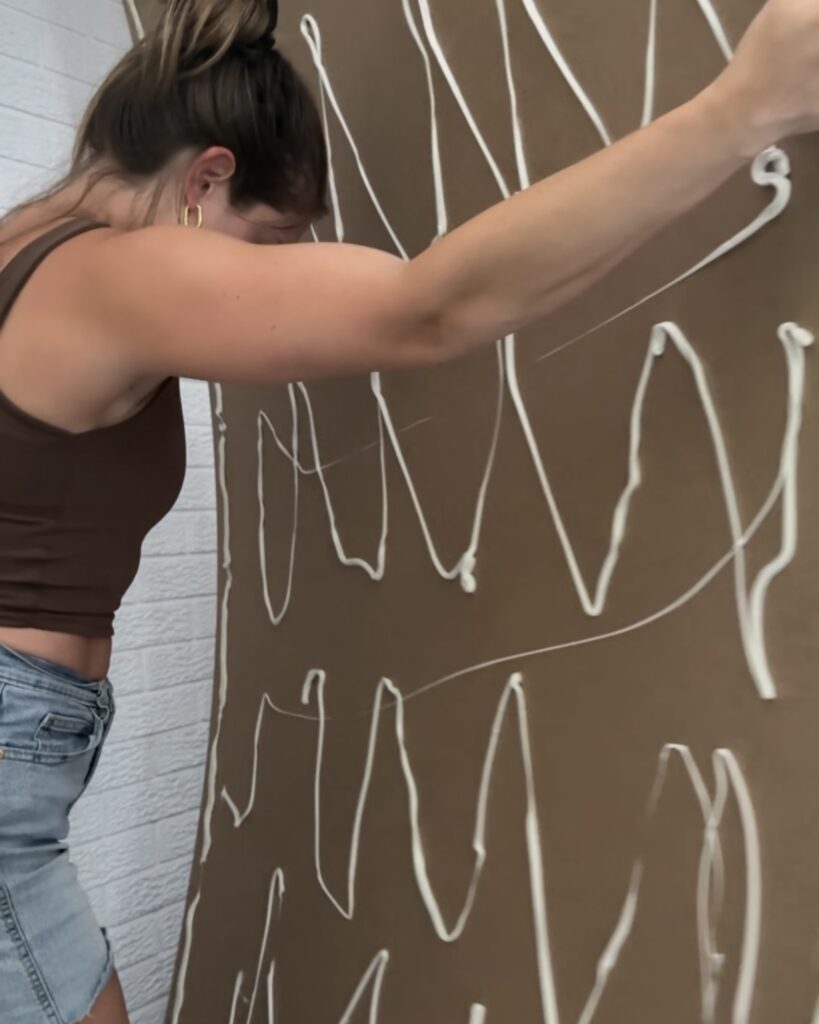
I started by picking up three sheets of 4’x8’ 1/8” hardboard. This gave me a smooth surface to cover the brick without having to demo or permanently alter the wall. I cut the hardboard with my table saw and used a jigsaw to cut out around the mantle.
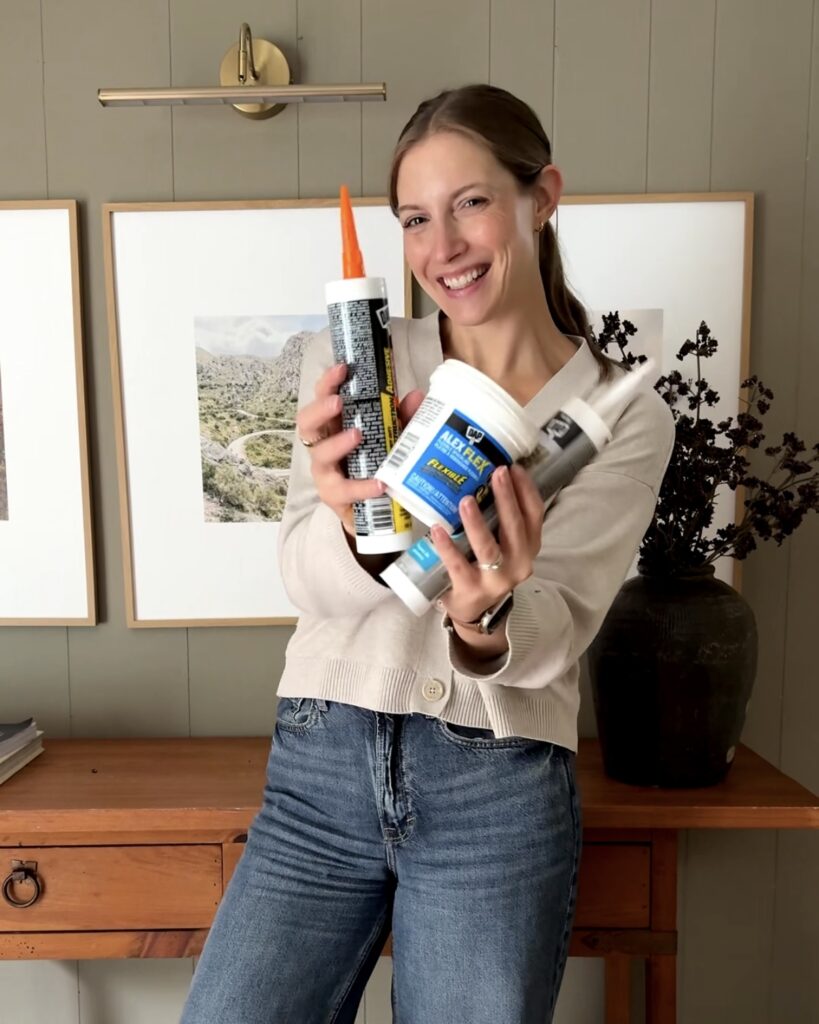
Since I couldn’t use nails or screws on the brick, I relied on DAP Heavy Duty Construction Adhesive Max Strength to secure the hardboard panels in place. This adhesive is incredibly strong, making it the perfect solution for a project like this.
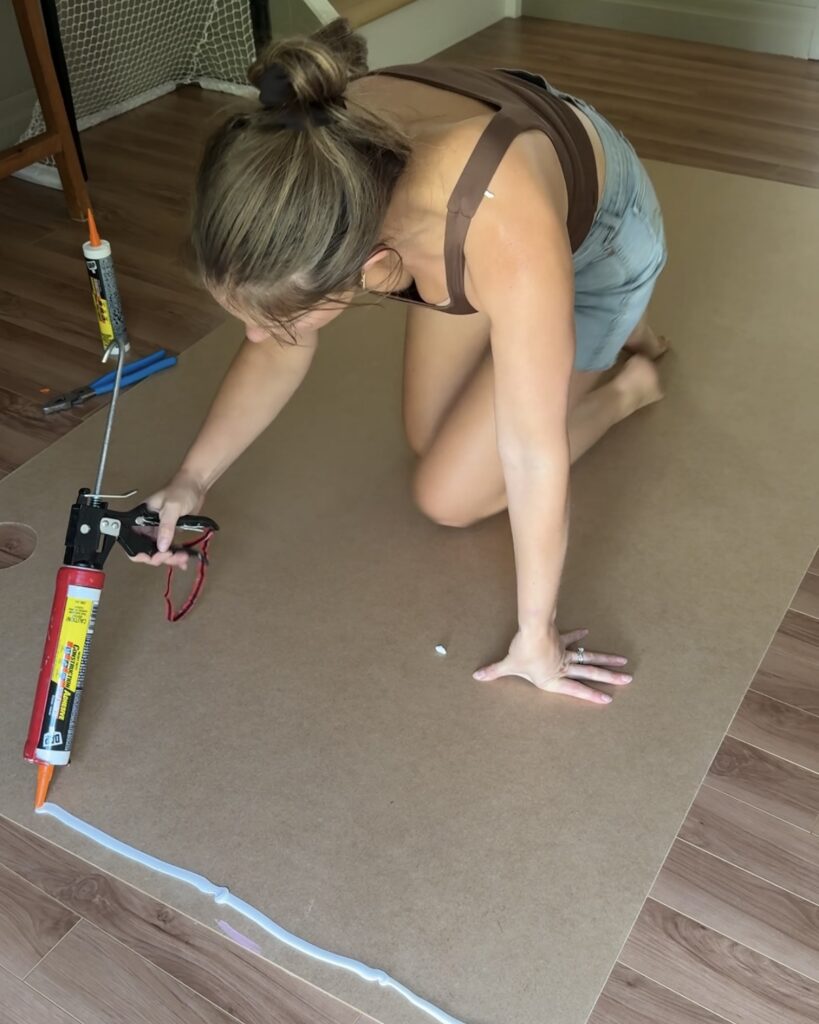
TIP: Use more adhesive than you think you’ll need, especially around the edges.
You can always wipe away excess, but it’s harder to add more once the board is up and you don’t want movement.
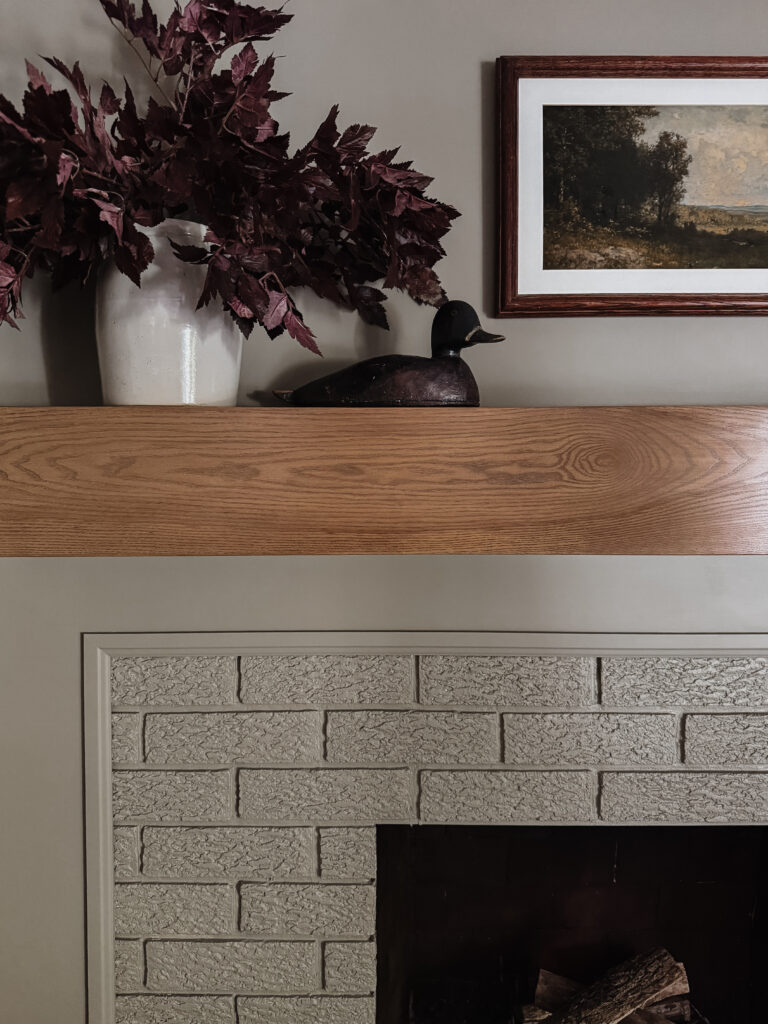
Step Two: Filling the Seams
Once the adhesive cured, it was time to make the surface seamless. I used DAP Alex Flex Filler, applying thin layers and sanding between each one. This gave me a smooth, professional-looking finish that made the hardboard look like one continuous wall.
To elevate the design, I added trim where the hardboard met the brick, as well as baseboards along the bottom. This small detail made a huge difference in giving the fireplace a built-in, custom feel. I once again used DAP Construction Adhesive to glue the trim in place.
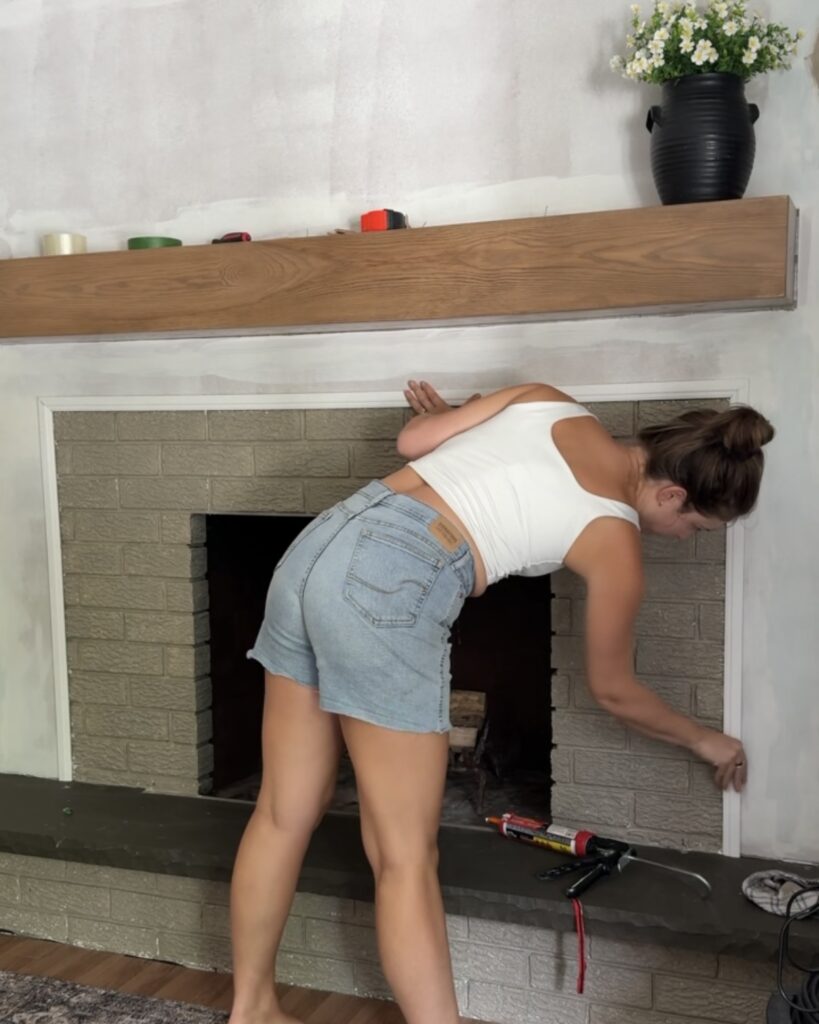
Part Three: Priming, Painting & Caulking
After the seams were smooth, I primed the entire fireplace. I always like to add one coat of paint before caulking. It makes it easier to spot small gaps or imperfections.
For caulking, I reached for my favourite: DAP Alex Ultra. I love this product because it’s paint-ready in just 15 minutes, which keeps projects moving quickly. Once the caulk was applied, I added a second coat of paint to finish everything off.
Step Four: Final Touches
One more change that completely updated the look? I removed the glass fireplace doors. Since our chimney isn’t vented properly, we don’t actually use this as a wood-burning fireplace anymore, so removing the doors gave it a cleaner, more modern feel.
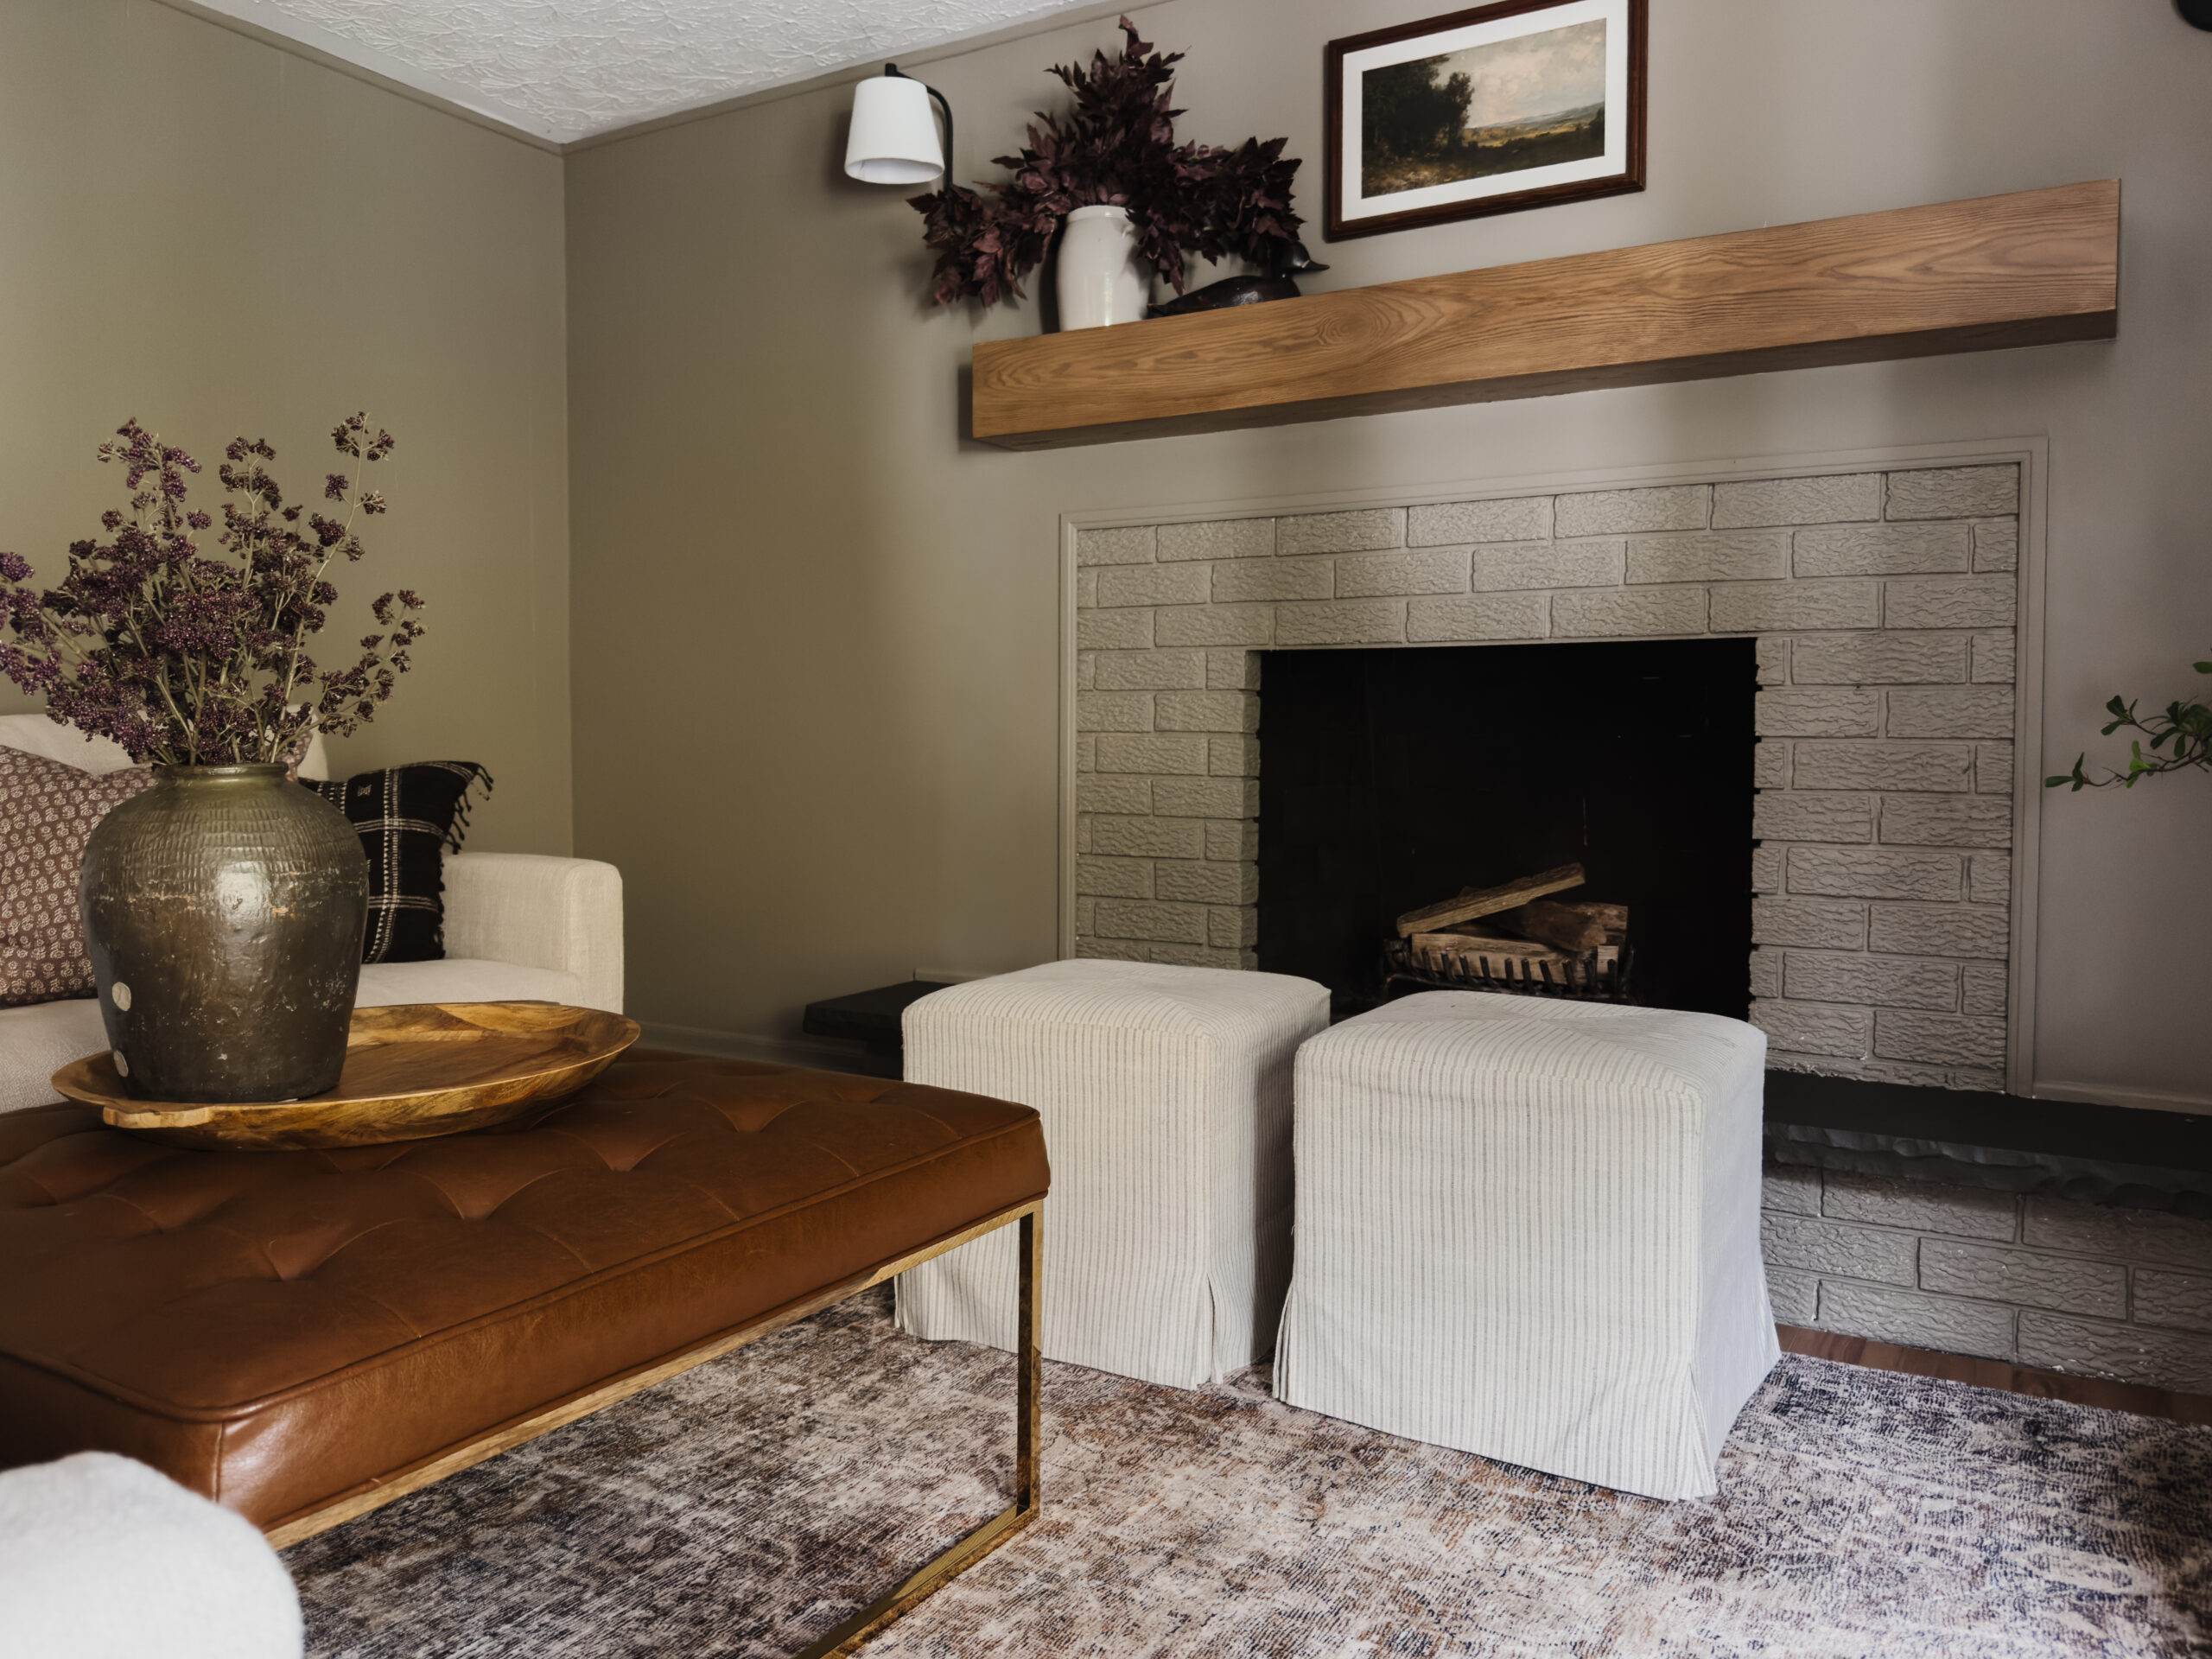
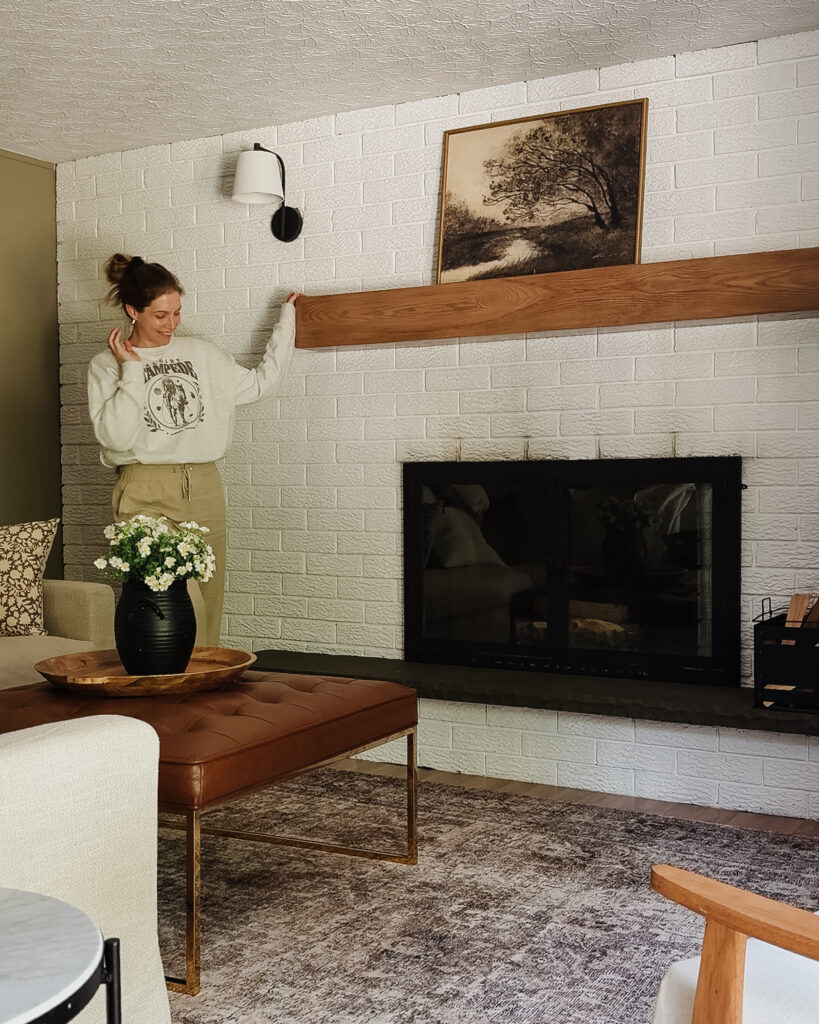
The Finished Look
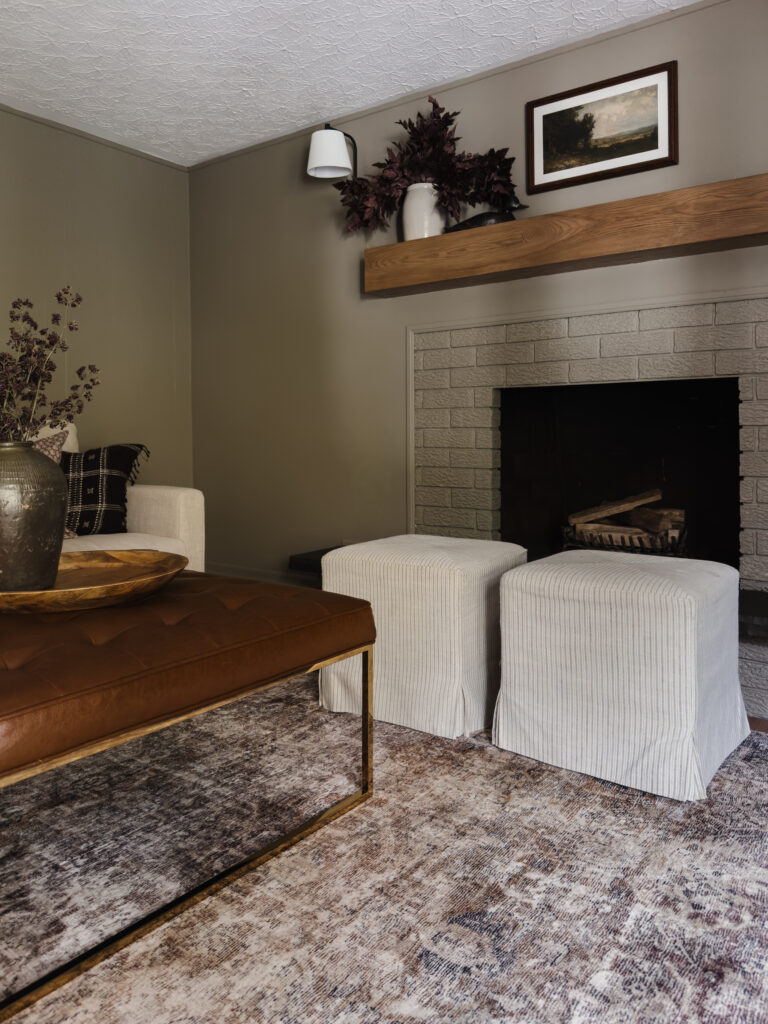
For less than $200, I was able to completely transform our dated 1970’s brick fireplace into something that feels modern, clean, and so much more “us.” It’s the perfect temporary solution until we’re ready for a full renovation, and honestly, I love it so much that I may be sad to see it go!
This project is proof that you don’t need a huge budget to make a big impact! You just need the right products and a little imagination. Thanks to DAP Canada, this 70’s fireplace makeover was simple, affordable, and DIY-friendly.
Would you try this? Drop any questions below!