Adding Character to Our Dining Room
This Post May Contain Affiliate Links. Please Read Our Disclosure Policy for more details.
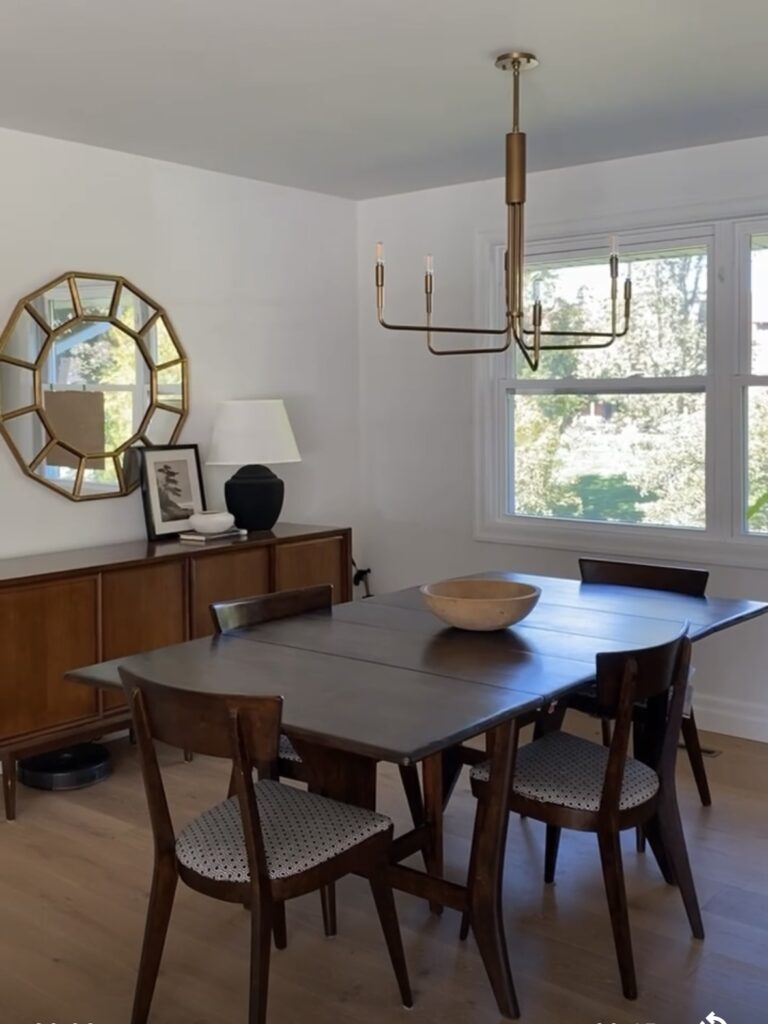
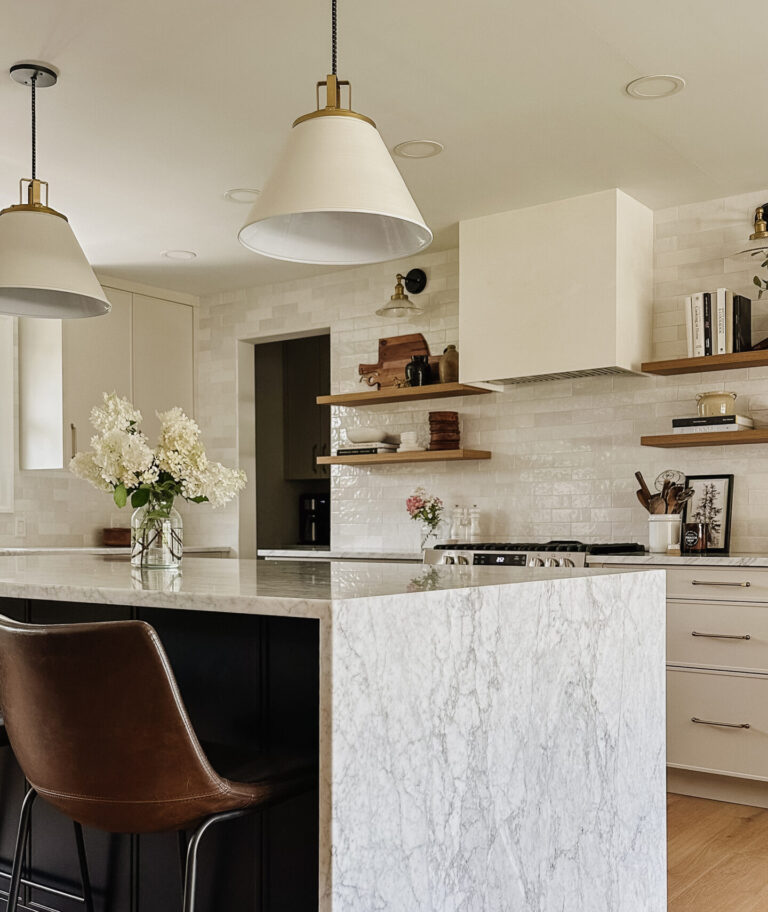
Taking down the wall between our kitchen and living room in 2020 gave us an open concept space with an eat-in dining room. At the time of the renovation we painted everything white and kept our old dining table (it was my grandmothers dining table from her wedding set that I refinished in 2014). We were tired and our bank account was drained. Over the next year we spent a lot of time at home (IYKYK) and I spent a lot of time thinking about adding character to our dining room. When the 2021 Fall One Room Challenge came around, I jumped on it as an excuse to finally give our dining room a personality.
Before I dive into how I added character to our dining room – let’s talk about the 5 key areas to focus on when looking to add character to any space.
How to Add Character to Any Space
- Wall Treatments – Adding wall treatments in the form of mouldings (picture mouldings, shiplap, wainscotting etc.) or wallpaper, is a great way to add a statement and instant character.
- Window Treatments – Large windows can often feel blank without window treatments. Consider adding drapes or roman shades to enhance the window and also add texture to the space.
- Lighting – You can make a great statement with lighting. In the dining room, a chandelier over the table is often the focal point.
- Furniture – Carefully selecting furniture is a great way to add character to a space. A space can have such a different feel depending on the style of furniture chosen.
- Art – Art a personal preference and is a great way to make your home feel like YOU. Don’t be afraid of putting holes in your wall!
Adding Character to Our Dining Room
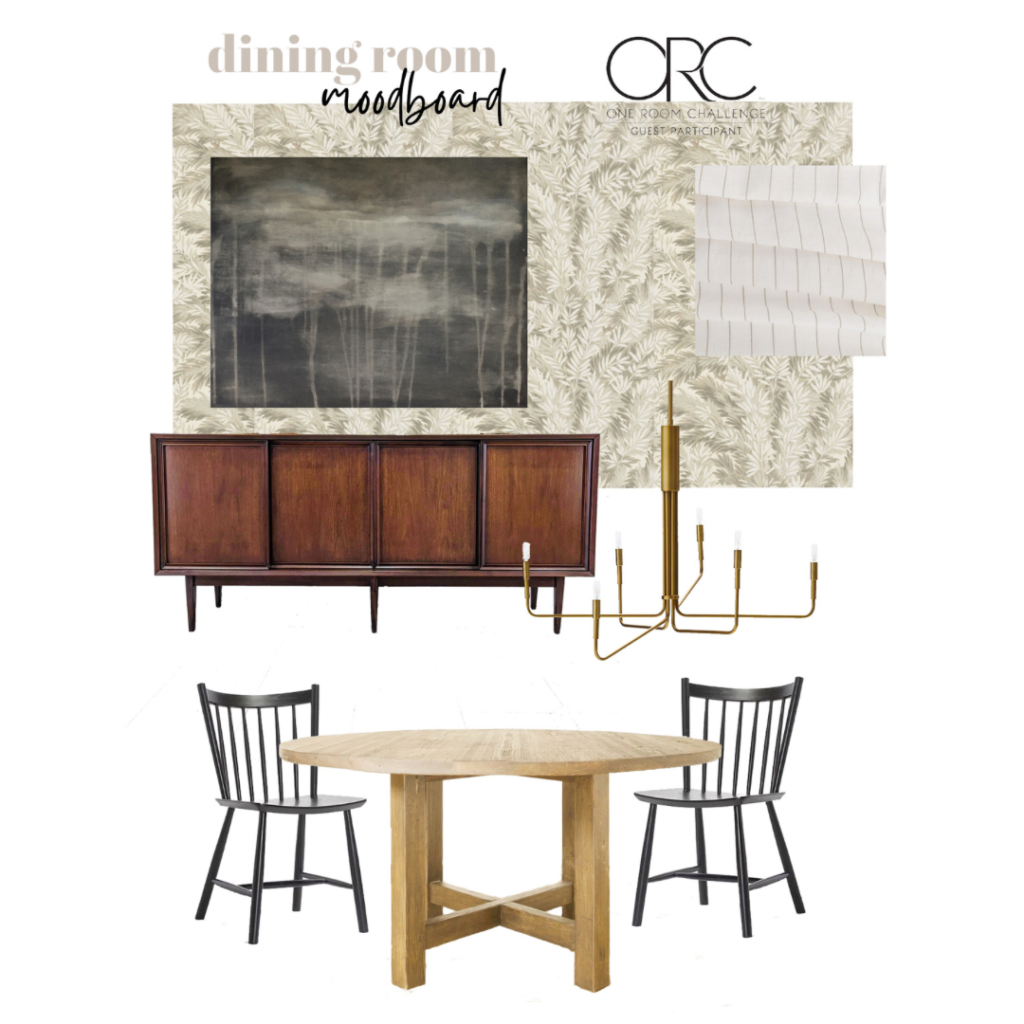
I put together a moodboard for our dining room after carefully considering the 5 key items listed above.
Wallpaper
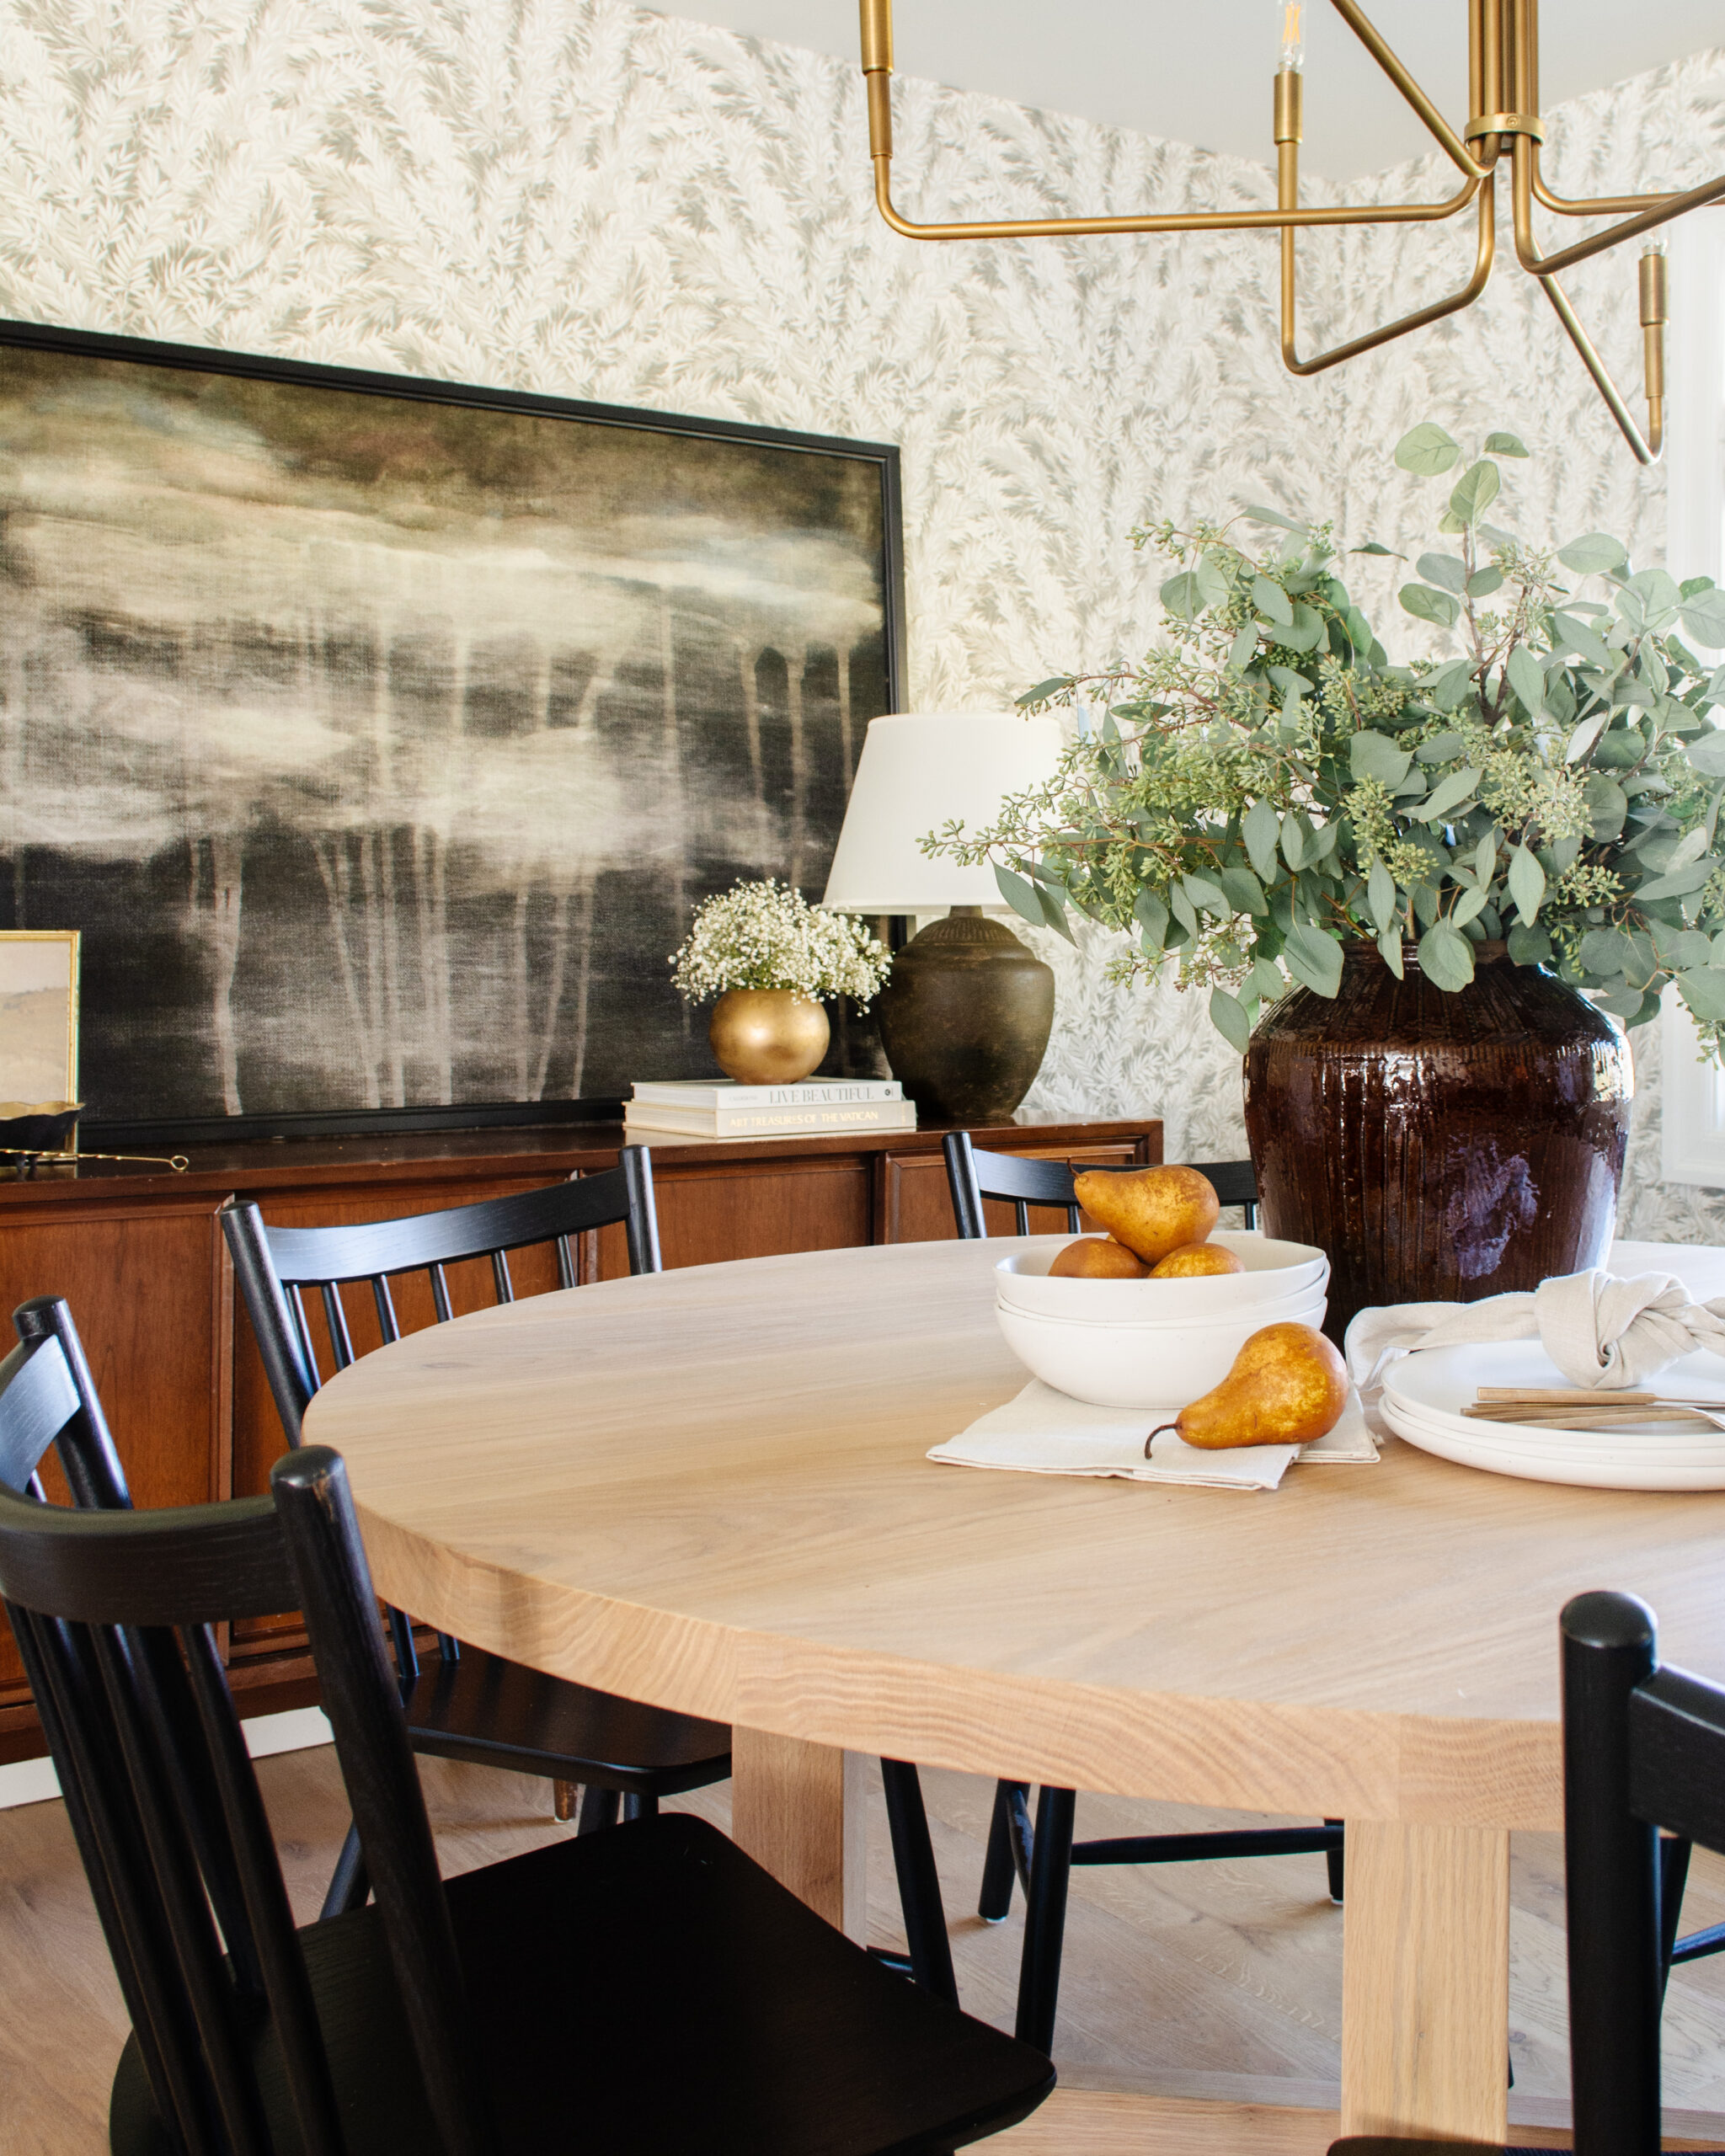
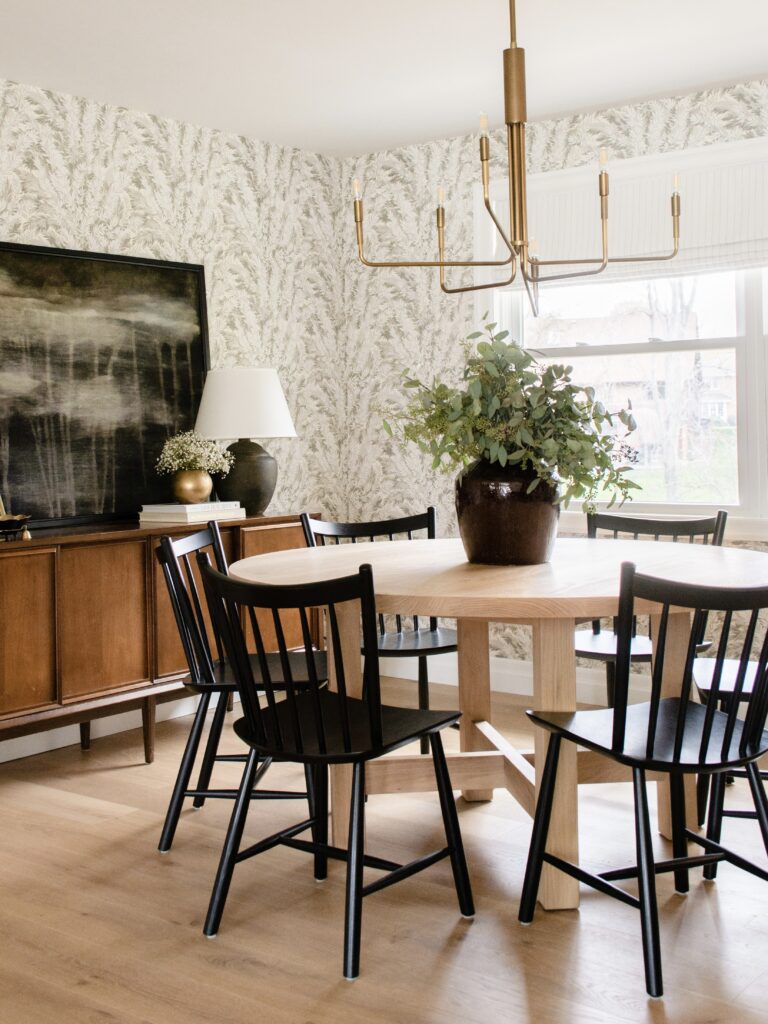
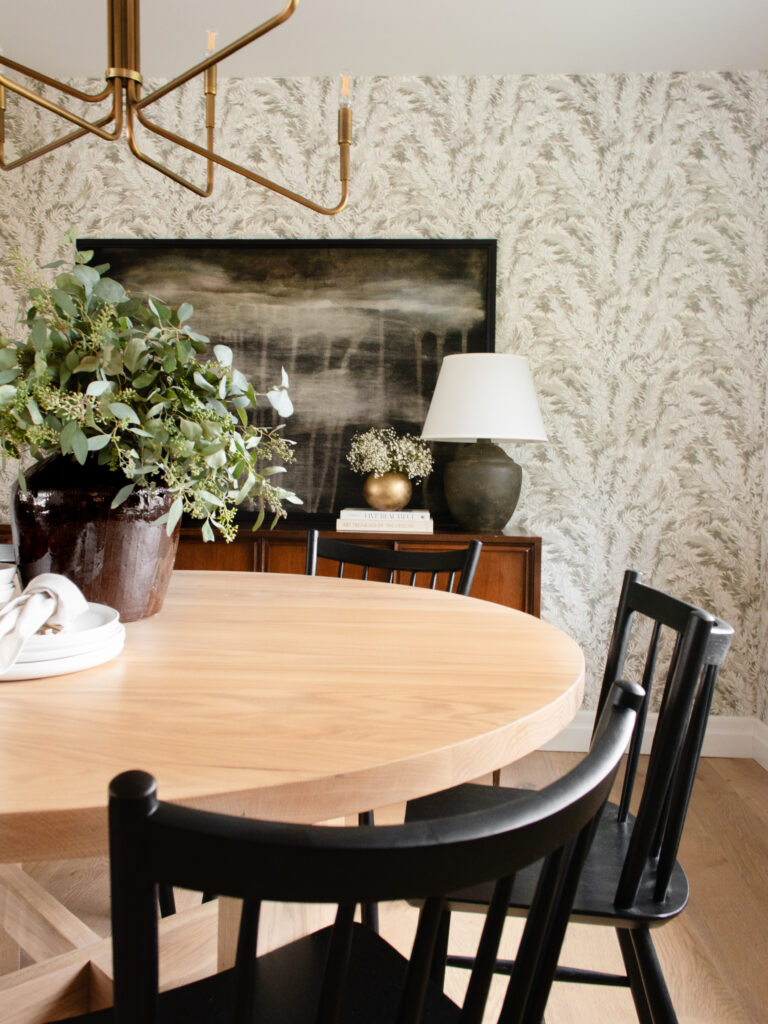
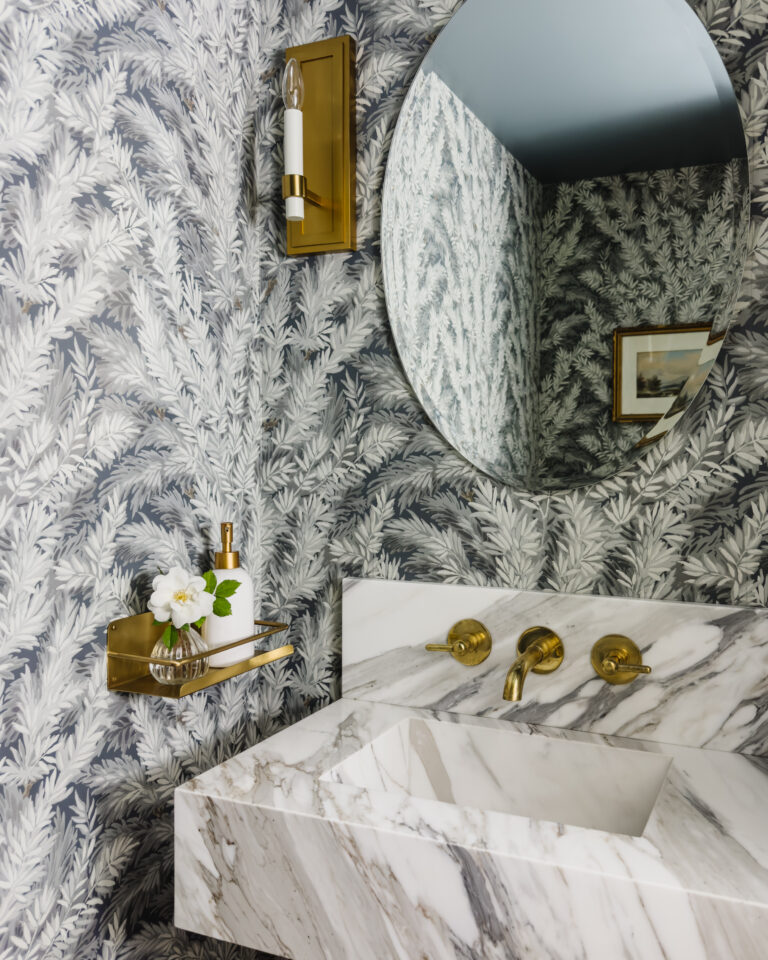
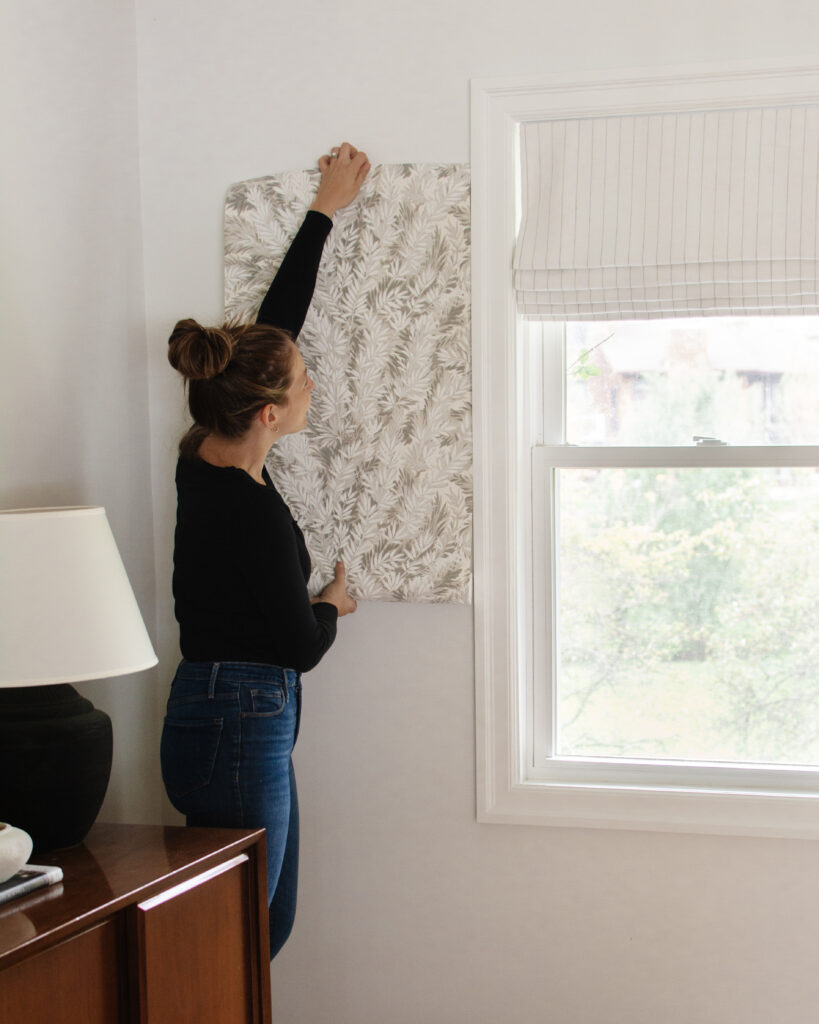
I knew I wanted to add a statement wallpaper to make this open space feel cozier and more intimate. When Studio Mcgee shared Margot’s nursery reveal with this Cole & Son’s Florencecourt wallpaper, I knew it was the one! I loved the organic pattern and the Stone colourway had the exact tones of our kitchen cabinetry. It was meant to be!
Window Treatments
The window in the dining room is the first thing you see when you walk into our house. It’s very large and overlooks our backyard. Because of the spacing of the window, drapes were not an option but I knew roman shades would be perfect! And since we didn’t need the extra privacy, the shades didn’t need to be functional. After watching some tutorials online, I felt confident that I could sew my own faux roman shade.
I ordered this fabric from Tonic Living. It’s no secret I’m a fan of pattern play and the subtle stripe plays nicely with the organic wallpaper. I won’t lie, this ended up being trickier than I thought it would be. If I were to do it again I would use a thicker fabric that didn’t require a lining.
Lighting
Because our dining room is open to our kitchen, I had to be cognizant that the chandelier I chose coordinated with the kitchen lighting. Our island pendants are large and conical so to balance that I searched for something with an open, candelabra style. After falling for a light fixture that was WELL out of our budget (I’m talking over $2000!!), I thought I would never find another I loved. But I stumbled upon the Clive fixture from Crate & Barrel and it checked all my boxes; brass, modern candelabra, with the perfect dimensions!
Furniture
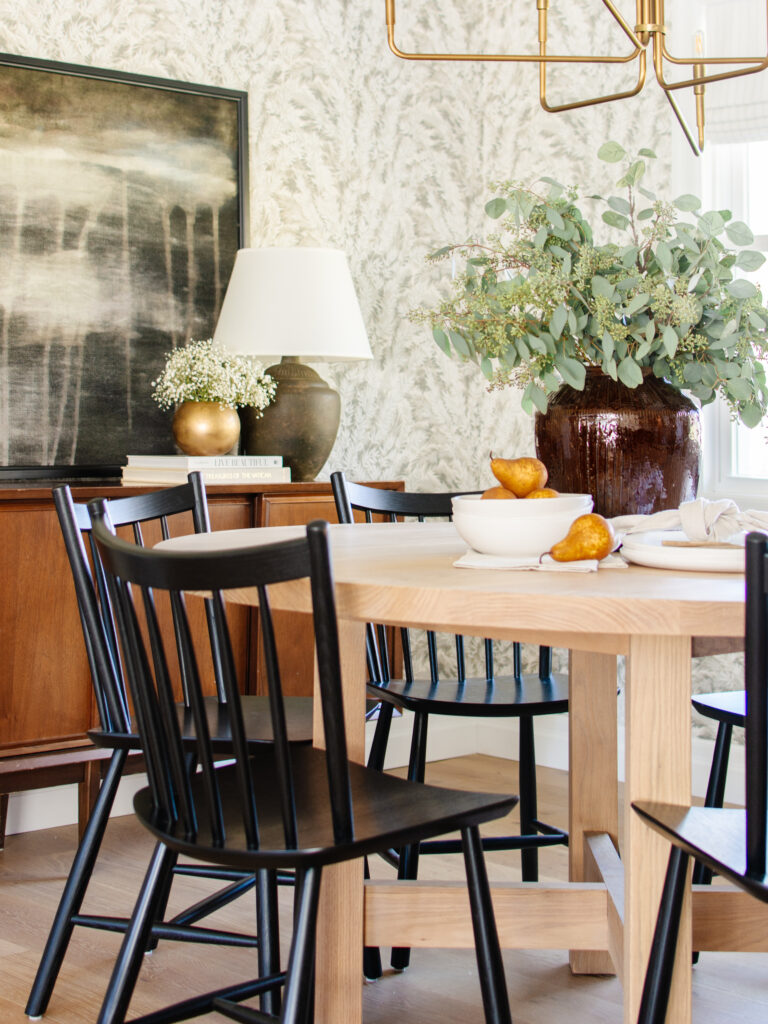
Going into this project I knew I wanted to keep our existing mid-century sideboard. I loved the clean lines, extra storage and warmth it added to the space. That left us needing to source a table and chairs. The room is square which lends itself to a round table. I immediately fell for this table from Shoppe Amber Interiors. But priced at over $8000 it was obviously not going to happen (I have since found a similar table at a much more affordable price here). After searching for similar tables and coming up empty handed, I got the delusional idea that I could build the same table for a fraction of the price. I texted a photo to my dad and he confirmed it would be possible and he was willing to help!
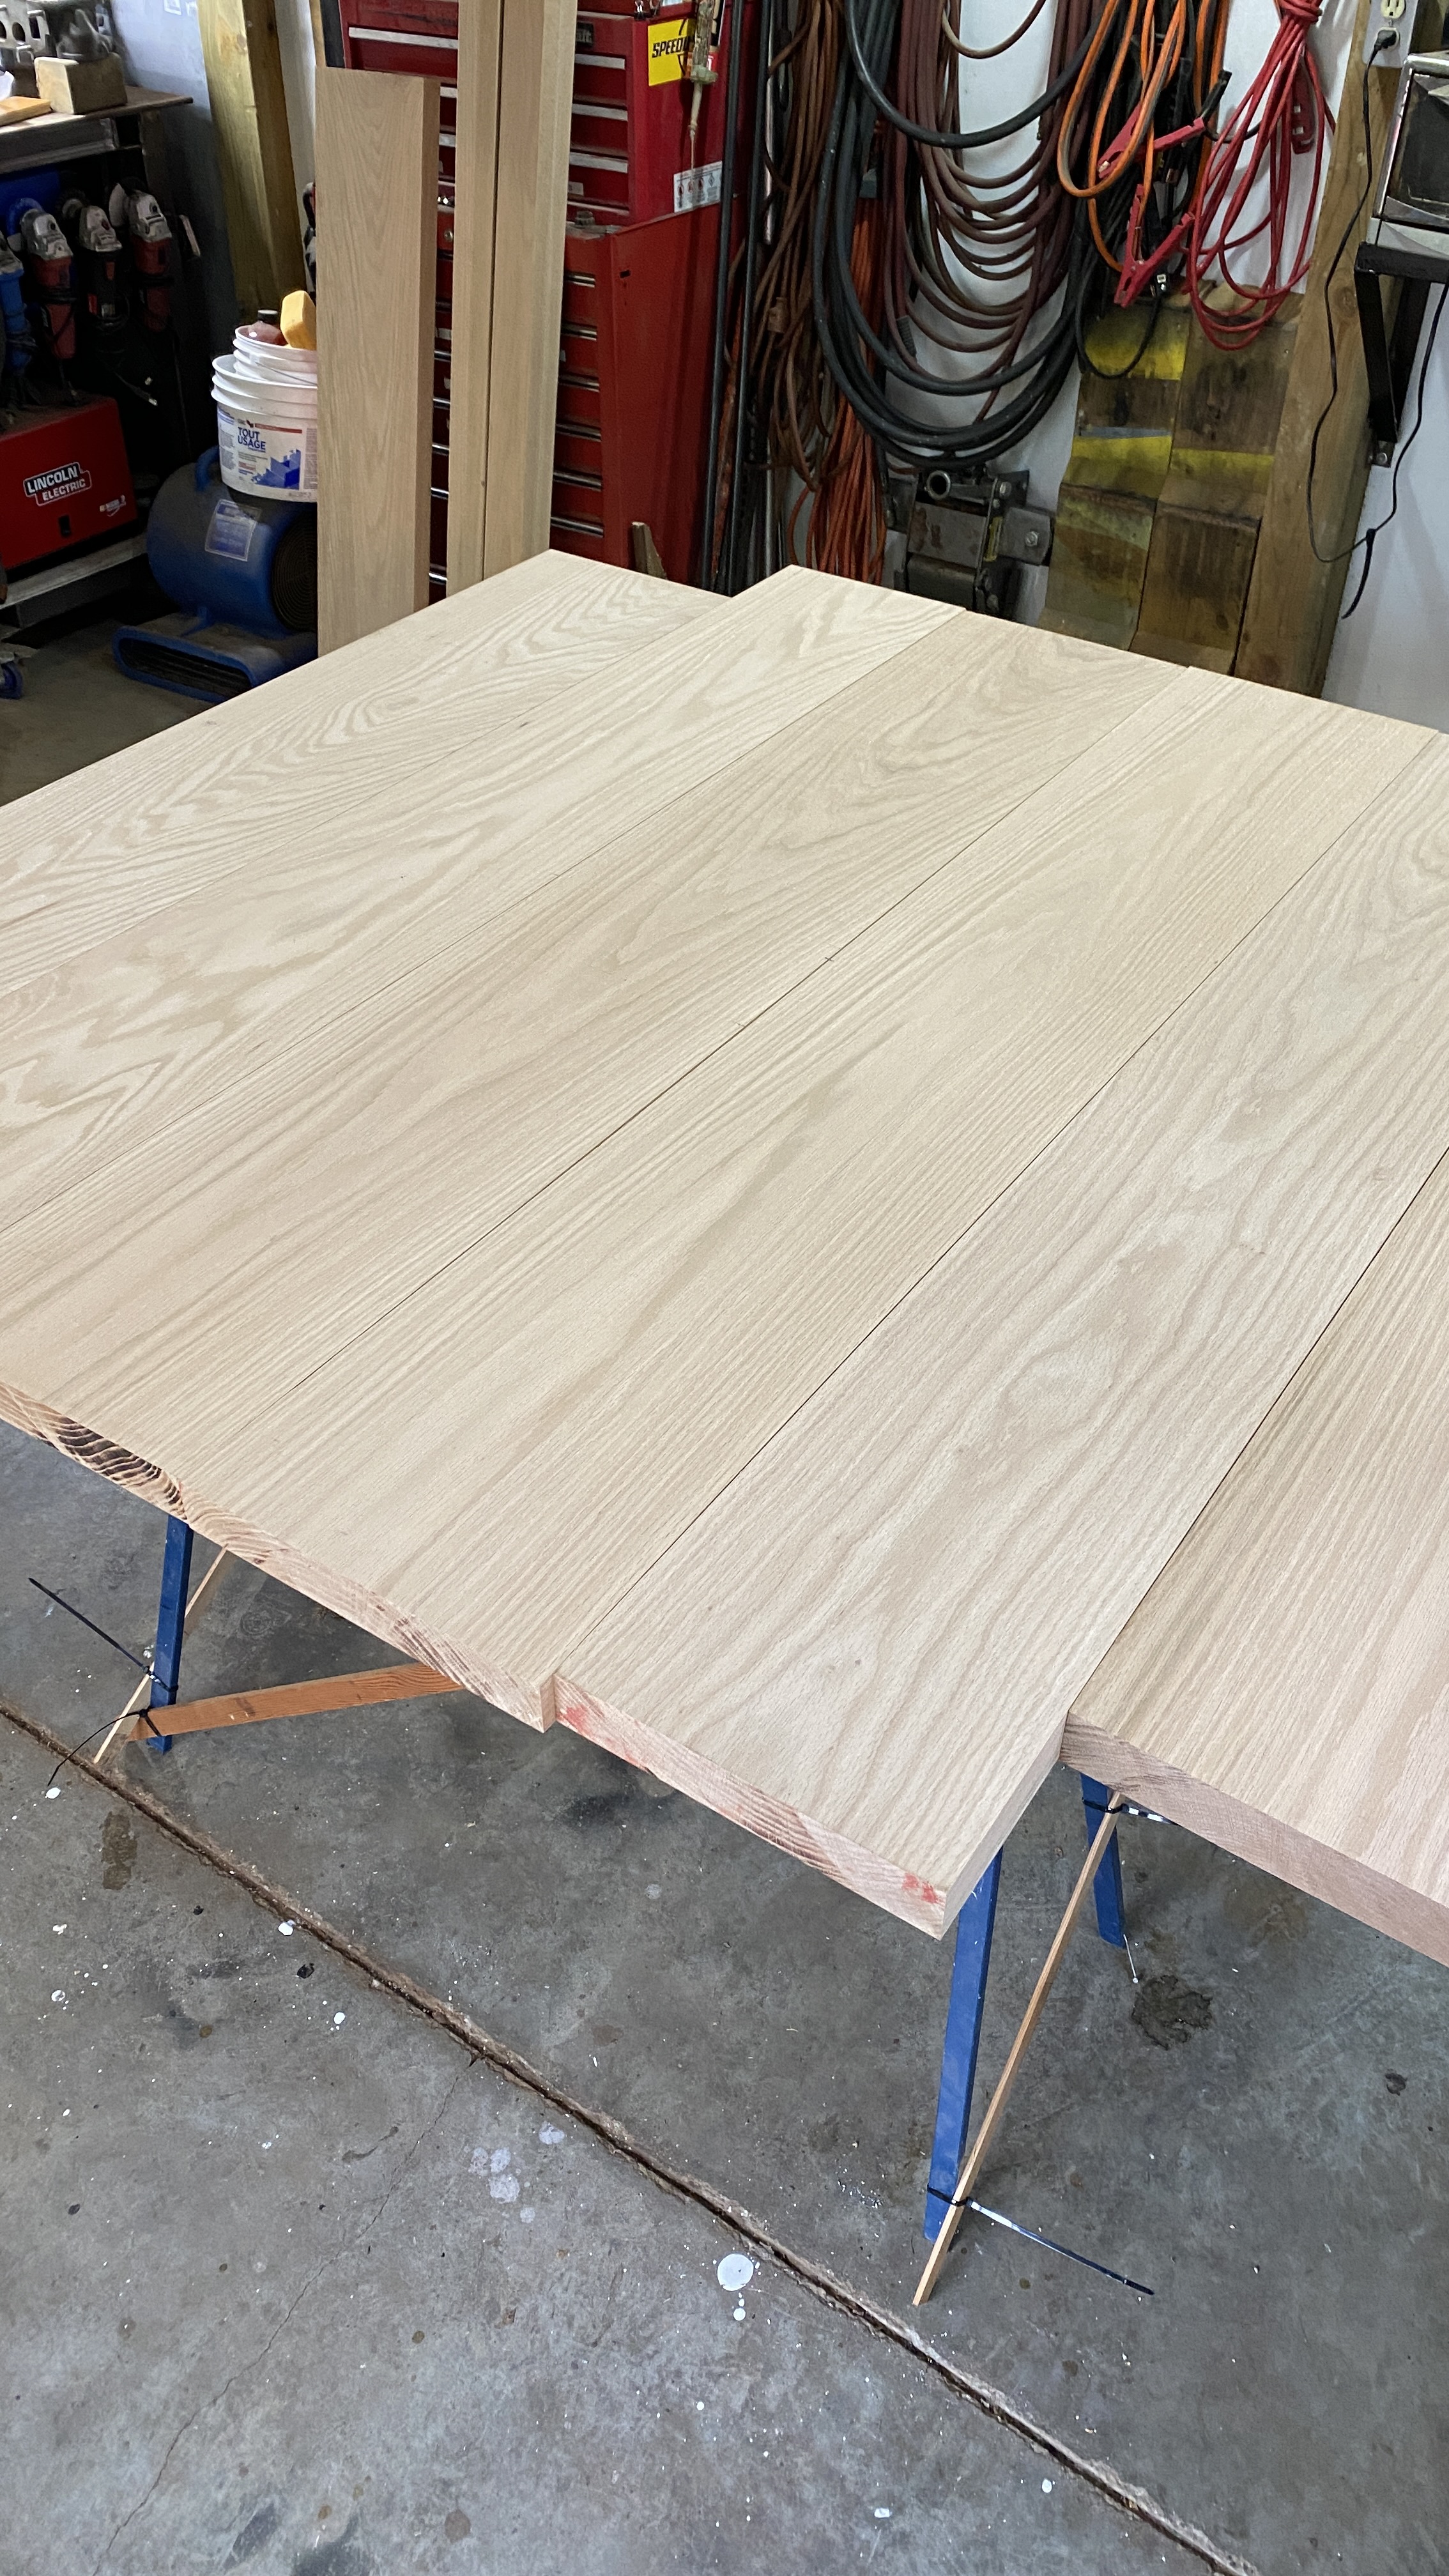
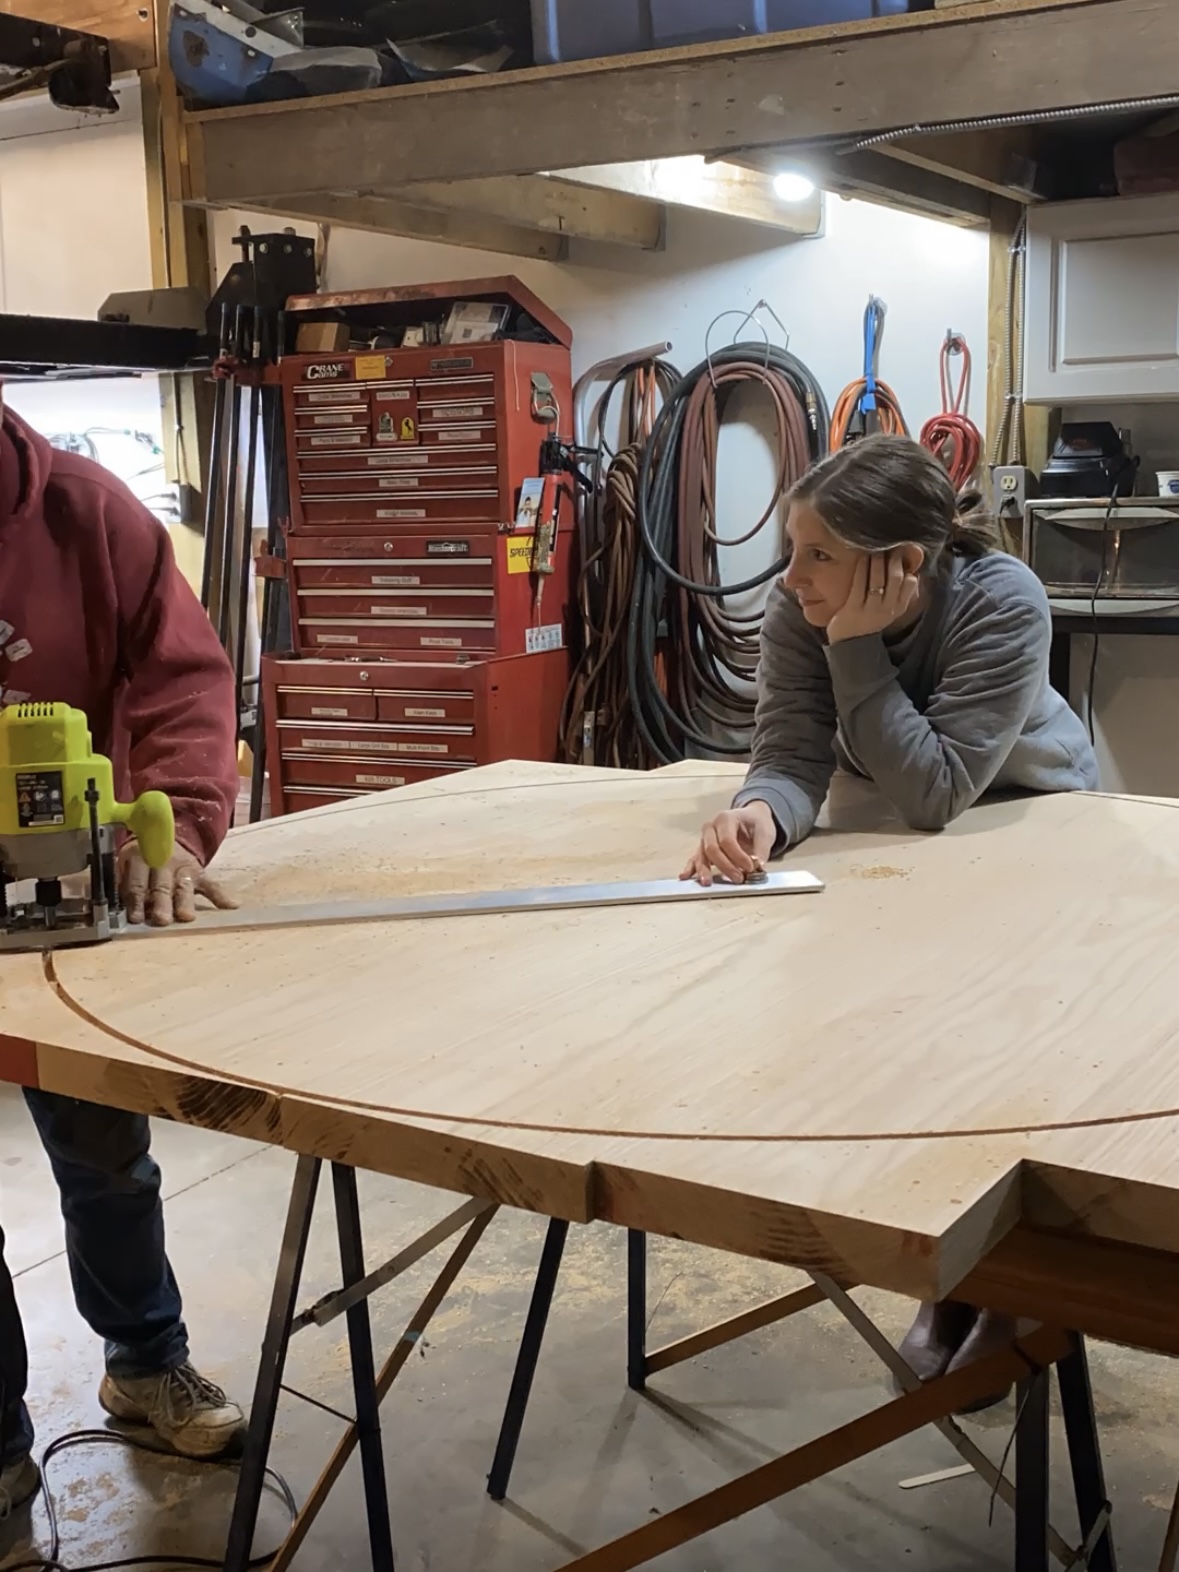
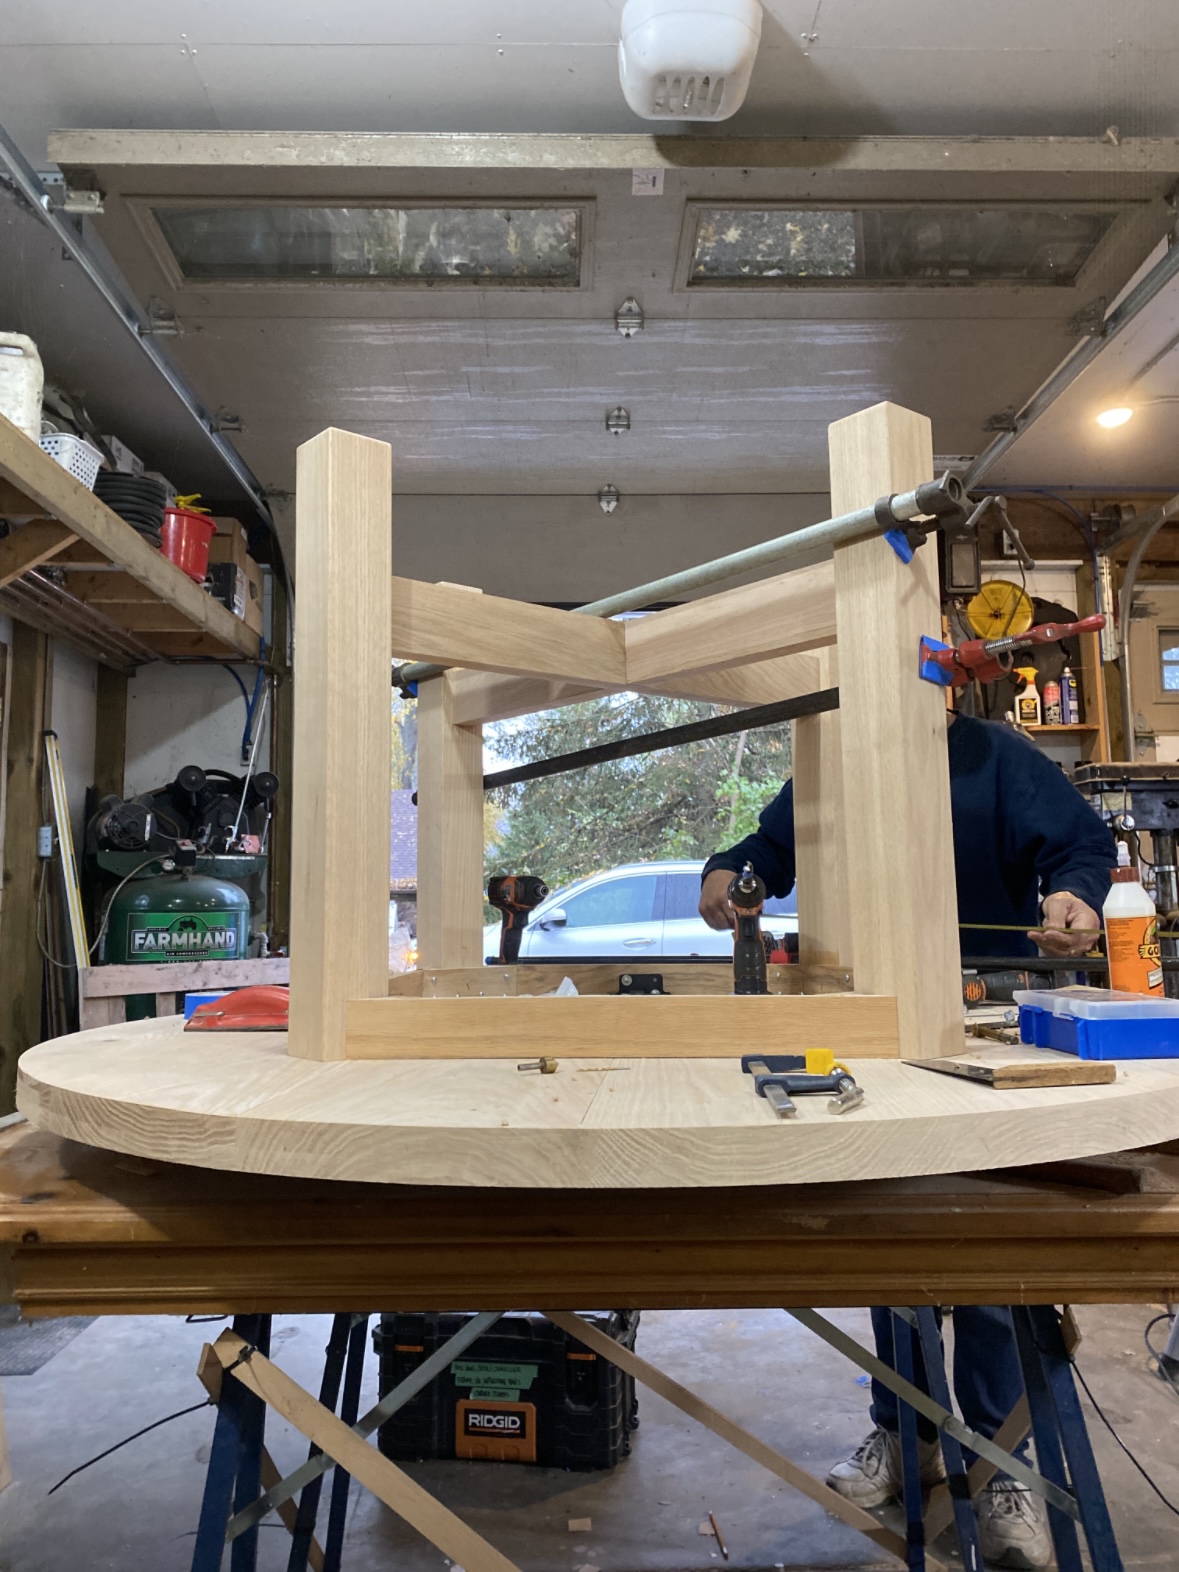
I sourced red oak from a local lumber company for under $500 and we got to work building my dream table. Here are some progress shots from the build which we did in my dad’s garage. Not only does he own every tool imaginable but he can build pretty much anything!
After assembling the table I had to stain it, possibly the scariest part of the project. I wanted a white oak look but could only afford red oak. After probably 100 different test stains (I swear I’m not exaggerating), I bleached the wood with lye crystals and peroxide using this tutorial. Once I got the pink tones out of the wood I used Rubio Monocoat Oil 2C in Mist 5%. I am so happy with the finish and how well it matches our white oak floors!
I paired the light wood table with black chairs. The silhouette of these Victor Chairs from Modern Komfort are a modern take on a traditional Windsor style chair. They suit the style of our home so well!
Art
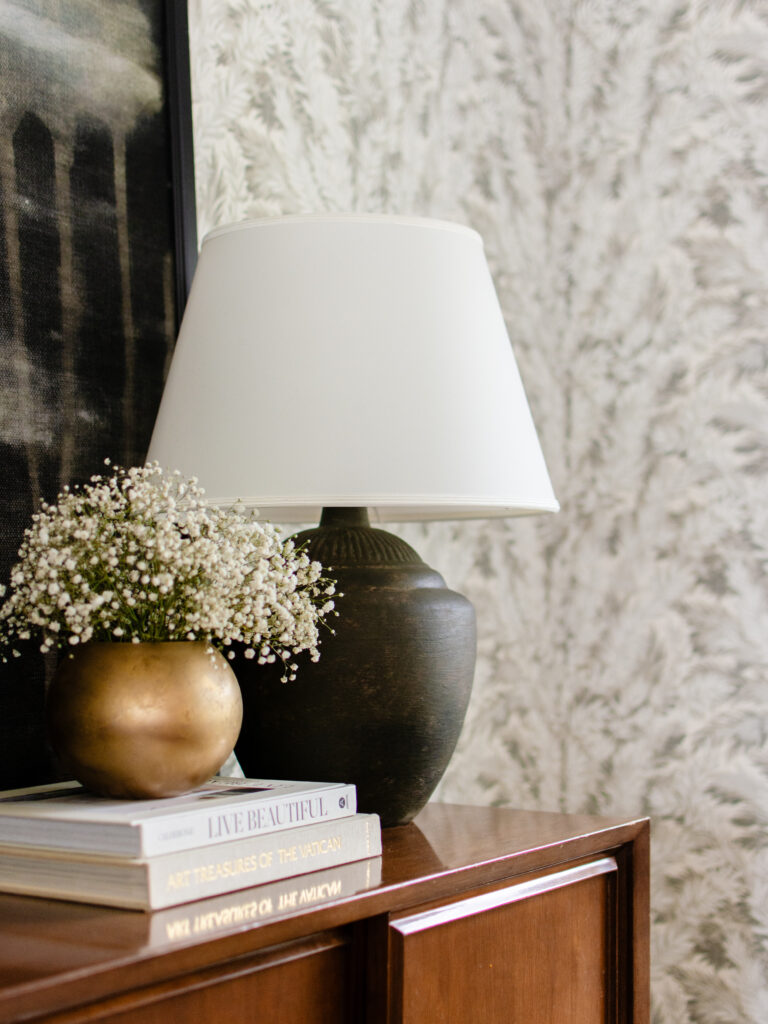
This space was begging for a piece of statement art. With the business of the wallpaper I knew I wanted one large piece instead of a gallery wall. I have a large landscape print in our living room so I wanted to avoid landscapes as well. That left me hunting for something more abstract. I found the winner from Vintage Art Supply (unfortunately they are no longer in business). I’m obsessed with the moody juxtaposition against the organic wallpaper!
I would love to hear some of your favourite ways to add character in your home! Leave a comment below!

