
How to Paint Your Countertops to Look Like Soapstone
This Post May Contain Affiliate Links. Please Read Our Disclosure Policy for more details.
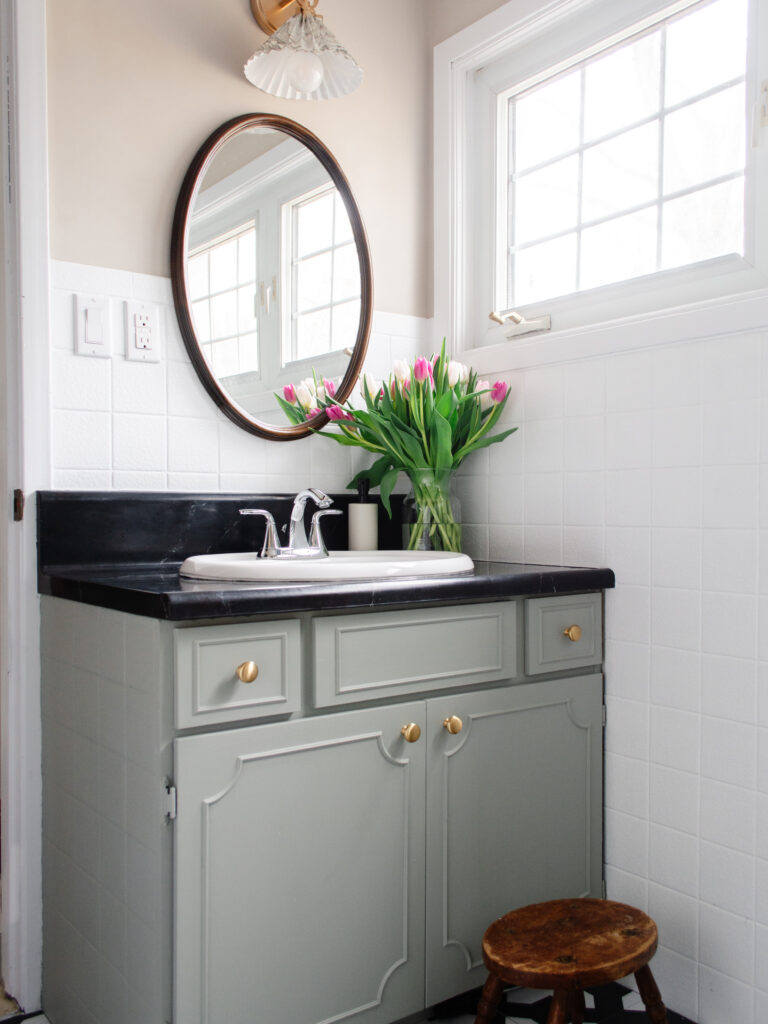
If you have dated countertops this post is for you – I’m going to show you how to paint your countertops to look like soapstone! When I was working on a super budget friendly, Phase 1 basement bathroom update (I’m talking under $250), I was wracking my brain for what to do with the vanity countertops. They were dated laminate that had a bad faux marble pattern and were suspiciously stained. I originally planned on leaving them as is, but they stood out like a sore thumb. I knew a black soapstone counter would look amazing with the vanity colour I had chosen (Benjamin Moore Oil Cloth) but I did NOT have the budget for a new counter.
Years back, in our main bathroom, I had painted the bathroom vanity grey and added an epoxy top coat. It did the job but it wasn’t anything special and the epoxy was really shiny. They do make matte epoxy however it is harder to find and more expensive. Not to mention, I had leftover epoxy and was trying to spend as little money as possible.
So here is how I painted my dated laminate countertop to look like soapstone.

Here’s what you need:
- 200 grit Sandpaper for prepping counter
- TSP
- Foam roller
- Primer
- Black paint (any paint will work for this really)
- White acrylic paint (for creating veins)
- A thin paint brush
- Tin foil
- Sponge
- 2 part epoxy
- Waterproof 320, 800, 1500 grit Sandpaper
- Wax
Step 1: Prep & Prime
The first thing you need to do is prep your surface. Give the whole surface a light sanding to remove any shiny finish. After sanding, use TSP to clean dust from the surface. Using a foam roller, prime your counter. You may want to tape off your sink before starting to paint.
Step 2: Paint
Using any black paint (wall paint, acrylic), paint your countertop black. Wait for the first coat to dry and then do a second coat.
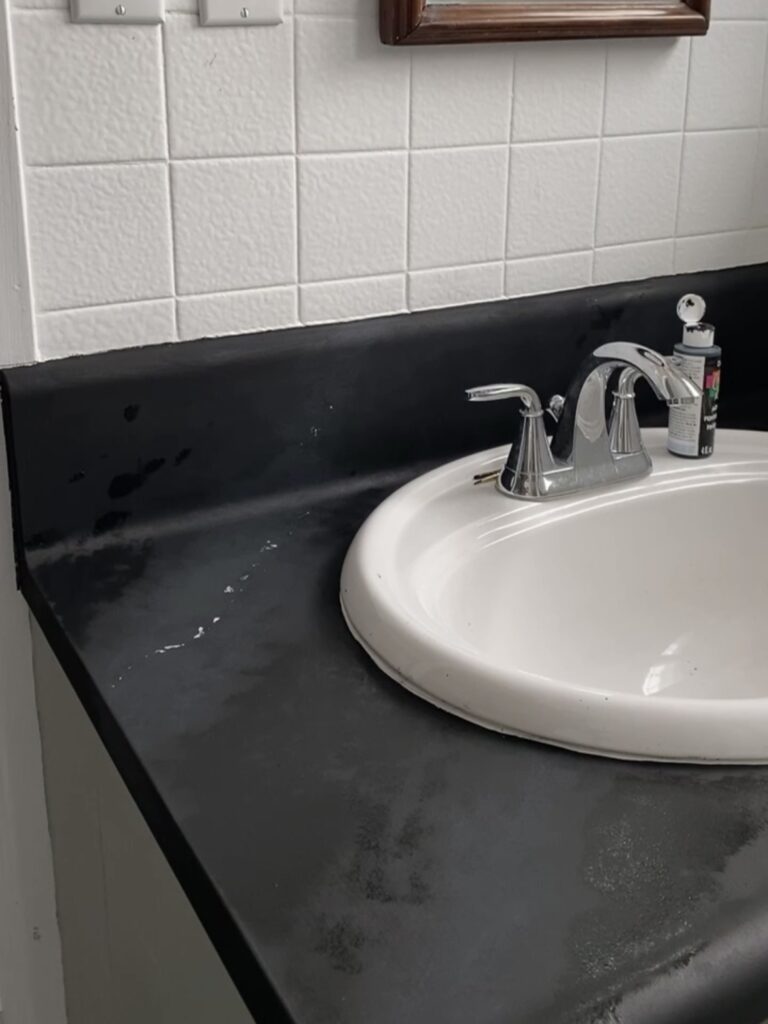
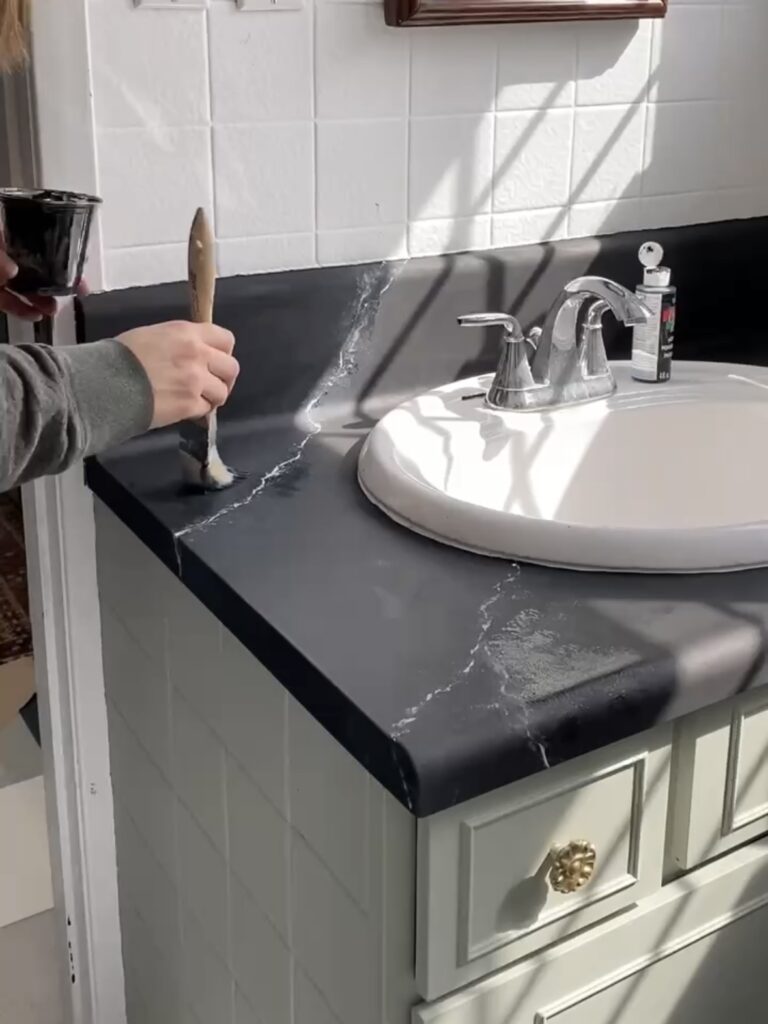
Step 3: Add Veining
On a disposable plate mix some white acrylic paint with your black to make a grey that is just slightly lighter than your black base layer. Use a damp sponge or even a paper towel to lightly dab into your paint. Before dabbing this paint on the counter, dab off the excess onto your plate or a piece of scrap cardboard. This is just creating some background depth to your faux soapstone. You can go back in with black base colour to help blend. Don’t be afraid of this step because you can always start over. Once you are happy with your first layer of background “texture” you can start to add the veins.
Scrunch a piece of tin foil into a snake shape. Dip the tinfoil snake into your white (or off-white/grey if you want your veining to be more subtle) paint and dab the excess off on your cardboard. Dap the tinfoil onto the counter, layering it on top of the lighter areas. The line may be broken and uneven and that is the point. Use a fine paintbrush with your non-dominant hand to gently connect areas of the line and to extend it. This will help you to achieve an imperfect and natural looking vein. You can use a larger brush or sponge with very minimal amounts of the darker paint to help blend the veins or correct anything you don’t love.

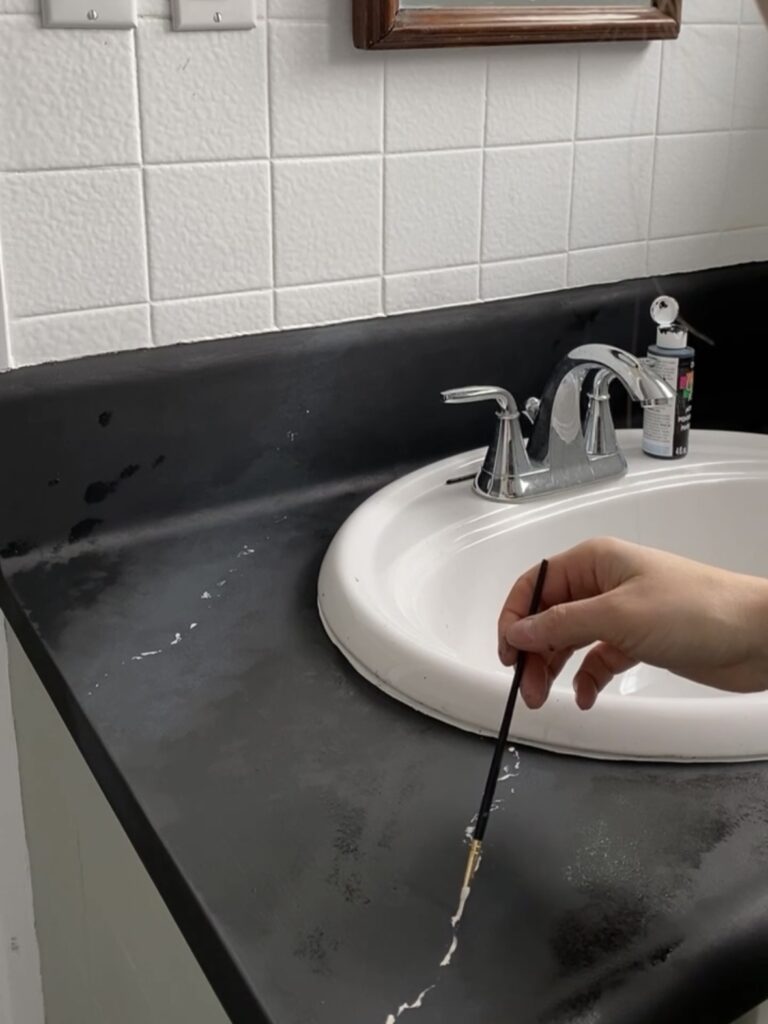
TIP: Before you paint your counter to look like soapstone – pull up some images of soapstone online to see what kind of patterns you like. I knew I wanted very minimal, linear veining on my counter.
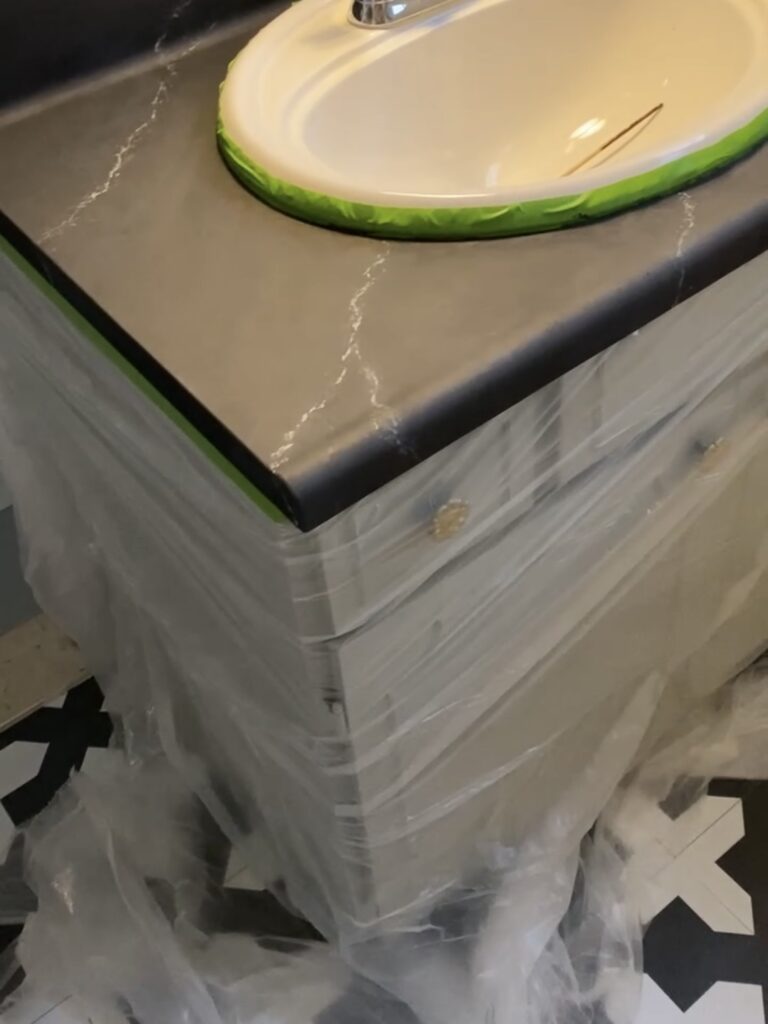
Step 4: Top Coat
Tape around your sink and the backsplash. Attach a drop cloth under the bottom lip of the counter because this is going to be messy! Mix your epoxy following the directions. Once well mixed, pour the epoxy onto your counters. I used a brush around the sink/close to the edges and used a plastic bench-scraper/squeegey to spread the epoxy over the whole counter. You want to get it fairly even but it will continue to self level. Allow it to drip over the edge of the counter lip. If there are bubbles in your epoxy you can use a heat gun or BBQ lighter to pop them – bring the heat source close to (but not touching) the surface and the bubble will pop! Allow to dry as per the packaging. Once dried you can use an exacto to scrape any drips from the underside of the counter edge.
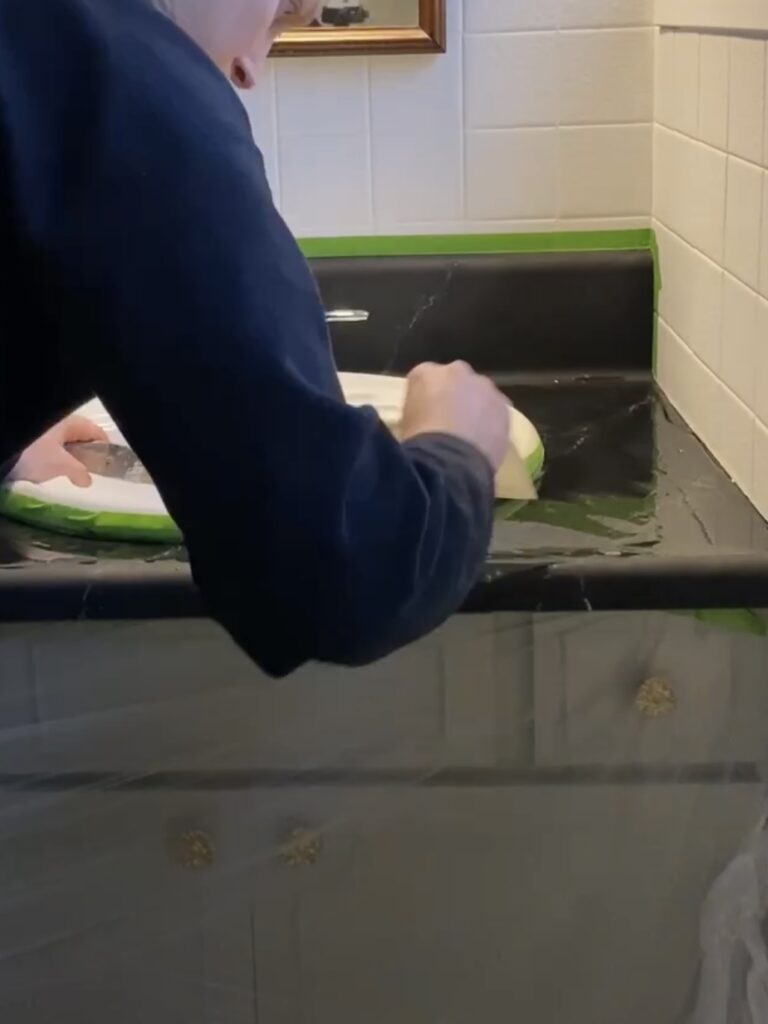

Step 5: Getting a Matte Finish
This is probably the most important and scariest step of painting your countertops to look like soapstone! When your epoxy is dry it is going to be SHINY. And you can leave it like this if you would like. BUT to get a true soapstone look, we want it to be matte. To get this finish we have to sand the epoxy. But we want to do it gently with a super high grit sandpaper and keep the surface wet to prevent deep scratches. I watched this tutorial for sanding resin which was really helpful!
Starting with your lower grit sandpaper (320), wet the surface and gently sand in small circles. This will be scary and you will think you have messed it all up. But trust me! Keep sanding in tiny circles all over the entire surface. Move up to 800 grit and then 1500 grit sandpaper until the entire surface is even and you are happy with the matte finish.

The counter will have lightened as you sanded so to bring back some depth and seal the surface you will need a wax. I actually used black shoe polish because I had it on hand! But if you are doing this in your kitchen, I would use a food safe cutting board wax. This gives the counter a slight sheen which looks so pretty and stone-like.
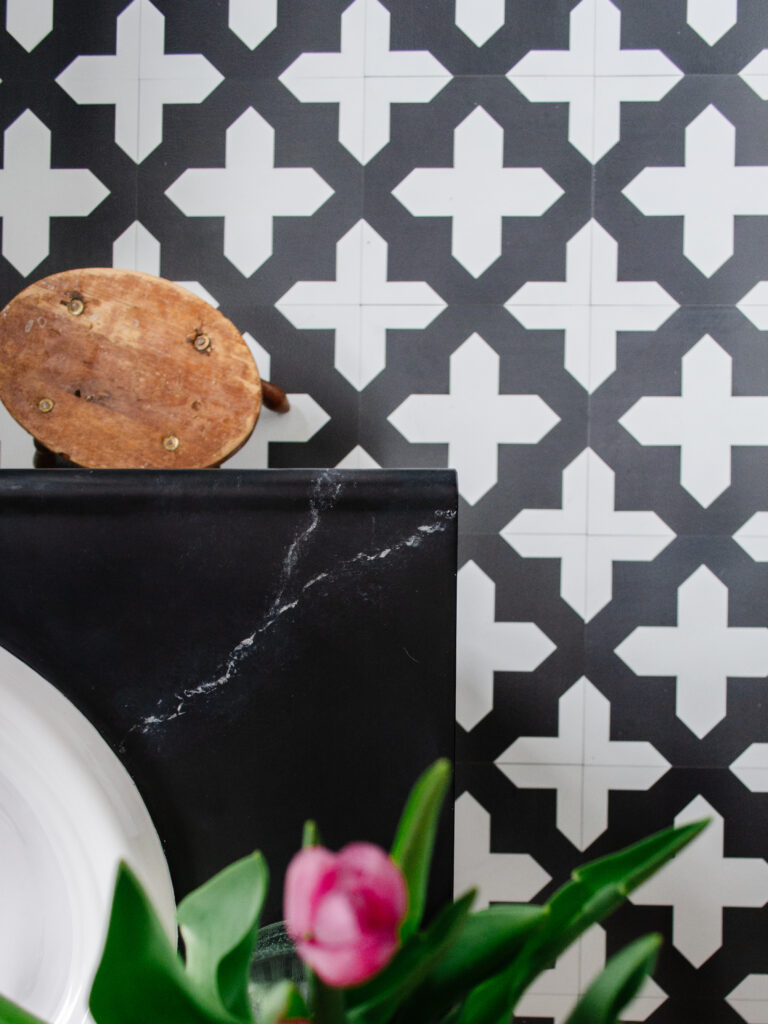
Doesn’t it look so much like soapstone? Would you try this?