How to Build a Patio Table for 8 Under $400
This Post May Contain Affiliate Links. Please Read Our Disclosure Policy for more details.
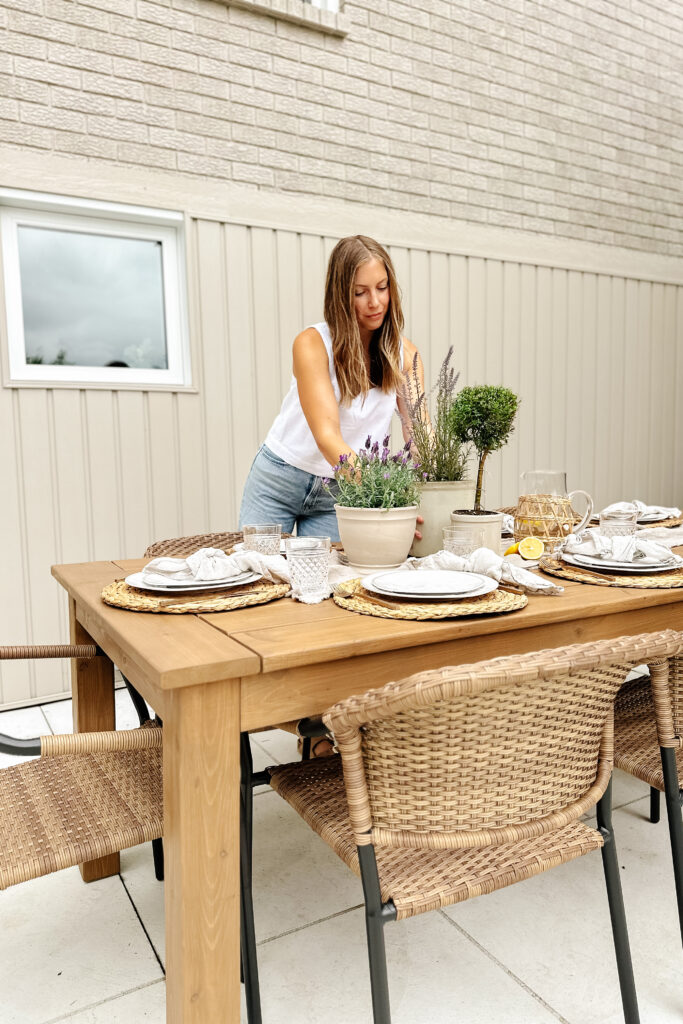
Building your own patio furniture is not only rewarding but also SO cost-effective – Have you seen the cost of 8-person dining tables?! A good quality wood table is going for $2-5k! EXCUSE ME?! In this post, I’ll walk you through how to build a patio table for 8 — for under $400! This project is perfect for those who love to entertain outdoors and want a custom piece without breaking the bank.
Materials:
Now let’s get into the nitty gritty – here is my supply list if you want to build your own 8’ table!!
- 8 – 5/4” x 6” x 8’ cedar deck boards
- 1 – 4″ x 4″ x 12′ cedar post
- 5 – 2″ x 4″ x 8′ cedar
- 8 – 4″ x 3/8″ hanger bolts
- 8 – 3/8″ stainless steel lock washers
- 8 – 3/8″ stainless steel wing nuts
- 2″ deck screws (I bought a box of 50 and it was more than enough!)
- 4 – Table leg floor protectors
- Orbital sander with 220 grit sandpaper
- Wood stain (I used BEHR PREMIUM® Semi-Transparent Waterproofing Stain & Sealer in Tugboat) and staining supplies
- Miter Saw
- Drill and bits
- Measuring tape
- Clamps
Step-by-Step Instructions for Building a Patio Table for 8
1. Design Your Table
I wanted to keep the design of this table simple with a couple considerations. I wanted all 8 chairs to be able to tuck under the table. And I especially wanted to make sure no one would be stuck hitting their knees on a table leg! I know you know exactly what I mean!
Below are the drawings I created for my table using 6″ deck boards with 1/4″ gaps between them. You can obviously adapt this plan to suit your needs!
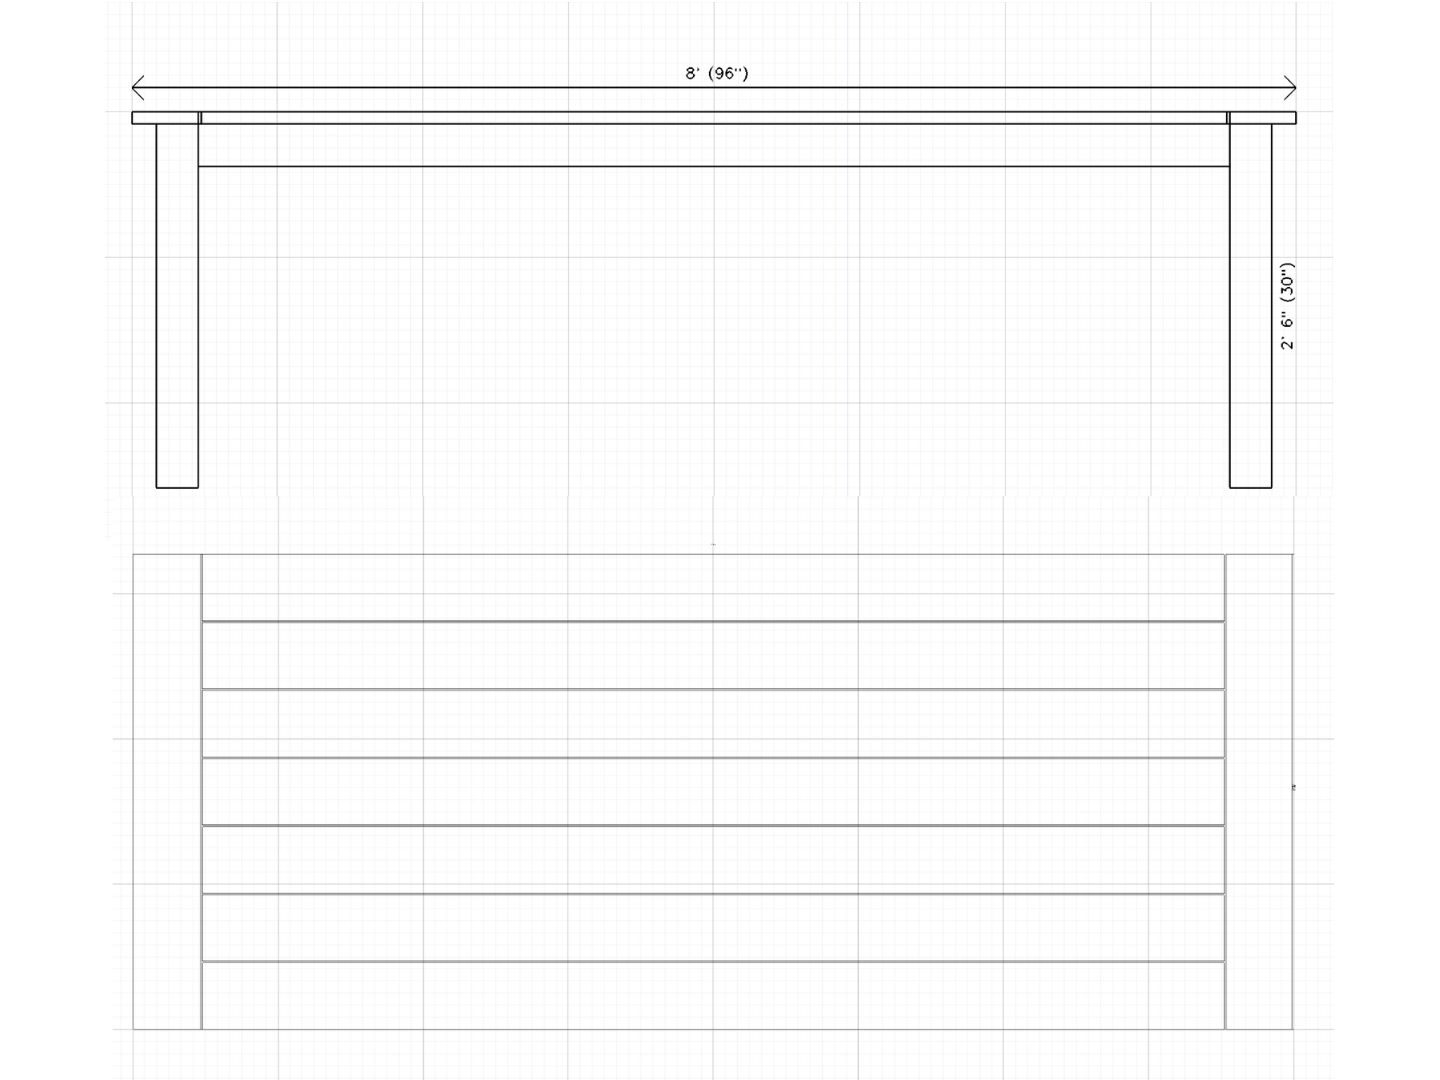
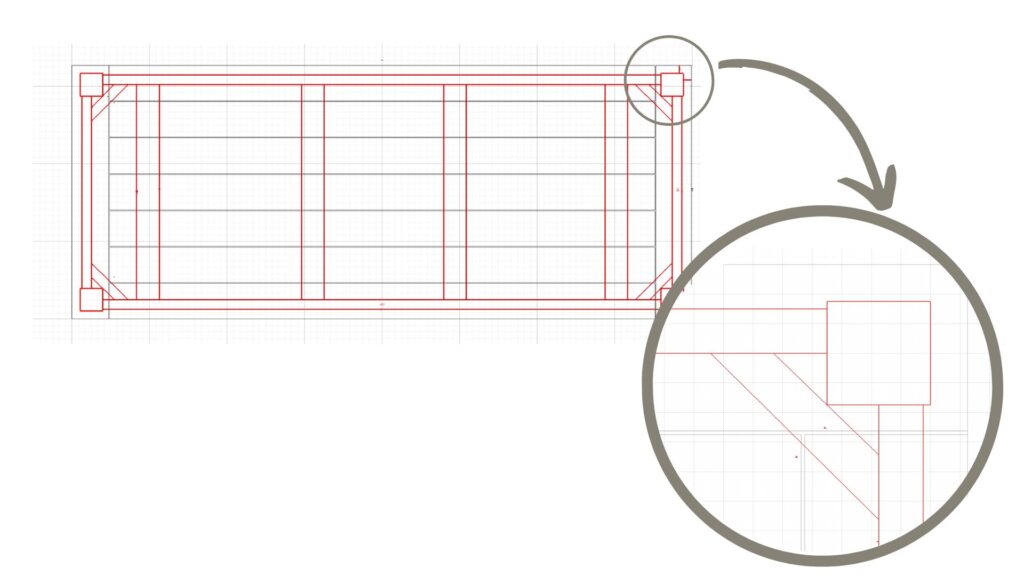
The red lines are the underside of the table. This is built using 2″ x 4″s for the apron and 4″x4″s for the legs. I’ll explain this a bit more in the next section!
2. Prepare Your Materials
This starts with picking your wood. I chose cedar because it has a nice grain and holds up well outdoors.
TIP: when choosing your wood, make sure the wood is straight. I had a couple deck boards that were a bit wonky which made getting my tabletop joints straight a pain!
Measure and cut the wood planks according to your design specifications. I’ll include the measurements I used below.
Tabletop:
- 7 – 5/4″ x 6″ x 84 1/2″
- 2 – 5/4″ x 6″ x 40″ (end pieces)
- 4 – 2″ x 4″ x 33 3/4″ (these will be the braces under the tabletop)
Table Base:
- 4 – 4″ x 4″ x 28 1/2″ (the height of your table is personal preference – This leg height allowed my arm-chairs to fit under the apron)
- 2 – 2″ x 4″ x 30 1/2″ (short side table apron)
- 2 – 2″ x 4″ x 86 1/2″ (long side table apron)
- 4 – 2″ x 4″ corner support pieces – cut a 45″ angle with short side 5″ and long side 8″ (see drawing in red above)
TIP: Measure twice, cut once! Listen, I know we have heard this a million times, but I still managed to rush on my last cut and had to go buy an extra board!
I chose to sand all of the pieces with my orbital sander (using 220 grit sandpaper) before assembling the table. This ensured all of the pieces were smooth and even to accept stain.
Afterward, I stained all of my pieces before assembly because I knew it would be hard to get into all the crevices once it was put together. I used BEHR PREMIUM® Semi-Transparent Waterproofing Stain & Sealer in the colour Tugboat (Disclaimer: I did work with BEHR on this project however this post is not sponsored by them and I would 100% recommend this stain. I have also used Beautitone Semi-Transparent stain from Home Hardware and liked it about the same!)
3. Assemble the Tabletop
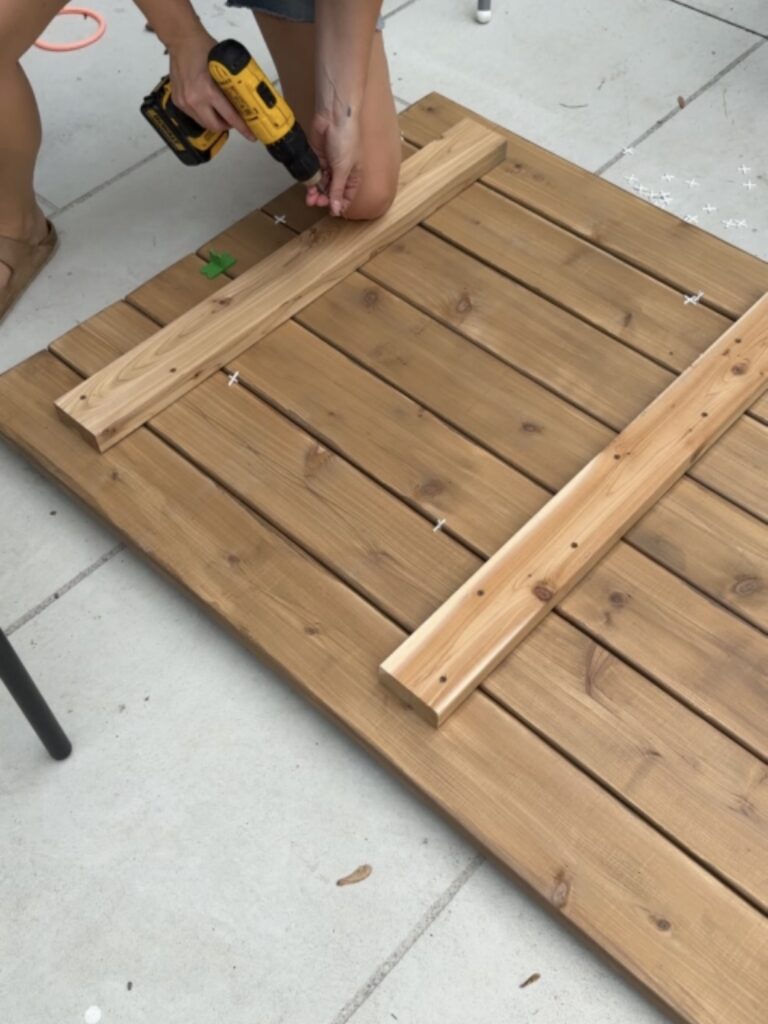
Lay out the wood planks for the tabletop on a flat surface, underside facing up. Align them using 1/4″ tile spacers. Fasten the 2″x4″ support pieces using 2″ deck screws to each tabletop board. You may need to use clamps to keep everything aligned while you fasten the support pieces.
4. Construct the Table Base
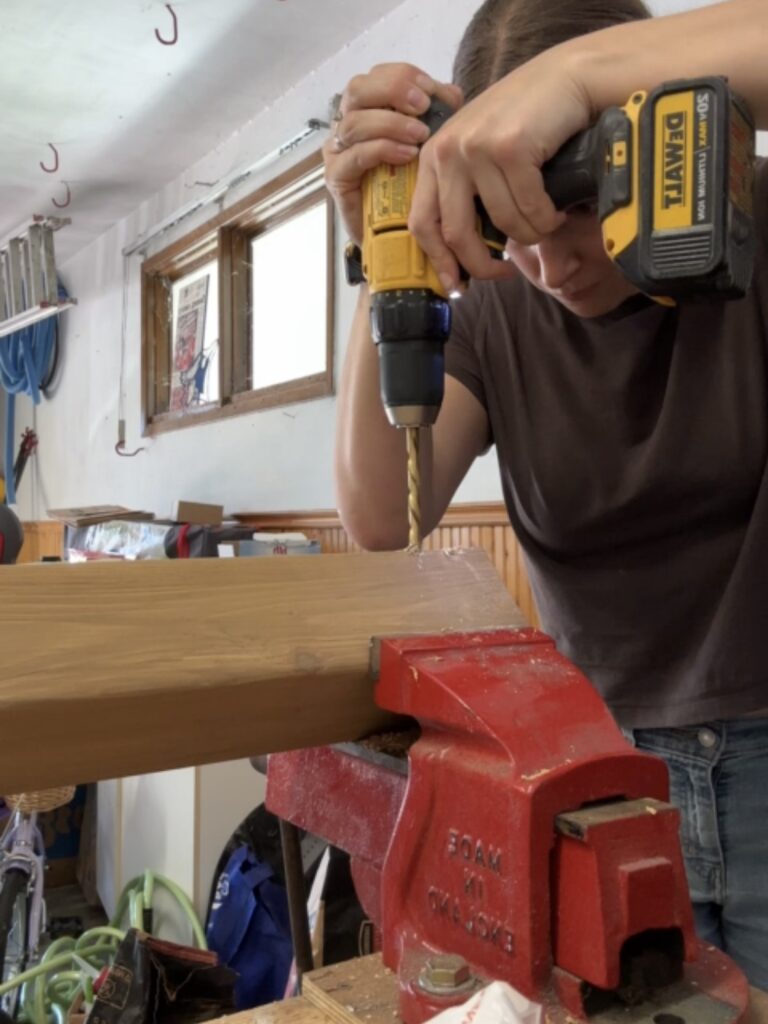
Assembling the table base is probably the trickiest bit. The first thing you need to do is drill two holes in each table leg for the hanger bolts. Using hanger bolts to attach the legs to the apron works well for an outdoor table because you can tighten the bolts with expansion/contraction, which is bound to happen outdoors. I made my holes 3/4″ from the end of the leg and 1.5″ apart.
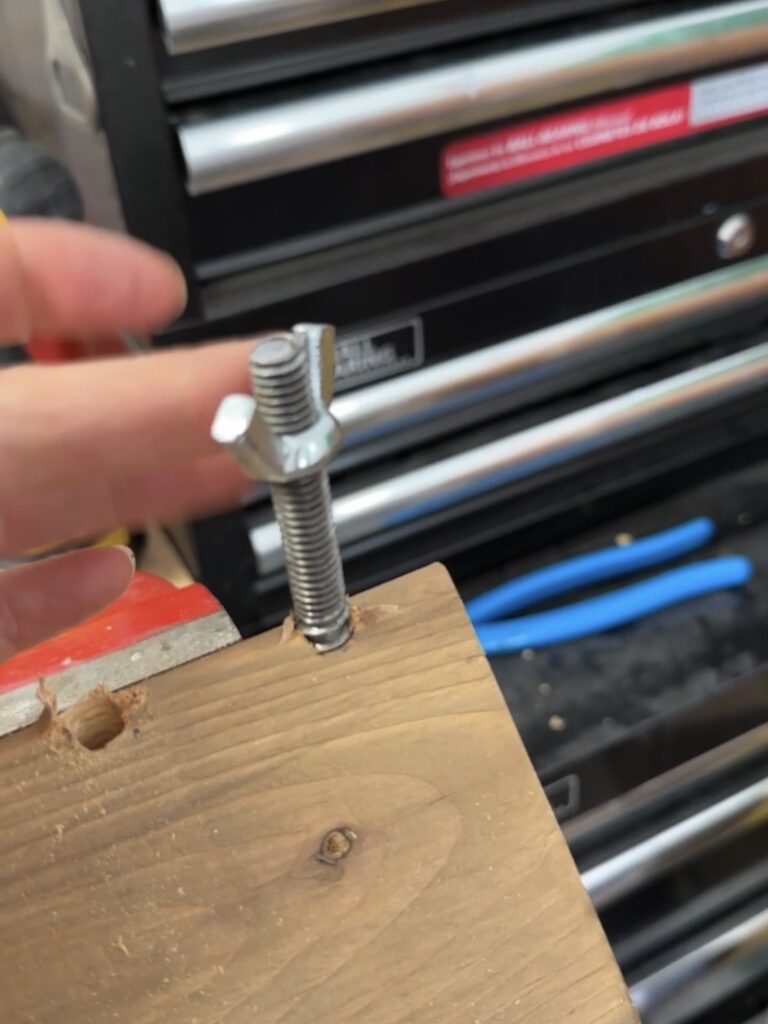
Insert the “screw-end” of the hanger bolt into the hole and tighten into the table leg until only the “bolt-end” is visible. Mark and drill holes in your corner cross braces and ensure the hanger bolts fit easily in the hole.
Line up the hanger bolts on the table leg with the holes on the corner cross braces. Add lock washer and wing nut and gently tighten.
Lay your table apron pieces out on the ground (underside facing up). Line up the corner cross brace until you have an even reveal on each side of the apron. Pre-drill holes and use the deck screws to attach your corner cross braces to the table apron pieces. Once the braces are secured, tighten the wing nuts until the leg feels secure.
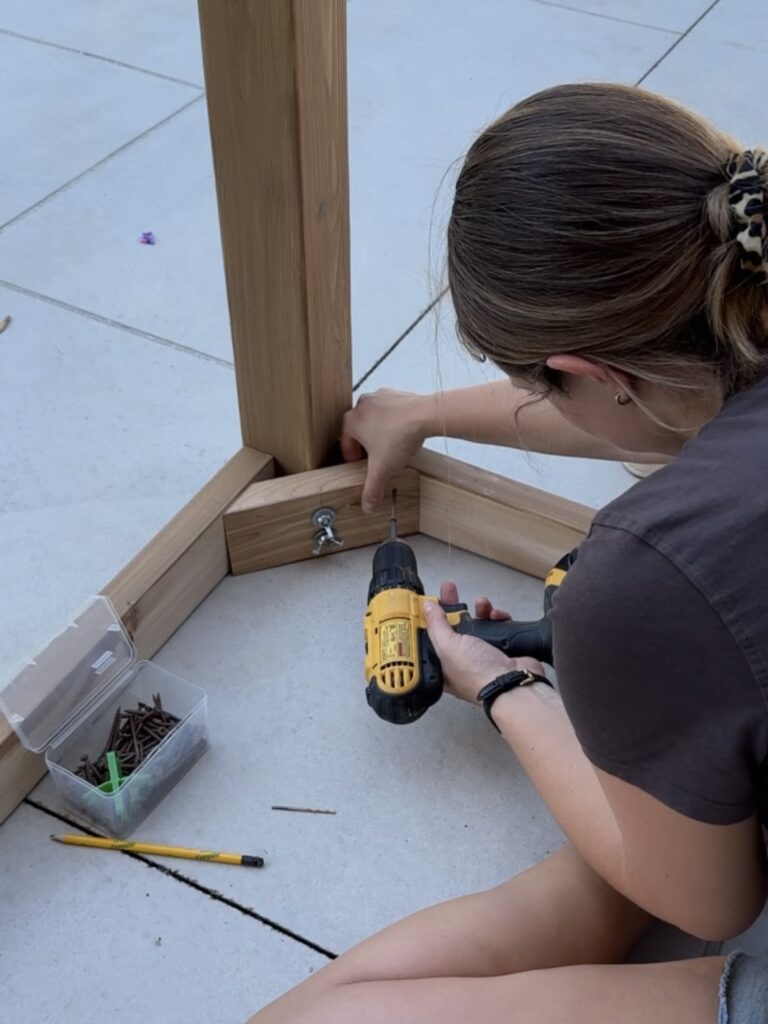
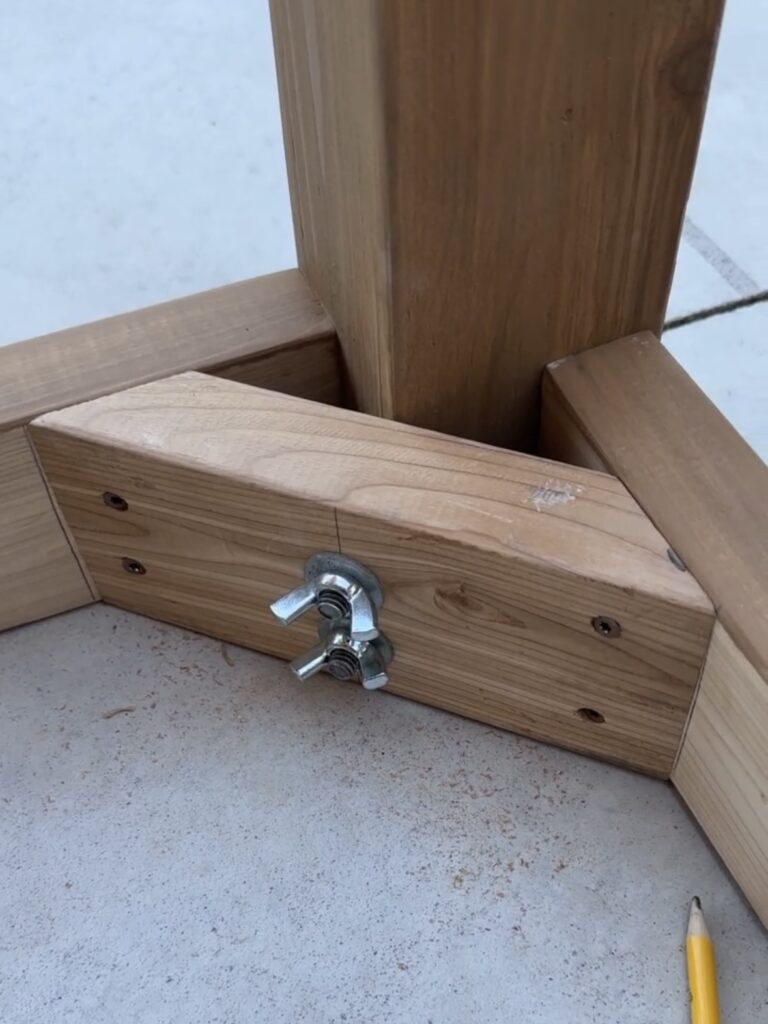
TIP: Add plastic table leg protectors that nail into the bottom of the table leg to gently raise the table leg off the ground. This will lengthen the life of your table by prevent moisture and rotting where the leg hits the ground.
6. Attach the Tabletop
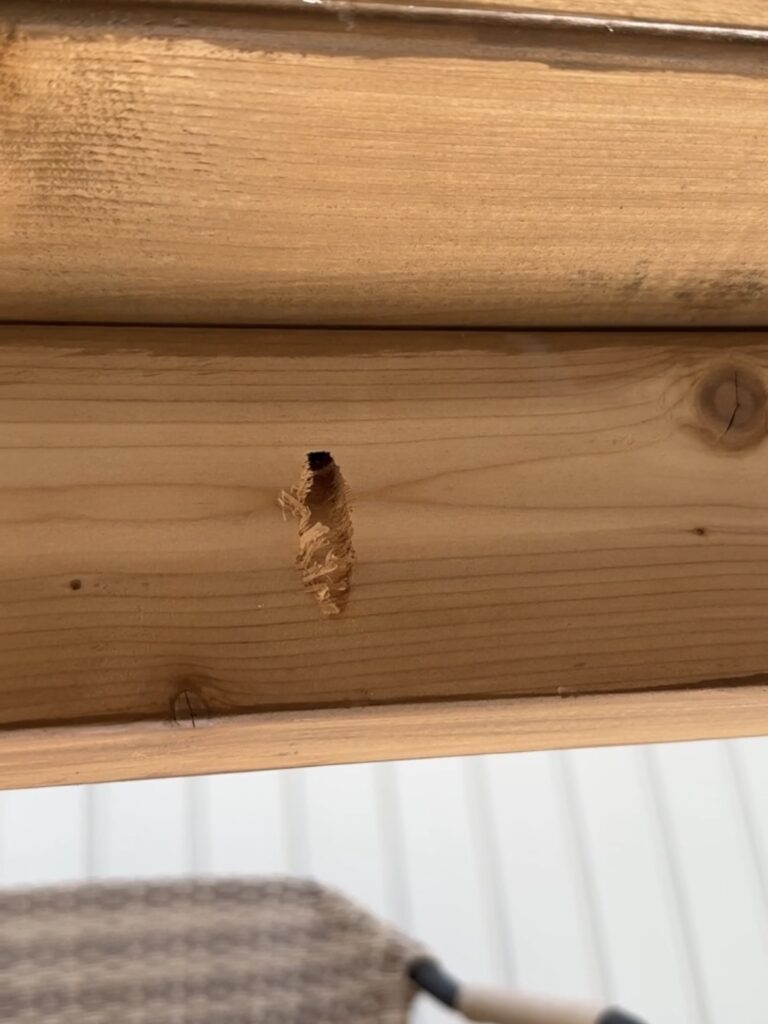
Once you flip over your table base, it is time to attach the tabletop. I used pocket holes on the inside of my table apron to screw up into the tabletop.
The Final Result
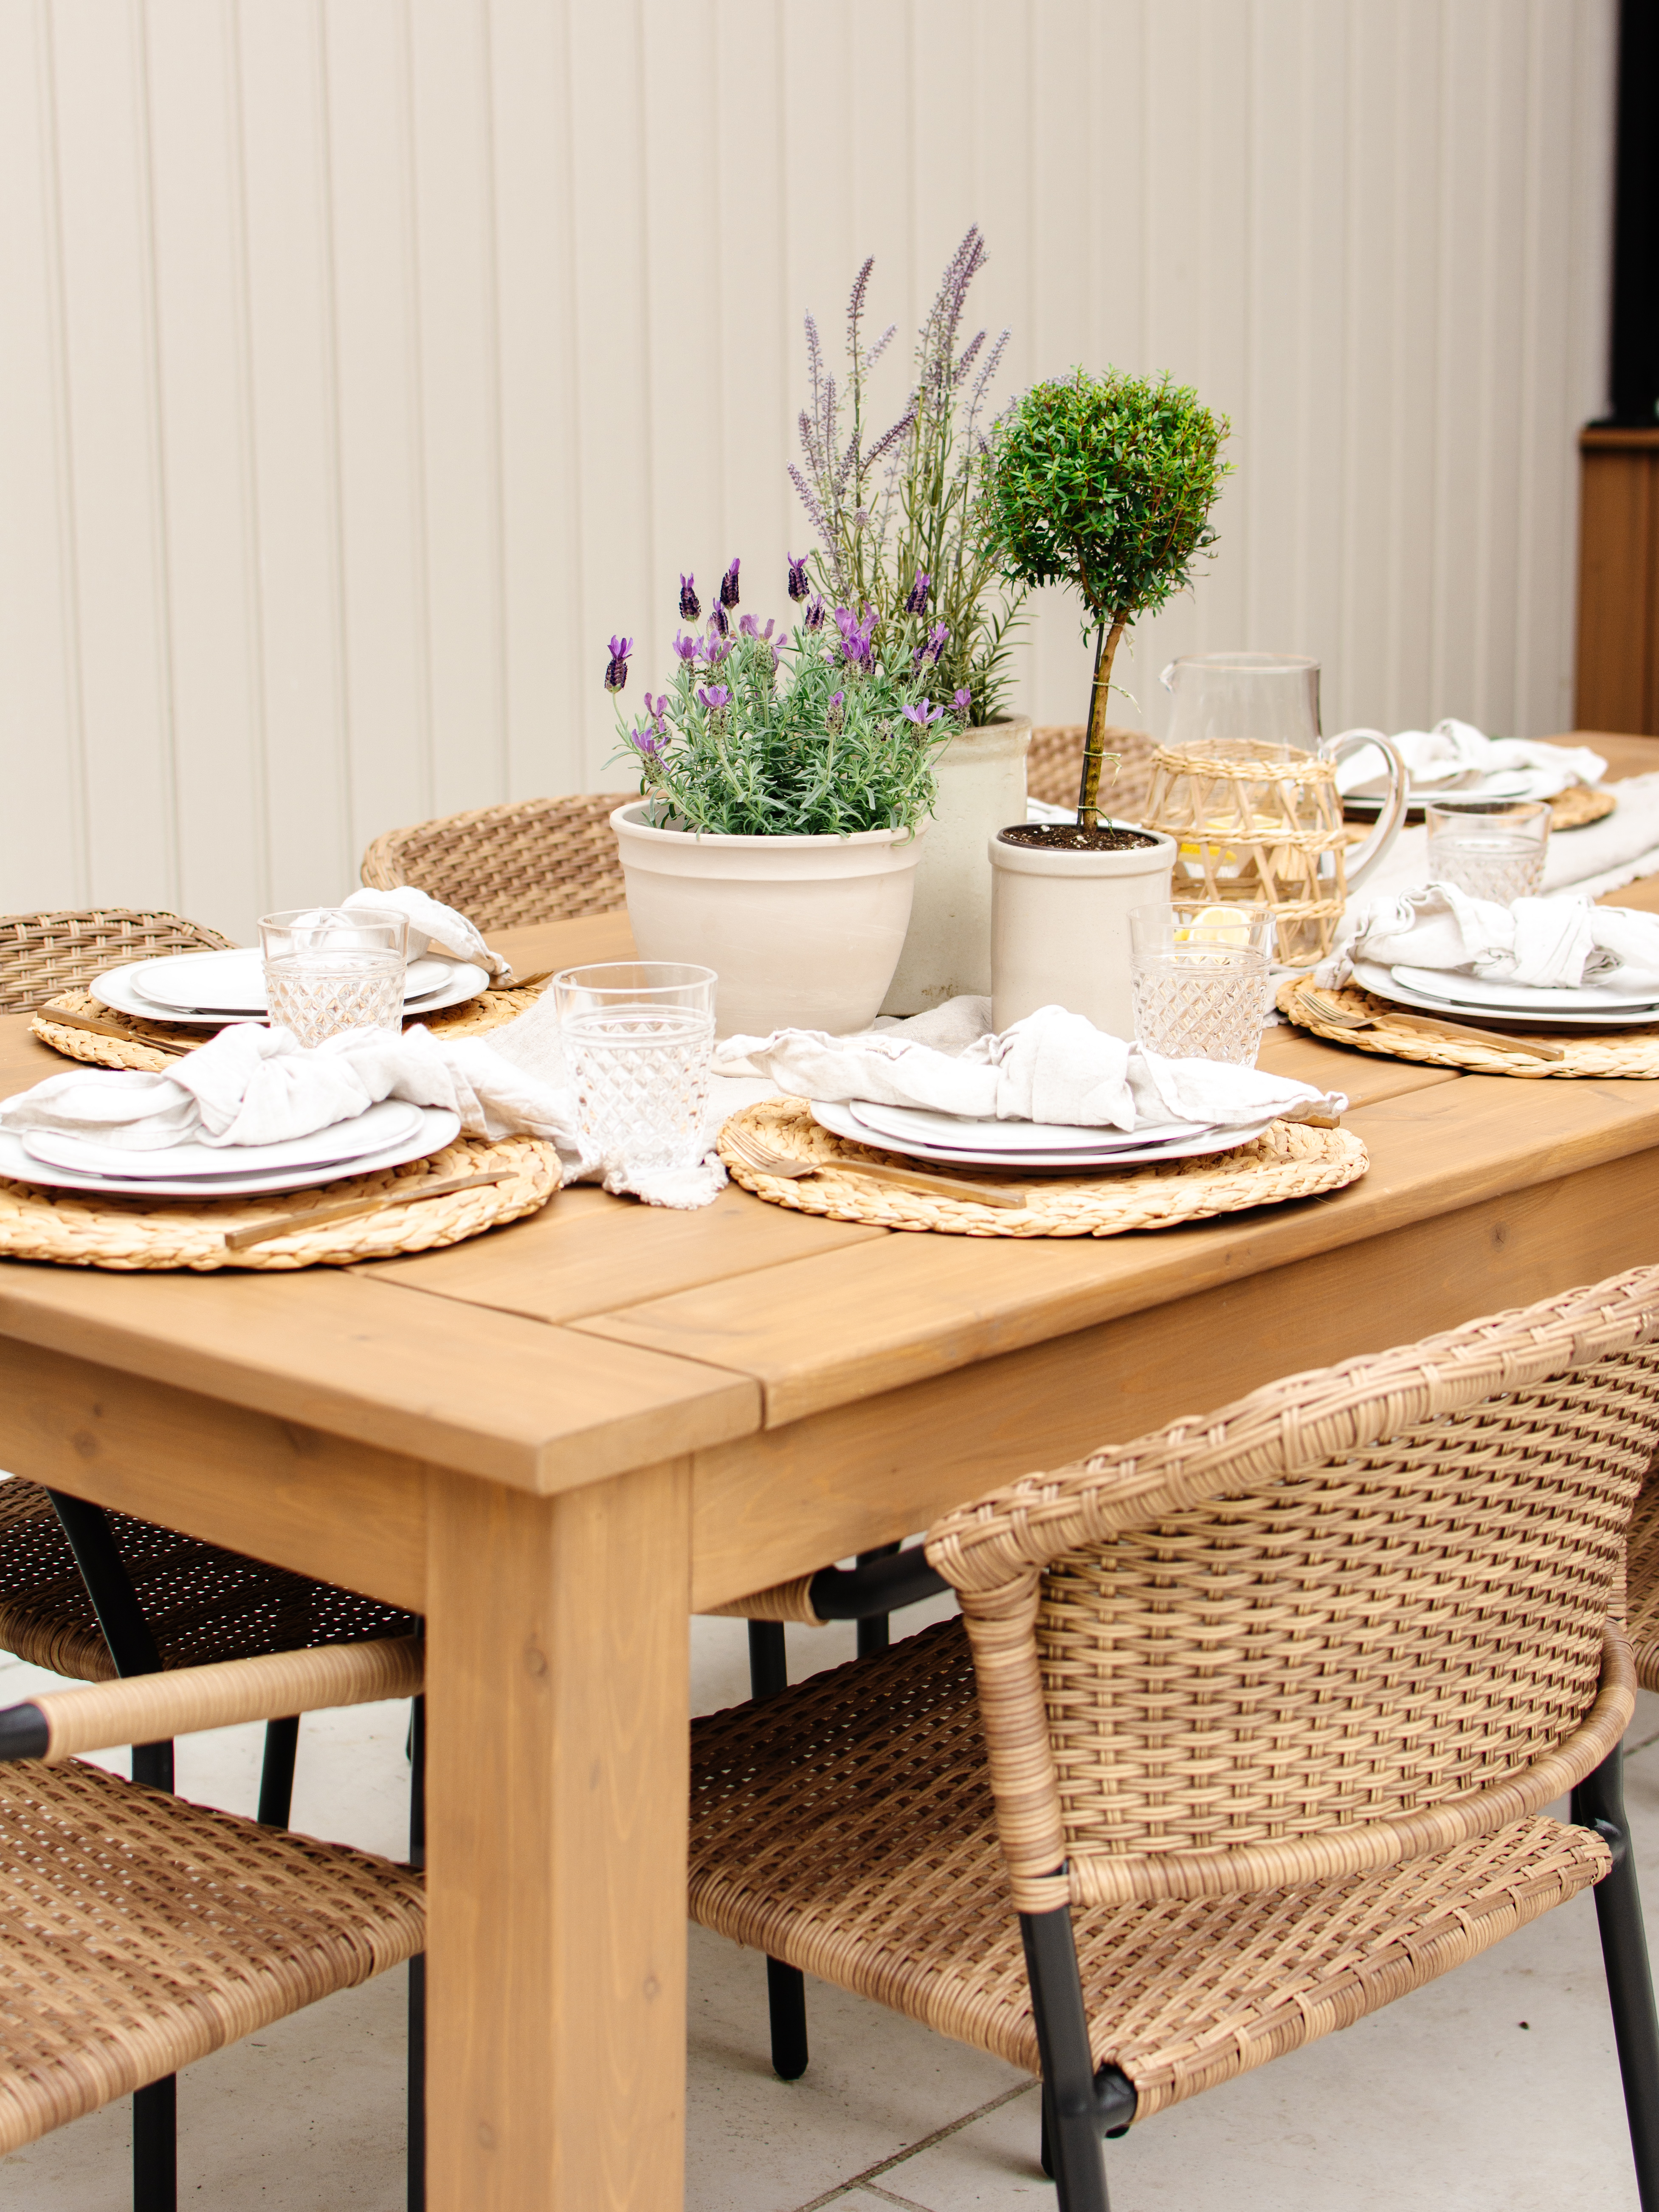

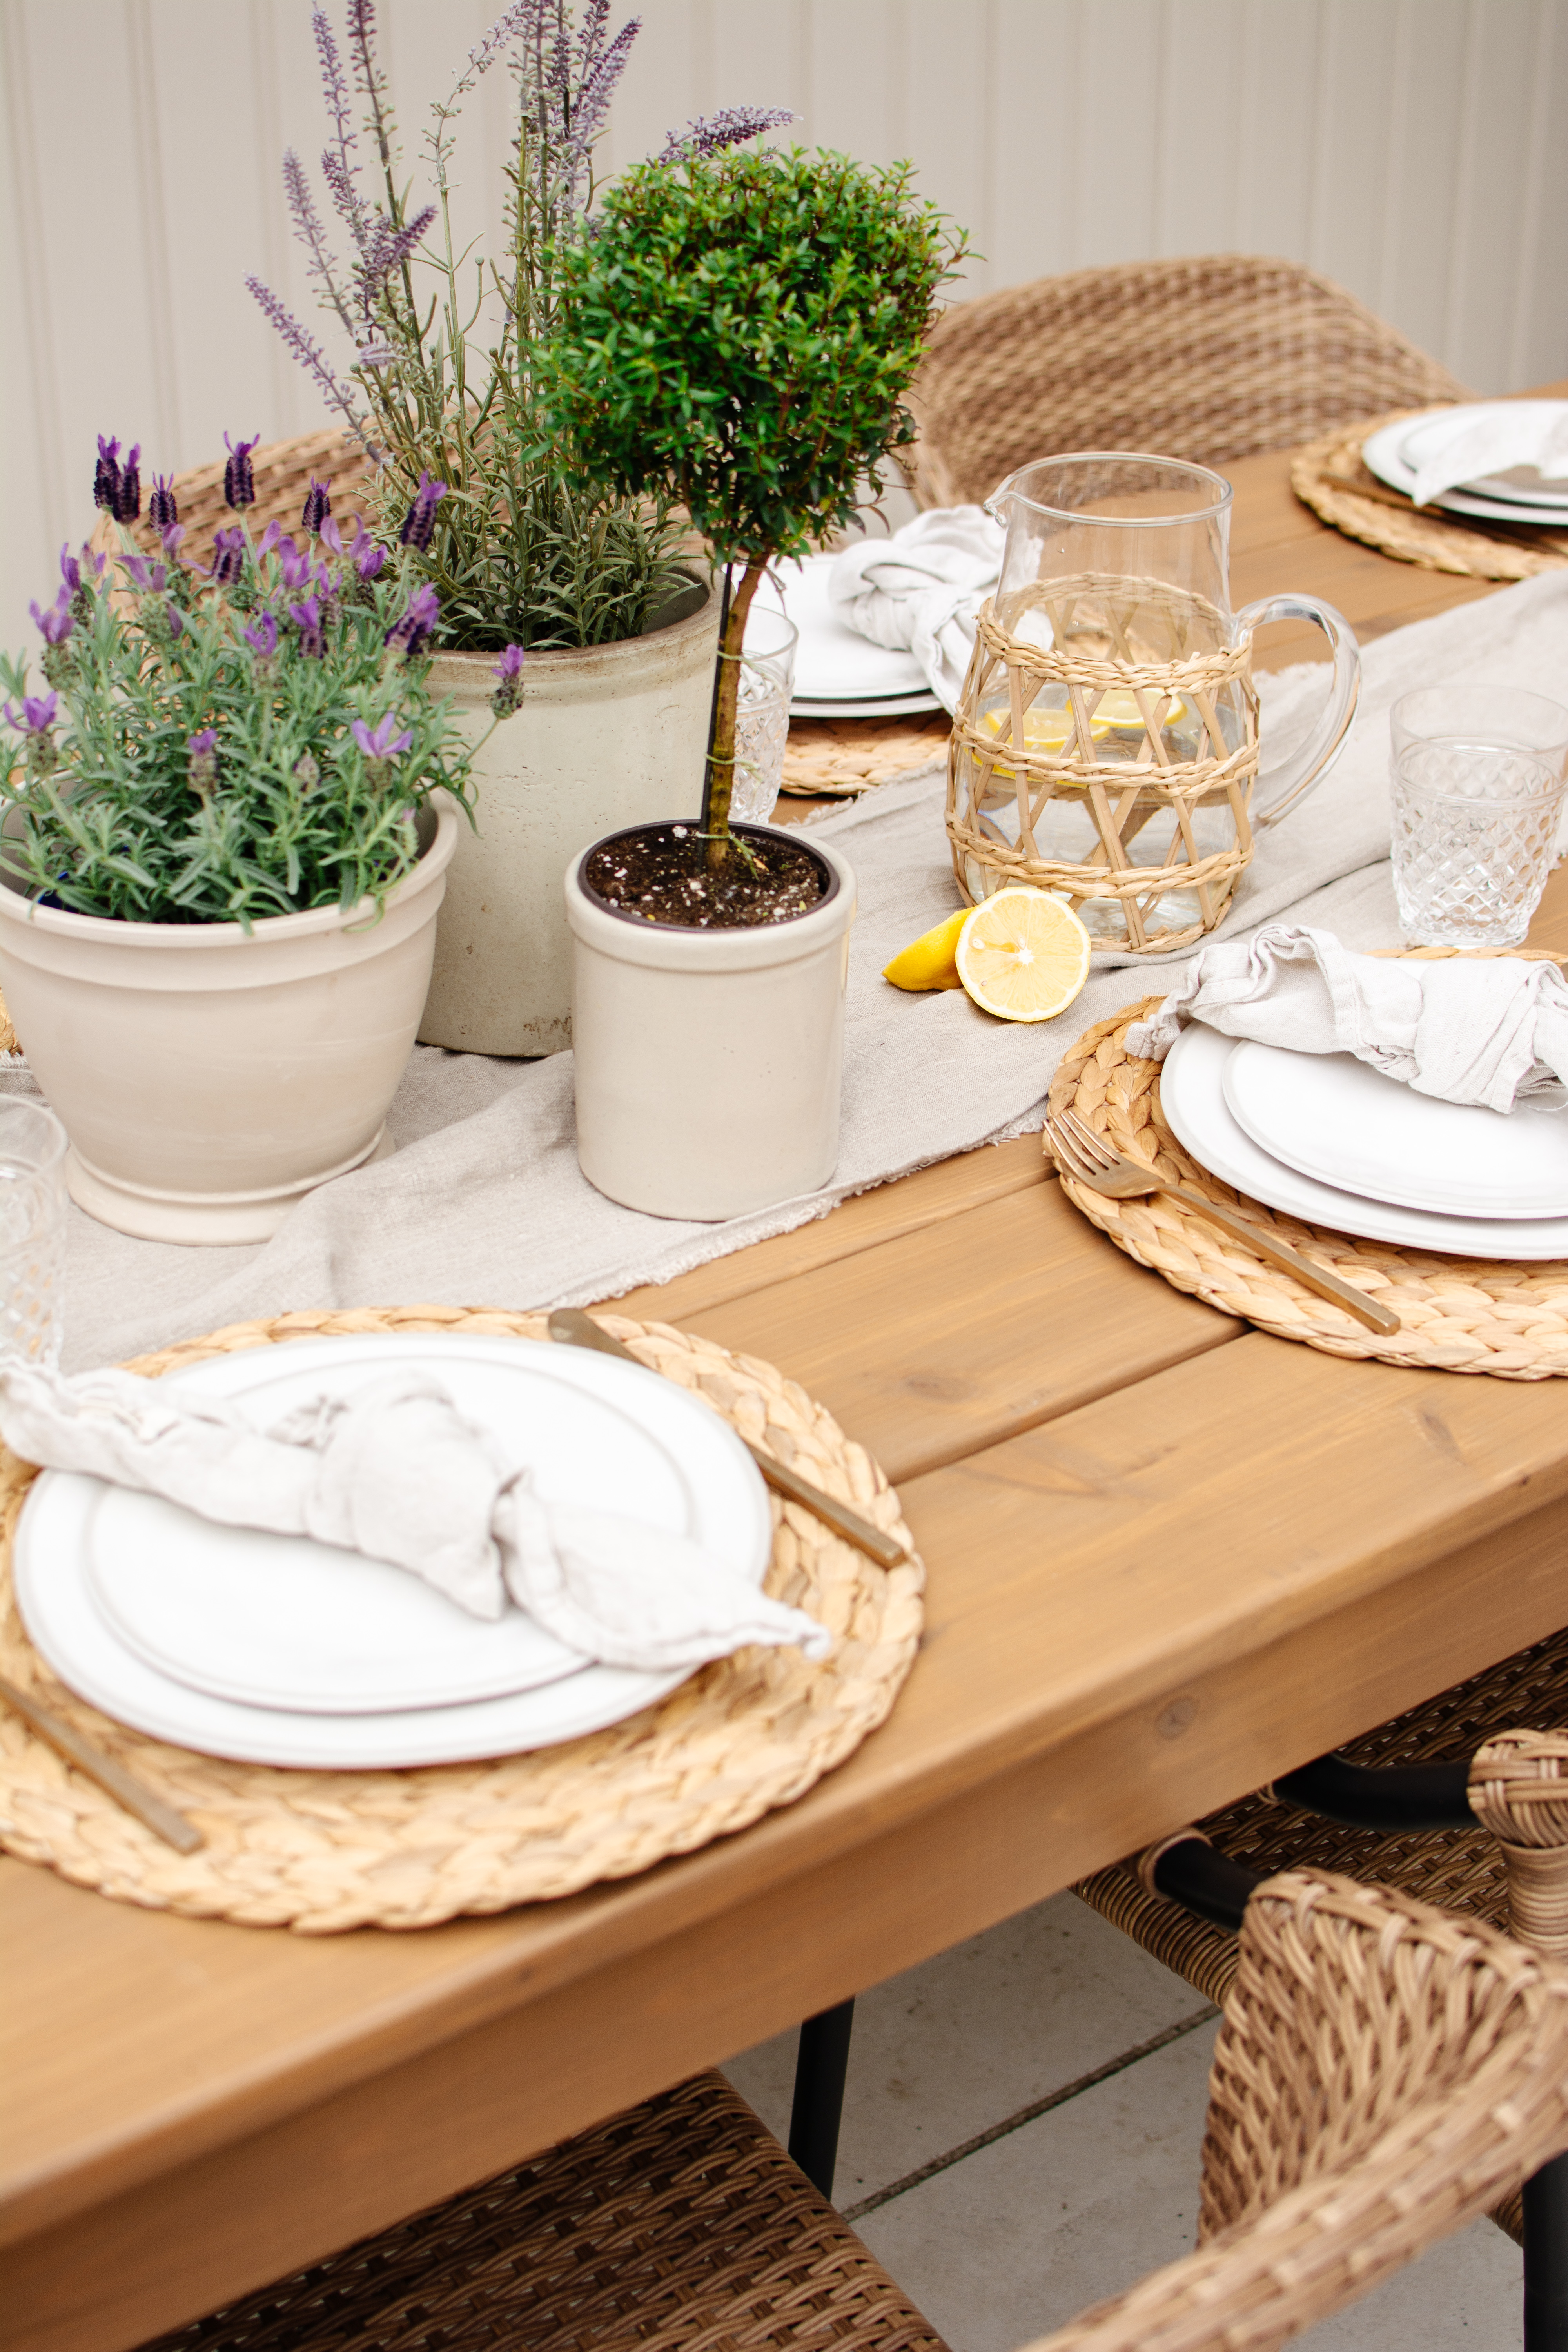
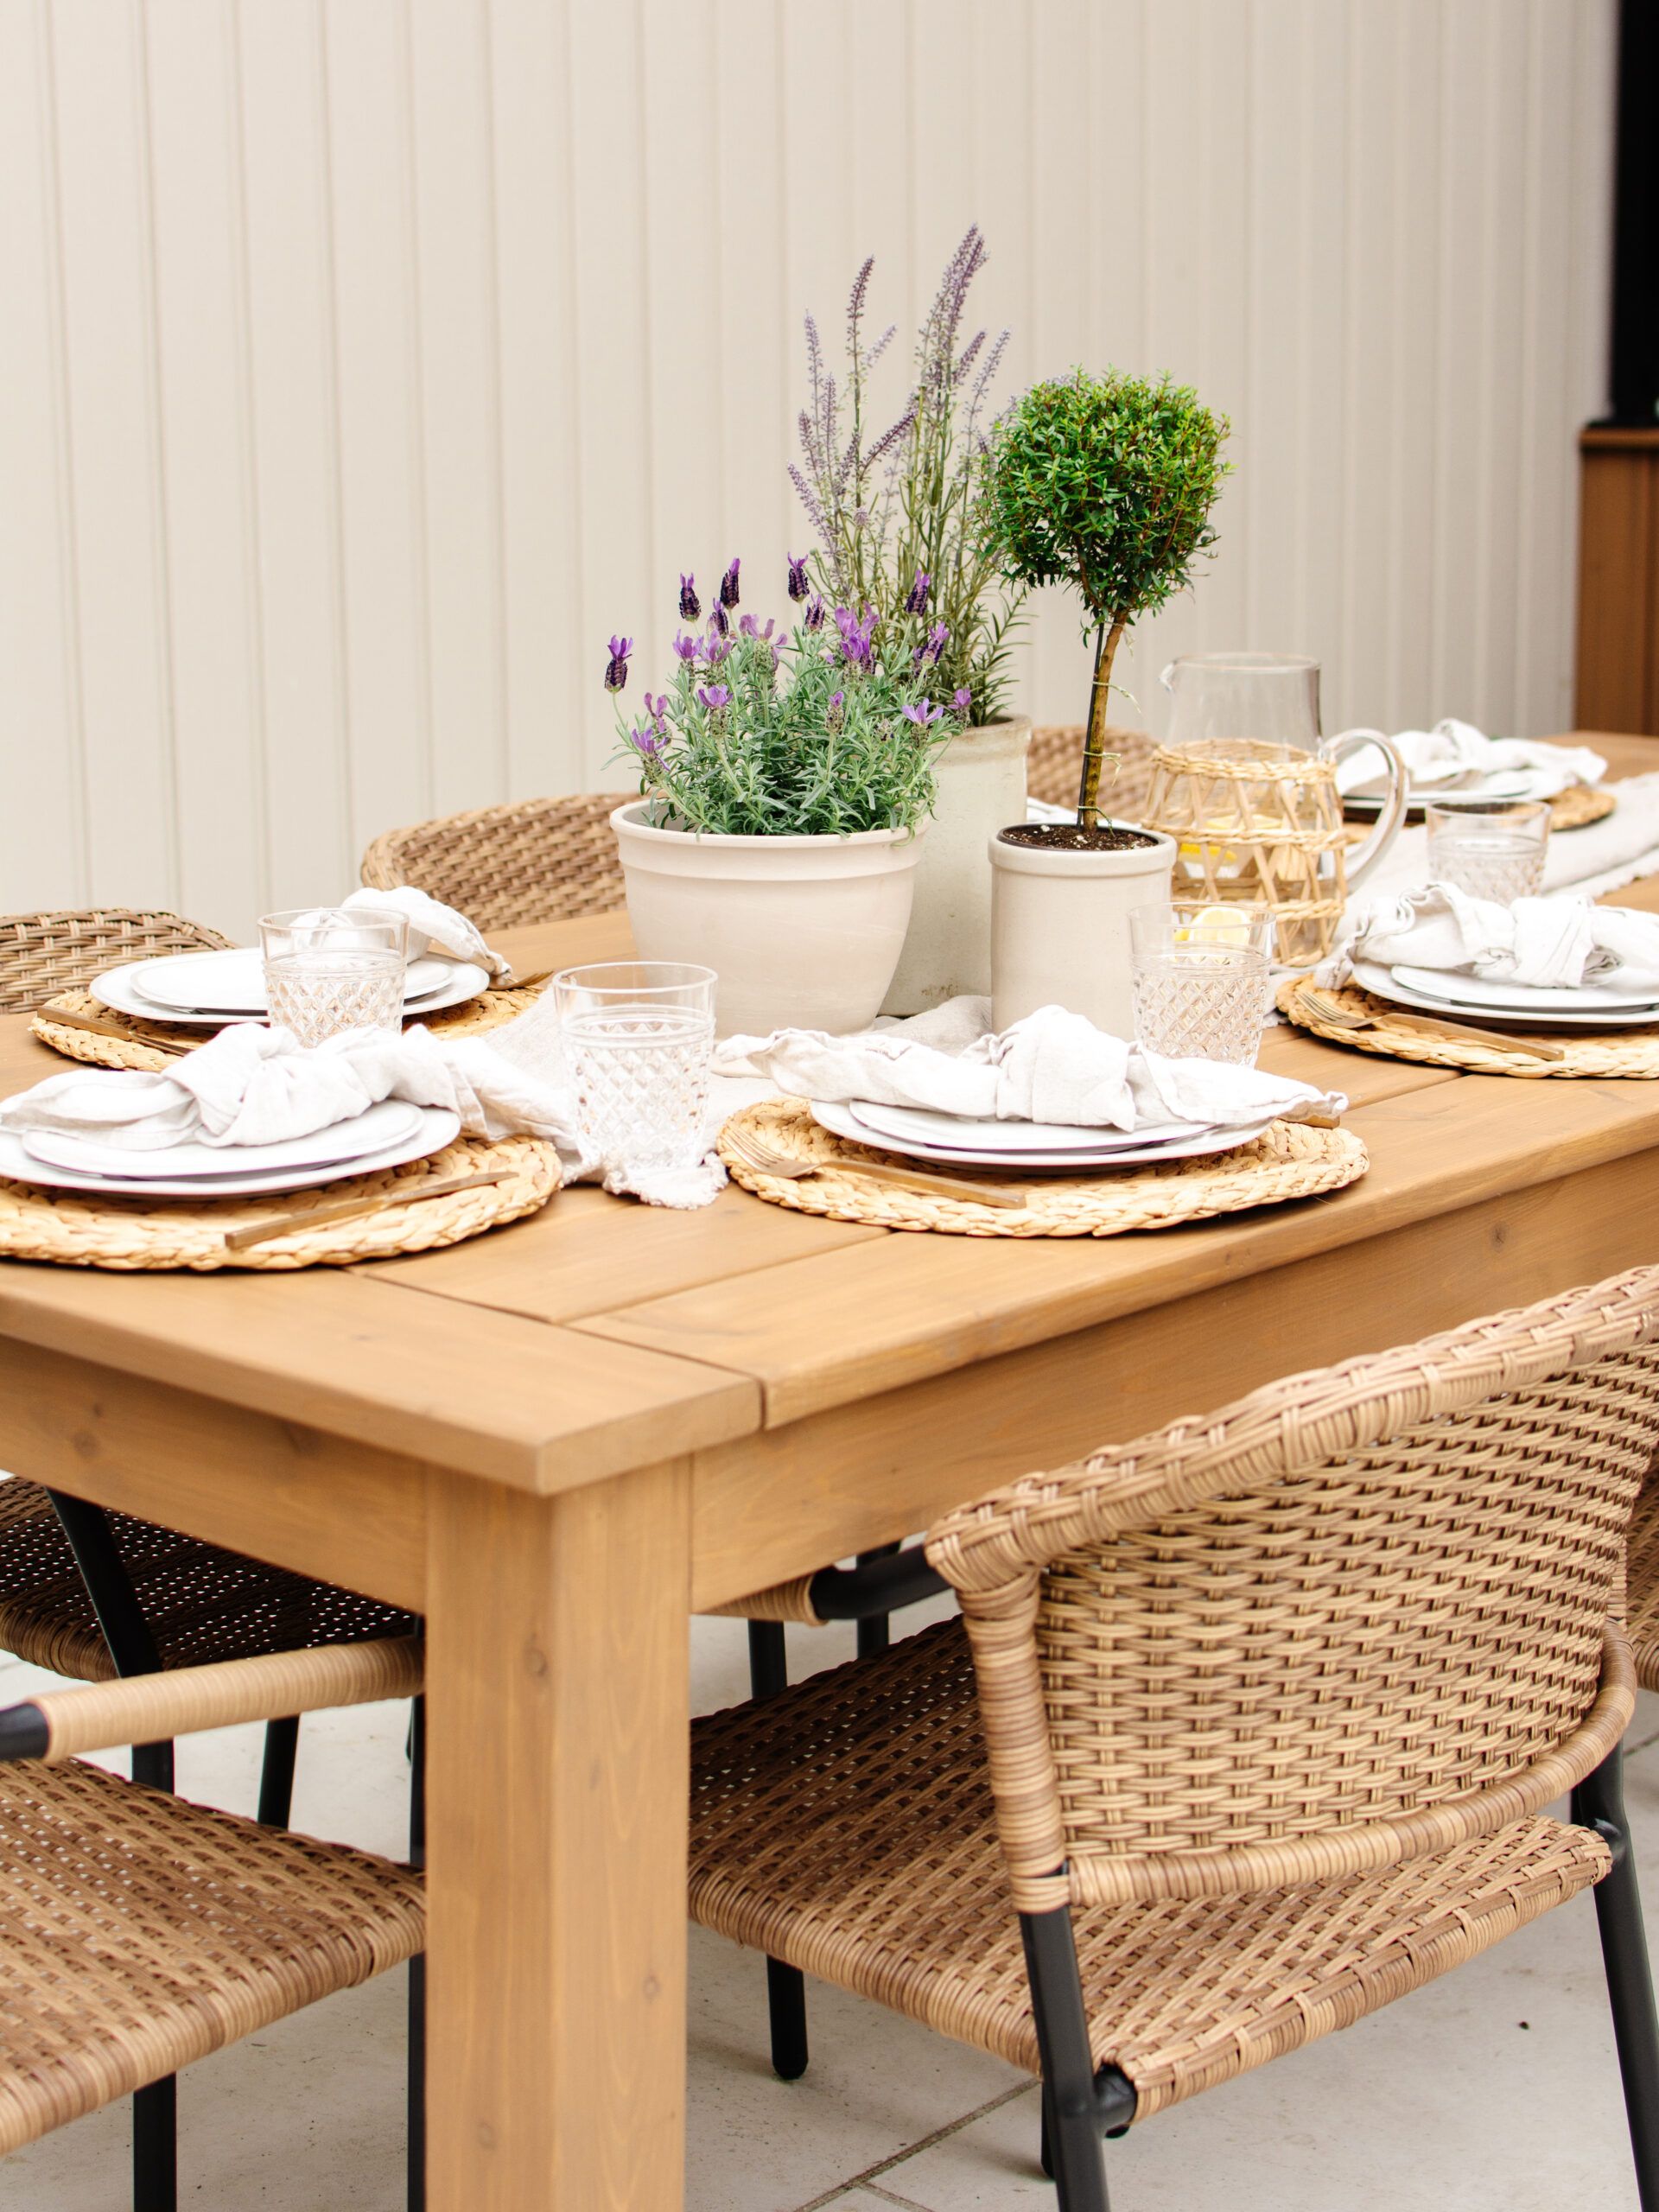
And voila, that’s how to build a patio table for 8 under $400! This table was exactly what we needed to finally enjoy our backyard renovation! I would love to hear what you think!
Feel free to make this table your own by changing the dimensions, the wood species or the stain! I would love to see if you build your own!

